
Charging your JLab wireless earbuds is a piece of cake, and I’m here to guide you through it! These earbuds are known for their sleek design and fantastic sound quality, but to get the most out of them, it’s essential to keep them charged and ready to go.
They can be charged using a USB cable or their handy charging case, but the most efficient method is to use the provided charging case. The convenience of having a case that doubles as a charger makes it incredibly easy to keep your earbuds powered up.
But no worries, we’ll explore both options so your earbuds are always charged, and you’re always ready to listen.
Charging Your JLab Earbuds
Charging Case
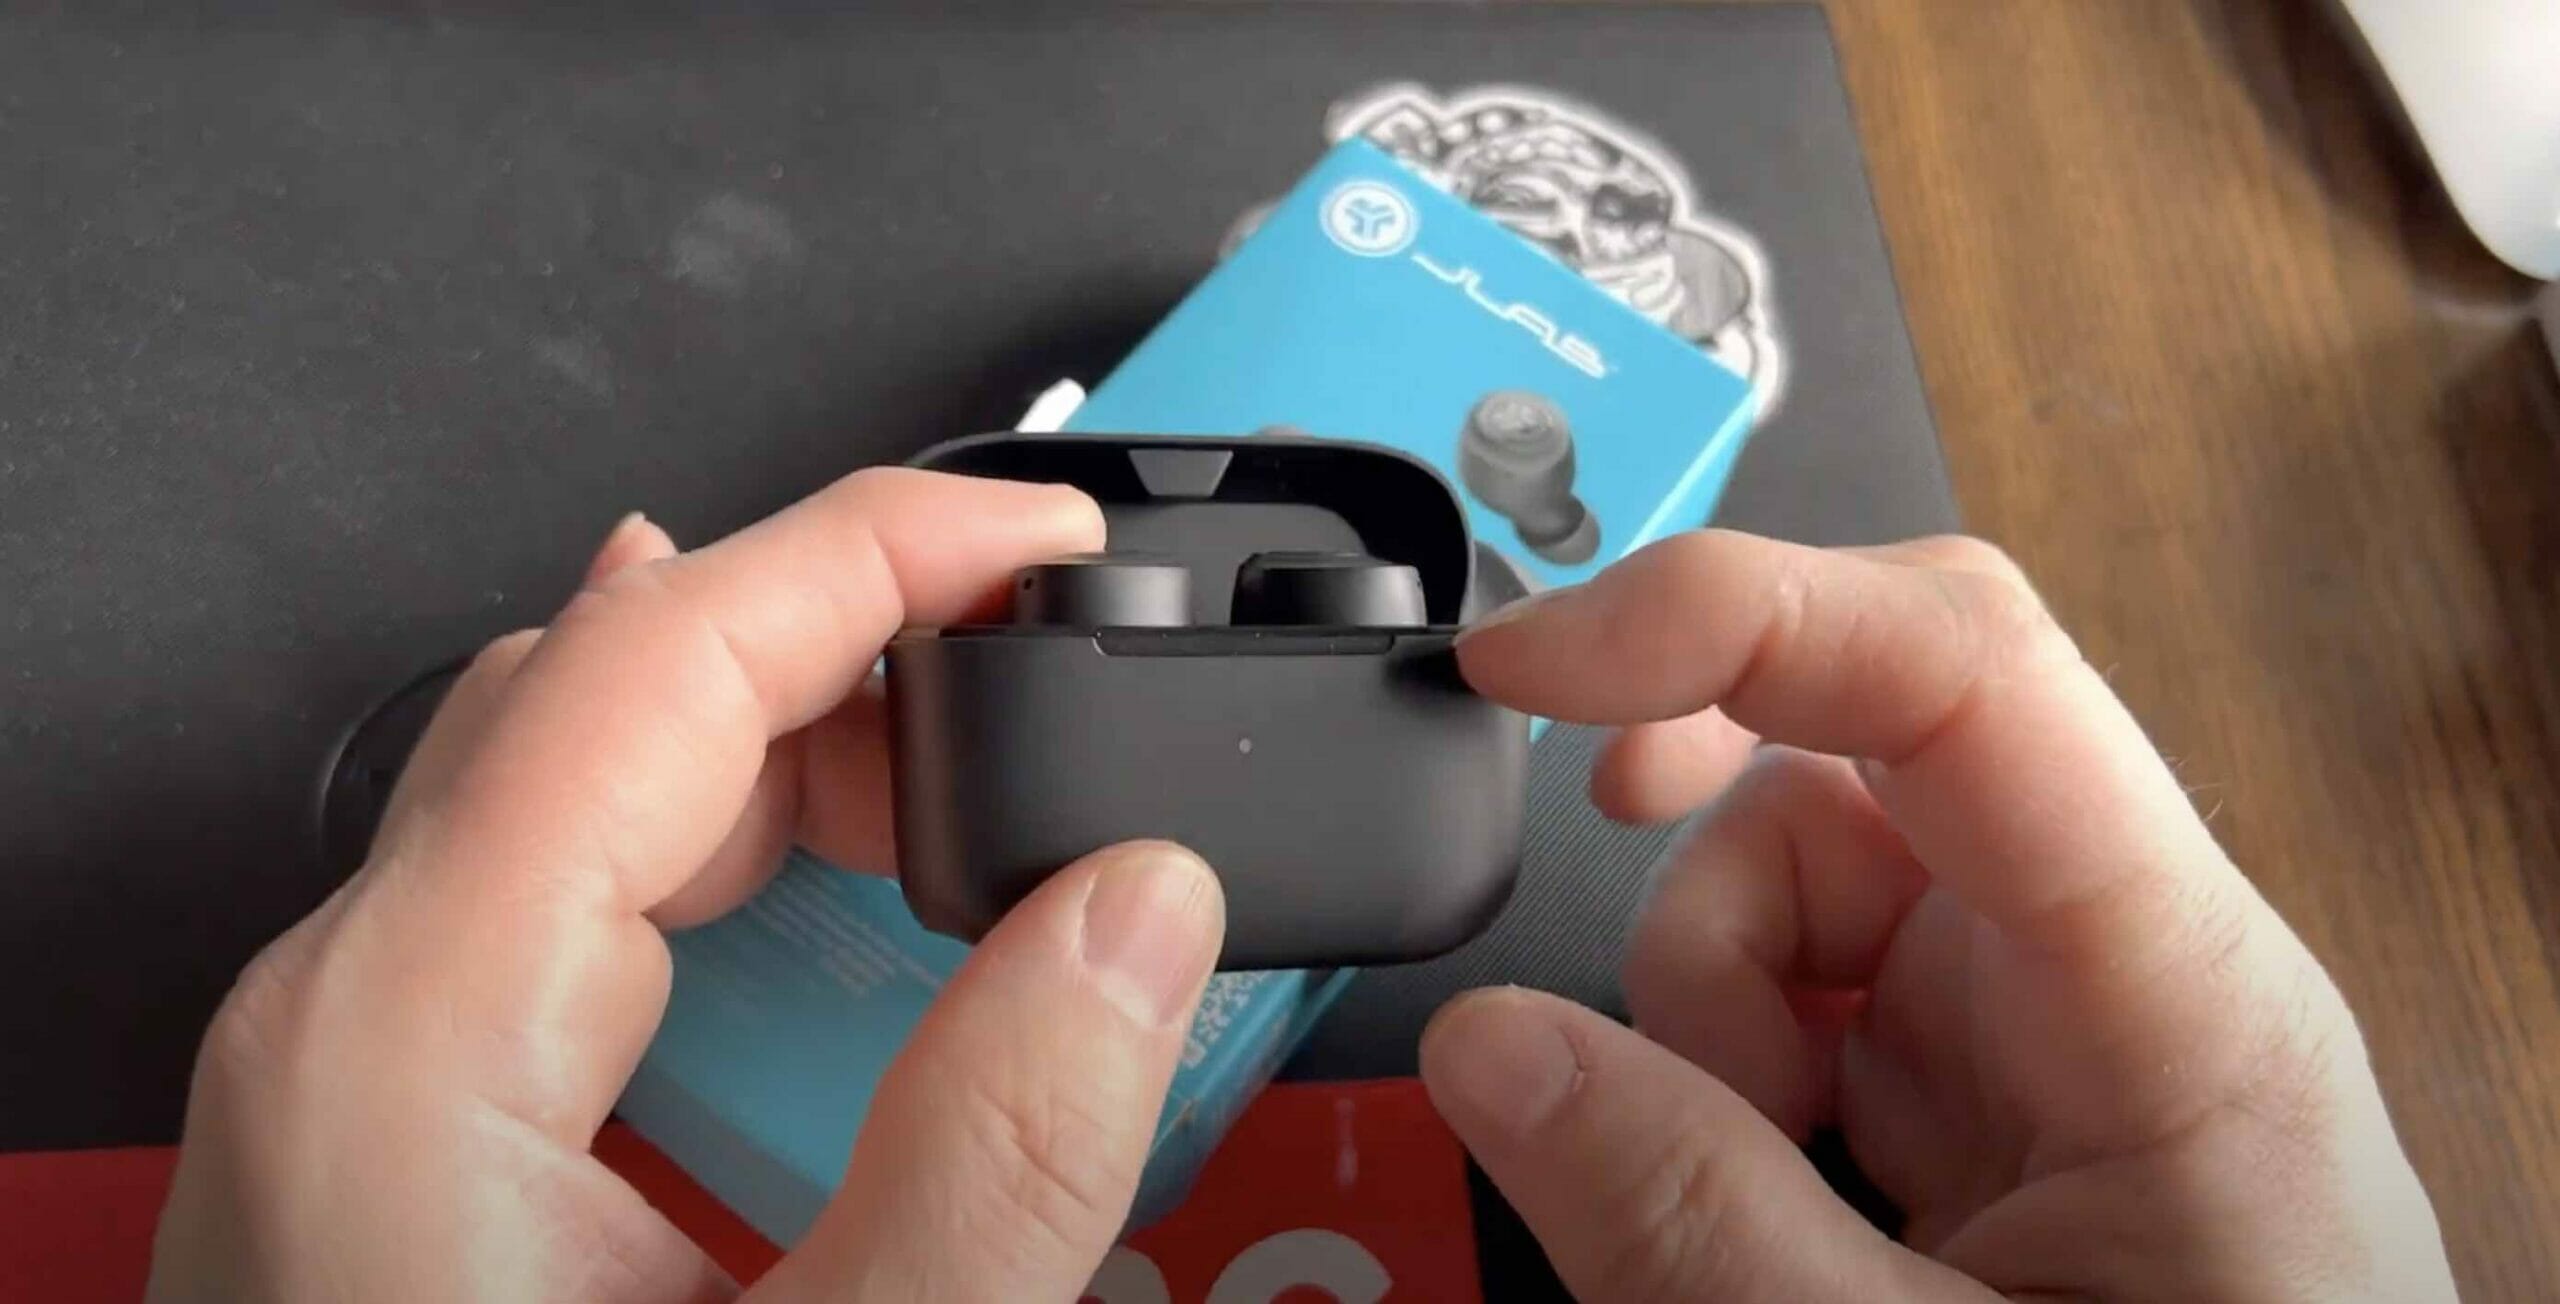
One of the easiest ways to charge your JLab earbuds is by using the charging case provided. Not only does this case allow for easy charging, but it also acts as a protective storage solution for your earbuds when they’re not in use.
To charge your earbuds using the charging case, follow these steps:
- Ensure the charging case is connected to an outlet: Before charging your earbuds, you must ensure the charging case has power.
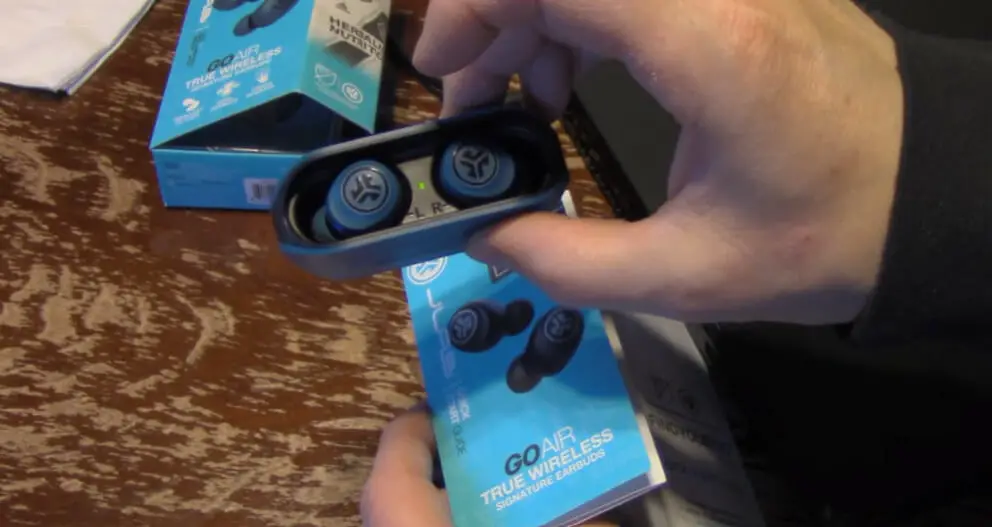
- Place the earbuds into their respective slots inside the charging case.
- Ensure the earbud’s charging points align with the charging pins in the case.
- Close the case and check the LED indicator, which will light up, showing that the earbuds are now charging.
The battery life of JLab earbuds can vary, but most models offer between 4 to 6 hours of playtime. With the charging case, you can extend the total battery life up to 40+ hours! Remember that it takes about 1.5 to 2 hours to charge the earbuds inside the case fully.
USB Charging Cable
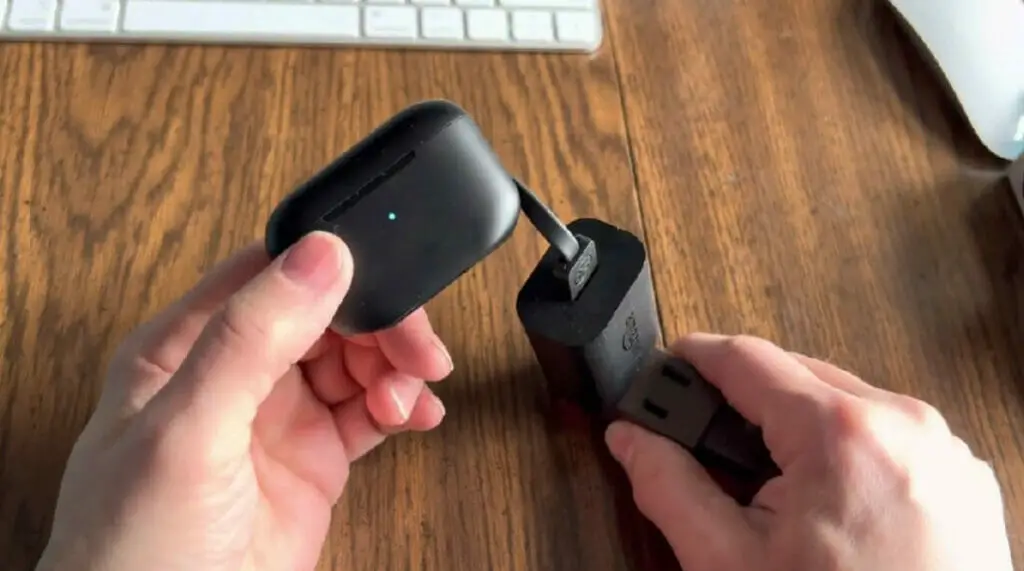
Another method of charging your JLab wireless earbuds is to use the included USB charging cable directly. This method bypasses the charging case; you can connect the earbuds to a power source like your laptop or smartphone charger.
Here’s how to charge your earbuds using a USB charging cable:
- Locate the charging point on your earbuds – it’s typically a small port concealed by a rubber flap or cover.
- Plug the micro USB end of the charging cable into the charging port on your earbuds.
- Connect the other end, a standard USB, to a power source like a laptop, wall charger, or power bank.
While charging with a USB cable, check the LED indicators on the earbuds that signal the charging status. Ensure your power source can efficiently charge the earbuds, as some devices may not provide enough power.
These earbuds use lithium-ion batteries that require regular charging to maintain their overall health and longevity. So it’s good to keep track of the charging time and battery levels, ensuring the smooth performance of your JLab earbuds.
Now that you know how to charge your JLab wireless earbuds, it’s time to enjoy all their fantastic features. Happy listening!
Comparative Table of Different Wireless JLab Earbuds’ Charging Time
| Model | Earbuds Charging Time | Case Charging Time | Total Playback Time (Including Case Charge) |
|---|---|---|---|
| JLab Air True Wireless | 1.5 hours | 2 hours | 24 hours |
| JLab JBuds Air Sport | 2 hours | 2 hours | 40 hours |
| JLab Epic Air ANC | 2.5 hours | 3 hours | 48 hours |
| JLab JBuds Air Icon | 1.5 hours | 2 hours | 24 hours |
| JLab Go Air | 1.5 hours | 2 hours | 20 hours |
Please note that these are approximate charging times, and the exact duration may vary based on several factors, including battery age, usage, and the charging power source. Always refer to the user manual or product specifications for precise information.
LED Indicator Lights
Here’s a brief breakdown of the LED light indicators:
- Blinking red light: Charging
- Green or white light: Fully charged or over 25% to 100%
- Red light: Battery low, under 25&
- Blue light: Pairing mode
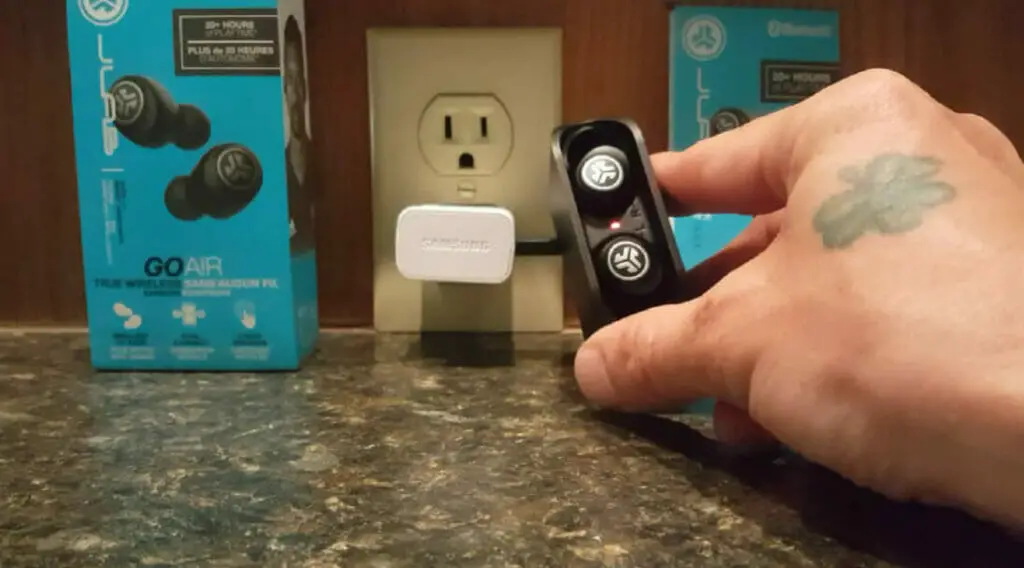
As I started to use my JLab wireless earbuds, I noticed the LED indicator lights play a significant role in understanding their charging status. Let me share the magic of these tiny lights with you all.
When I first place my JLab earbuds into the charging case, I see a blinking red light indicating they are indeed charging. Trust me, this tiny light is like a sigh of relief for a music lover like myself. The red light keeps shining as the charging progresses, guiding me through the power-up journey.
Let’s discuss the moment of glory – when my earbuds are fully charged. The LED lights switch from red to green or white, depending on the earbud model. That’s my cue to unplug them and dive into my favorite tunes without worrying!
But what if the LED lights show blue? That means the earbuds are in pairing mode, ready to connect with my device. The blue light goes off when they’re successfully paired, and I’m good to go.
Troubleshooting Charging and Connection Issues
Common Charging Problems and Solutions
First of all, let’s talk about charging issues. Sometimes, your earbuds might not charge properly. There are a few possible reasons for this:
- USB Cable: The issue could be with your USB cable. Make sure it’s properly connected and in good condition. If you’re still experiencing problems, try using a different cable, as it might be damaged.
- Power Source: Another point to consider is the power source you’re using. Check if it’s supplying enough power to charge your earbuds efficiently. If not, try connecting to another power source.
- Earbud Case: If your JLab earbuds aren’t charging, the problem might be the earbud case. First, ensure it’s fully charged before attempting to charge the earbuds. If the case is not charging, try a different power adapter.
- Reset the Earbuds: A manual reset might sometimes help the charging process. To do so, turn your earbuds off by pressing and holding the power button. After a few minutes, turn them back on and try charging them again. See if the issue is resolved.
If the charging problem persists, it’s best to consult a technician or visit the JLab Support Help Center for assistance.
Resolving Connectivity Issues
Now that we’ve covered charging problems let’s discuss connectivity issues. Is your device struggling to connect to your earbuds via Bluetooth? Try these steps:
- Check Compatibility: Ensure your device supports Bluetooth connections and is compatible with your JLab earbuds.
- Enable Bluetooth: Ensure Bluetooth is enabled on your device. Check your device’s settings and turn on Bluetooth if it’s disabled.
- Pairing Process: Follow the product-specific pairing process for your JLab earbuds, usually provided in the user manual. Still, need help pairing? Visit the JLab Support Help Center for guidance.
- Reset Earbuds: If problems persist, performing a manual reset on your earbuds might be necessary to re-establish the connection.
- Update Firmware: Check if your earbuds have any firmware updates available. Visit the manufacturer’s website for information on updates and follow the steps to install.
With these tips, your JLab earbuds should be charged, connected, and ready to go. Enjoy your music and happy listening!
References
Websites:
- JLab Audio Help Center. https://intl.jlab.com/apps/help-center
- Digital Trends. https://www.digitaltrends.com/
- CNET. https://www.cnet.com/
Video References
Pittsburgh Pat
Dilligan Madden