With more and more people cutting the cord on cable and satellite, it’s no wonder there’s such a rising demand for ways to connect TV antennas wirelessly.
Key Steps:
- Required: Wireless TV antenna, Wi-Fi network, digital TV (with tuner).
- Antenna position Optimization.
- Connect the antenna to the tuner.
- Connect the tuner to the TV.
- Connect the antenna to your Wi-Fi network.
- Scan for available channels on your TV.
- Test the setup.
Below I will go through how to connect your antenna and dive deeper into connecting it wirelessly.
If you already have your antenna setup and only want to make it wireless, jump to the Wireless Antenna Connection section halfway through the article.
Understanding Wireless Antenna Connection
Before diving into the technical stuff, it’s essential to understand a few key concepts.
Over-the-Air TV
You know what’s great? Free TV! That’s right—using an over-the-air (OTA) TV antenna lets you pick up numerous broadcast channels for free.
With the right antenna, you could access popular networks like NBC, CBS, and FOX, all while cutting the cord and ditching that monthly cable bill. Trust me, I’ve been there, and it’s fantastic!
Cord-Cutting
But what do I mean by “cord-cutting”? Cord-cutting refers to ditching your cable or satellite subscription and opting for free or more affordable streaming services.
Adding a wireless antenna to your TV setup lets you watch your favorite shows without dealing with pesky cable fees.
VHF and UHF Channels
Now, let’s talk channels. TV signals are transmitted on VHF (Very High Frequency) and UHF (Ultra High Frequency) channels.
VHF channels usually range from 2 to 13, while UHF channels go from 14 to 69. Different antennas are better suited for picking up one channel type over another.
So, now that you’ve got a basic understanding of wireless antenna connections, it’s time to set it up and enjoy all the free TV channels available.
Main Equipment Needed for Setting Up a Wireless Antenna Connection
| Equipment | Description |
|---|---|
| Wireless TV antenna | A device that picks up over-the-air signals from broadcasting stations. |
| Wi-Fi Network | The local network through which the TV and the antenna will communicate wirelessly. |
| Built-in TV Tuner | A device inside the TV that decodes the signal from the antenna. If not available, an external tuner can be used. (more info about this is below) |
Setting Up a Wireless Antenna Connection for TV

With just a little know-how, you can have your favorite channels set up and ready to go. I’ll guide you through selecting the right antenna, connecting it to a network tuner, and positioning it for the best reception.
Step 1. Selecting the Right Antenna
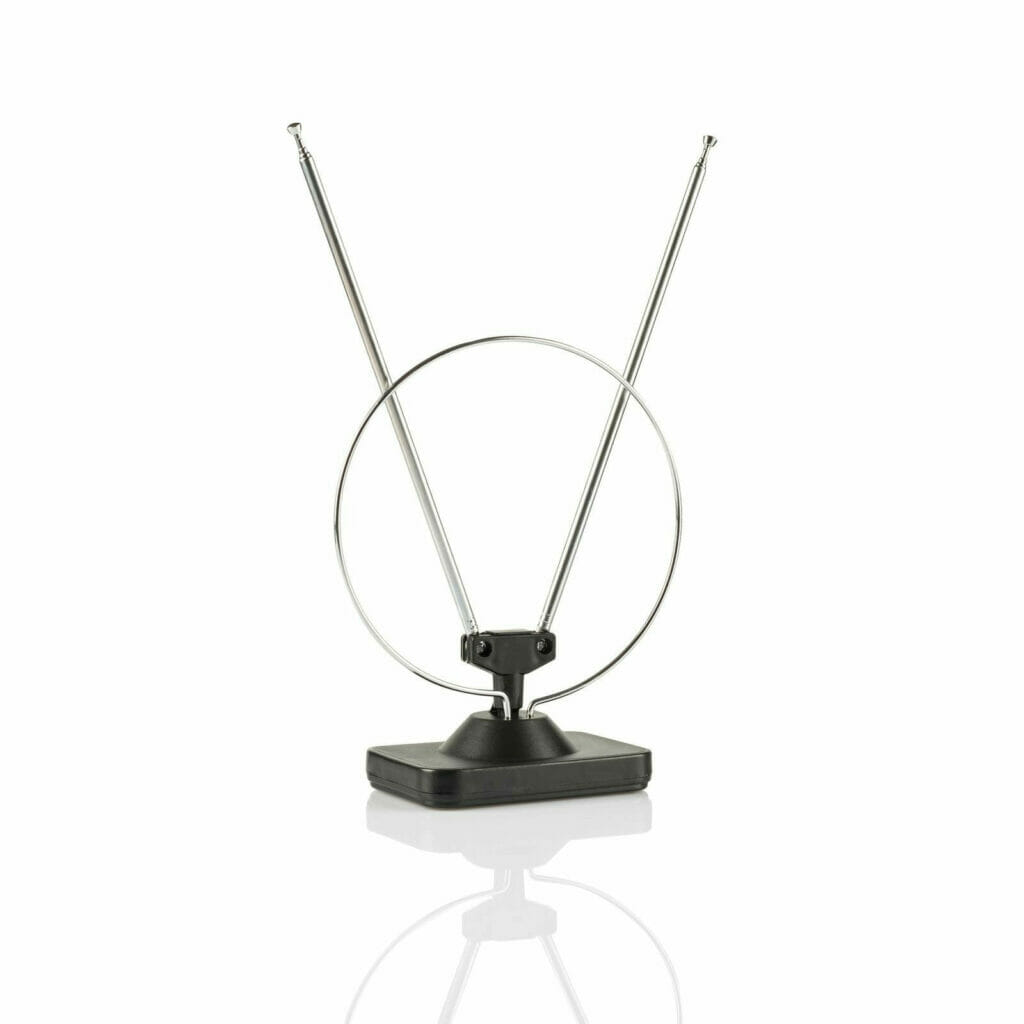
The first thing you need to do is choose the right TV antenna for your needs. You’ve got three main options: indoor, outdoor, and directional antennas. Each has its pros and cons, but it ultimately comes down to your location and the signal strength in your area.
- Indoor antenna: Easy to install, perfect for condos or apartments. They might not offer the best reception, but they’re discreet.
- Outdoor antenna: Offers better reception, but installation can be tricky. Find the optimal spot on your roof to place it for the best signal.
- Directional antenna: Aimed at a specific location for the best reception, these antennas can be more difficult to install but are more powerful than standard indoor and outdoor antennas.
Step 2. Connecting to the Network Tuner
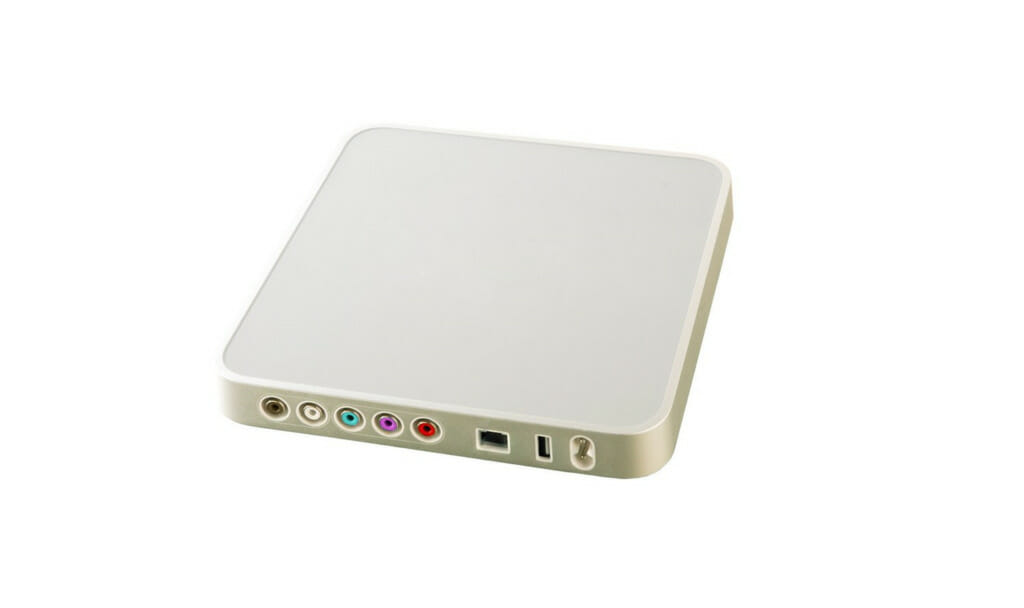
Once you have your antenna selected, it’s time to connect it to a network tuner. A network tuner, like SiliconDust HDHomeRun FLEX 4K or Tablo, converts the over-the-air (OTA) TV signals to digital and allows you to stream them over your Wi-Fi network. Follow these steps to get connected:
- Plug the TV antenna’s coax cable into the network tuner’s F-Connector.
- Connect the network tuner to your home Wi-Fi router using an Ethernet cable.
- Download the mobile app that corresponds with your network tuner.
- Set up an account and follow the on-screen instructions to scan for available channels.
Popular Network Tuners and Their Features:
| Network Tuner | Supports ATSC 3.0 | Compatible Devices |
|---|---|---|
| SiliconDust HDHomeRun FLEX 4K | Yes | Windows, iOS, Android, MacOS, Linux |
| Tablo | No | iOS, Android, Roku, Fire TV, Apple TV |
| AirTV | No | iOS, Android, Roku, Fire TV, Apple TV |
Step 3. Positioning the Antenna for Best Reception
Now here’s where it gets interesting. You want to position your antenna for the best possible reception. Who doesn’t love watching their favorite shows without interference, right? Here’s what you should keep in mind:
- Location, location, location: Place your antenna as high as possible, ideally on a rooftop for outdoor antennas or near a window for indoor ones.
- Face broadcast towers: Use a site like AntennaWeb to figure out where the towers are in your area and point your antenna in that direction.
- Avoid interference: Keep your antenna away from metal objects and other electronic devices, as they can cause signal issues.
- Experiment: Move the antenna around until you find the best reception.
Wireless Antenna Connection
Now, let’s navigate the world of wirelessly connecting your TV antenna to your television. There are a few more ways you can do this, so let’s dive into the different types of wireless antenna connections:
External Network Tuners
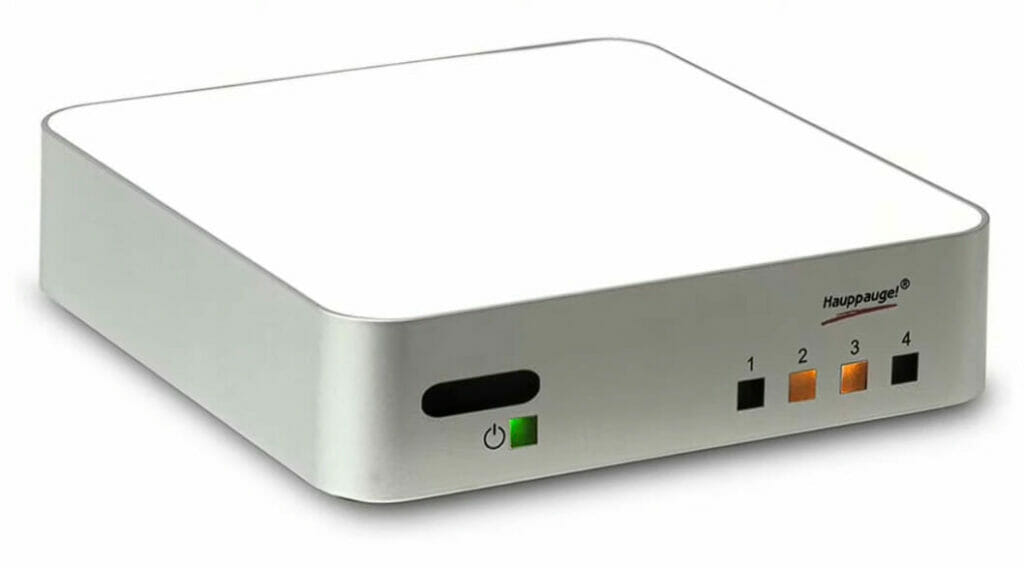
These handy gadgets allow you to connect your TV antenna to your home network. I’ve found this to be a simple and efficient method. Follow these steps:
- Plug your TV antenna coaxial into the back of the external tuner.
- Connect the tuner to your home WiFi router using a standard Ethernet cable.
- Install the mobile app with the tuner on your smartphone, tablet, or computer.
One cool thing is that these tuners are compatible with various devices such as smartphones, tablets, laptops, and smart TVs. You can find great tuners on Amazon, like the HDHomeRun, which works with major streaming devices like Apple TV, Amazon Fire TV, and Roku.
Remember, if your TV is analog, you’ll need a digital tuner to convert the signal.
Also, note that not all external tuners work with ATSC 3.0 (Advanced Television Systems Committee 3.0), so choose one that’s compatible if that’s important to you.
Wireless Transmitters
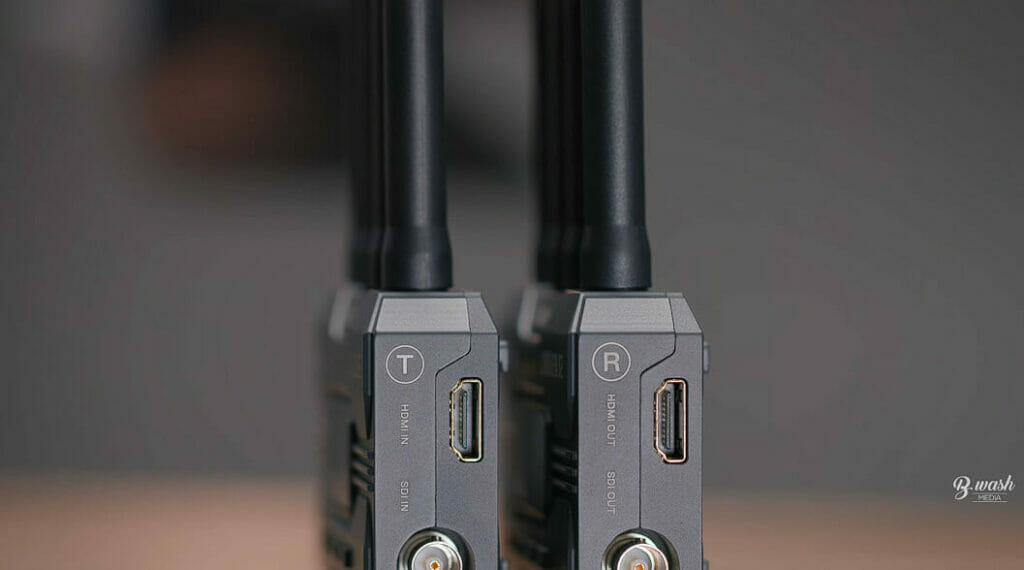
Another great option is to use wireless transmitters. Simply put, they send video signals from your TV antenna to your HDMI devices like a TV, laptop, or receiver.
These handy devices include a transmitter and a receiver.
- Connect the transmitter to your antenna and place it nearby.
- Plug the receiver into any HDMI device you want to watch live TV on.
- Sync the transmitter and receiver so they communicate wirelessly.
In my experience, I’ve found Nyrius and IOGEAR to be some brands that offer wireless HDMI transmitter-receiver kits. These kits can transmit high-quality video signals up to 100 feet away, sometimes even more!
There are many options out there for wireless transmitters, so be sure to look for ones that support HDMI and can work with your TV’s input system, whether digital or analog.
Also note that you might experience some signal loss with wireless transmitters, especially over long distances, so consider using a signal amplifier if needed.
Smart Devices
Last, let’s talk about using smart devices to watch TV wirelessly. You may need an app that supports streaming live TV from an antenna and a compatible digital tuner or DVR. Here’s how:
- Connect your antenna to the digital tuner or DVR via the coaxial input.
- Link the tuner or DVR to your home network through Ethernet or WiFi.
- Install a streaming app like HDHomeRun or Tablo on your smart device.
- Stream live TV through the app.
Once connected, you can use devices like Apple TV, Amazon Fire TV, or even ATSC 3.0 tuners to access and play the broadcast TV signal on your television.
So, there you have it! Those are the main ways to connect your TV antenna wirelessly, and each has perks. Give them a try, and you’ll soon find the perfect solution for your home entertainment setup. Happy wireless streaming!
Troubleshooting Wireless Antenna Connection
Improving Wi-Fi Signal
Now, you’ve got your converter box and multiple TVs hooked up, but the Wi-Fi signal isn’t as strong as it should be.
First, ensure your router is in an open space, away from obstacles blocking the signal.
Also, try placing your router closer to your TV or antenna to minimize interference. Trust me, it makes a huge difference!
Using Boosters and Amplifiers
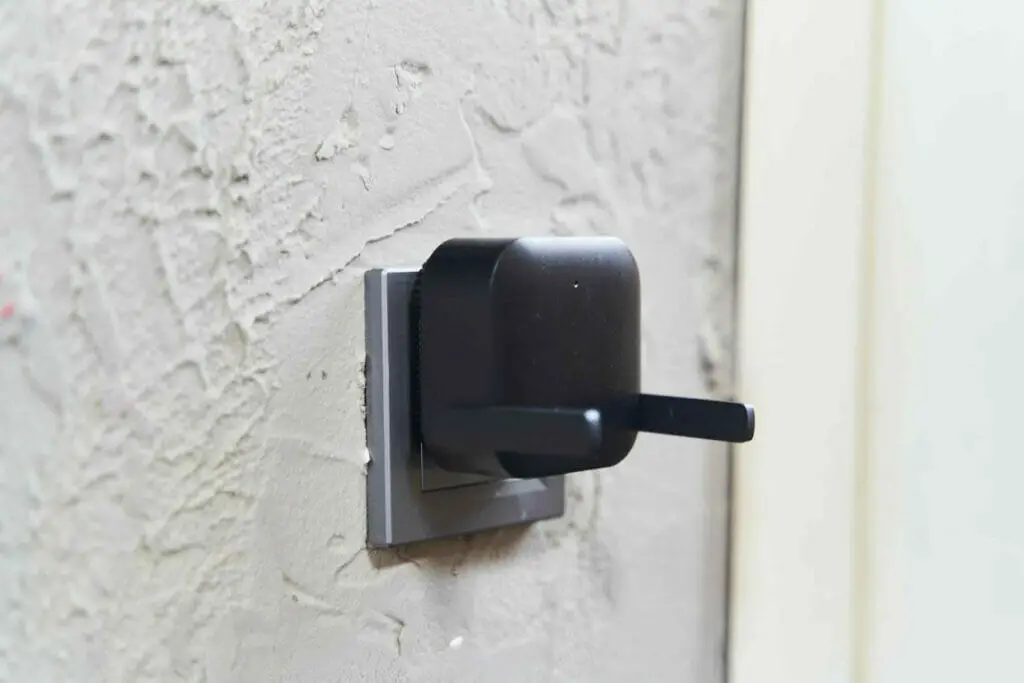
Sometimes our Wi-Fi needs extra power to reach every corner of our homes. That’s where boosters and amplifiers come in handy!
A booster can be connected to your router, enhancing the overall signal in your house.
On the other hand, amplifiers improve the signal strength directly at the antenna. Whichever route you choose, it will amp up your wireless antenna connection game!
Addressing Bandwidth Issues
Now let’s talk about bandwidth. With today’s technology, our homes are filled with multiple smart devices competing for Wi-Fi, and our Smart TVs are no exception. Thus, if your home Wi-Fi gets a little congested from all the devices running simultaneously, it’s time to explore some solutions.
Upgrade your Wi-Fi router to a model with better bandwidth capabilities. Another is to evaluate the devices on your network and prioritize those that need a stronger Wi-Fi signal.
Remember, the smoother your Wi-Fi connection, the better your experience with your wireless antenna system.
Guide to Local Channels and Broadcast Networks

Scanning for Available Channels
Alright, first things first. Before diving into your favorite shows, you must scan for available channels. It’s simple! You must access your TV’s settings menu and look for the channel scan option.
This quick process will help your TV find all the local channels in your area. Keep in mind that the resolution of the channels found might vary, but hey, who doesn’t love a little variety?
Once the scan is complete, presto! You’re ready to roll with some top-notch television programming. And remember, you don’t want to miss out on anything, so be sure to ask your neighbors about any channels they might pick up with their antennas.
Accessing Popular Networks
Now that you’ve got a list of available channels let’s talk about tuning in to some great content. You’re eager to check out popular networks like ABC, CBS, FOX, and NBC, so let’s get you set up.
First, you’ll need an HDHomeRun device – it’s a great way to convert your over-the-air (OTA) channels, like those from your antenna, into a wireless connection for your TV.
This nifty little device connects to your antenna and then streams those channels to your TV through your home network.
Next, you’ll need a network TV tuner that supports Advanced Television Systems Committee (ATSC) standards. This will ensure you can access a wide range of channels in high definition.
One popular option is the AirTV – it works seamlessly with your antenna and TV to provide an excellent viewing experience.
Now, download the companion app on your smartphone or tablet, and you can browse through guide data and access your favorite local channels, news, and weather – all without the hassle of a dish or cable connection.
Oh, and don’t forget! Prepare to be blown away by NextGen TV. This cutting-edge technology delivers local broadcast channels with stunning 4K quality and immersive audio for an out-of-this-world experience.
So keep an eye out for compatible devices and prepare to be amazed!
You have everything you need to enjoy local channels and broadcast networks without pesky wires. Get scanning, get connected, and get ready for some awesome television.
References
Organizations:
- The Federal Communications Commission (FCC) Guide to Antennas and Digital Television. https://www.fcc.gov/consumers/guides/antennas-and-digital-television
Books:
- Television: Technology and Cultural Form by Raymond Williams
Websites:
- AntennaWeb. https://www.antennaweb.org/
- TV Fool. https://www.tvfool.com/
Video References
Aiderhub
Brandon Washington

