

Transferring photos from an iPhone to a laptop is easy with either built-in apps or features or additional apps installed.
There are four ways to transfer photos from an iPhone to a laptop wirelessly:
- Via Wi-Fi using iTunes, which is pre-installed
- Via Wi-Fi using an app other than iTunes, which will have to be downloaded and installed
- Via Bluetooth, which is a built-in feature
- Via iCloud, which is Apple’s cloud storage system
To ensure an easy and successful transfer, use the latest version of the app and operating system on both the iPhone and laptop.
Transferring Photos via Wi-Fi
Wi-Fi Transfer Using iTunes
iTunes is Apple’s own official app, so you can always use this method to transfer the photos without needing to download or buy another app. It should be pre-installed on the iPhone.
Since it’s a core app integrated with some other apps, you can even use it from within those apps. Do the following to use iTunes for the transfer:
- Set up Wi-Fi syncing for the iPhone and laptop.
- Click the iPhone button in the iTunes app on the laptop.
- Select the app from the list that should appear to start transferring the photo.
- Choose to save the photo when the photo file’s location shows.
Transferring Photos Via Wi-Fi Using an App Other than iTunes
Apps other than iTunes are third-party apps available from the App Store.
You will have to download and install them to transfer photos via Wi-Fi. Popular examples include Air Transfer, AirCopy, Documents, and SHAREit. Some of them make it easier to transfer photos via Wi-Fi compared to iTunes, usually as part of a wider set of related features. Other apps with the same functionality include Air Share, Simple Transfer, and Easy Transfer.
Whichever app you use, you must ensure the app and your laptop are connected to the same Wi-Fi network. Have the laptop ready, launch your internet browser, and also launch the chosen app on the iPhone. Then, I’ll tell you what to do, depending on the app you launched.
Transferring Photos Via Wi-Fi Using Air Transfer
Description: Air Transfer – File Transfer from/to PC thru WiFi Easy file sharing with Desktop
Rating: 4.1/5
Developer/Seller: Junsik Choi
iPhone Compatibility: iOS 8.0 or later
Mac requirement: macOS 11.0 or later with an Apple M1 chip or later
Size: 19.5 MB
Here’s the procedure to transfer the photos from an iPhone to your laptop using Air Transfer:
- Tap on the + icon to import the files you want to transfer.
- Select the files for transfer.
- Press the Wi-Fi icon on the iPhone app.
- Enter the URL displayed in a web browser on the laptop.
- Preview and download all the photos you want to transfer to your laptop.
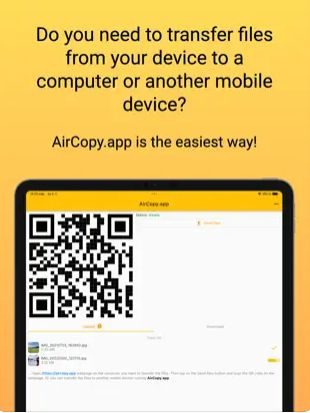
Transferring Photos Via Wi-Fi Using AirCopy
Description: AirCopy.app
Rating: -/5
Developer/Seller: Jan Rohan
iPhone Compatibility: iOS 10.0 or later
Mac requirement: macOS 11.0 or later with an Apple M1 chip or later
Size: 42.9 MB
Here’s the procedure to transfer the photos from an iPhone to your laptop using AirCopy:
- Select the “Phone to PC” option on the laptop for transferring the photos.
- Scan the QR code shown on the screen using your iPhone.
- A webpage should open up on the iPhone. From there, select the photos you want to transfer.
The file transfer process will start.
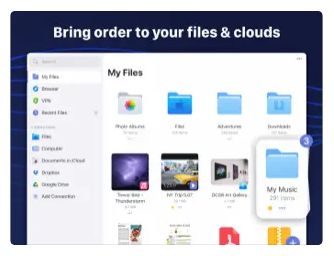
Transferring Photos Via Wi-Fi Using Documents
Description: Documents: File Manager & Docs
Media Player | Web Browser
Rating: -4.8/5
Developer/Seller: Readdle Technologies Limited
iPhone Compatibility: iOS 15.0 or later
Mac requirement: macOS 12.0 or later with an Apple M1 chip or later
Size: 257 MB
Here’s the procedure to transfer the photos from an iPhone to your laptop using Documents:
- Select “Services” on the app.
- Select “Connect to Computer”.
- On the laptop, open the webpage: https://docstransfer.com/.
- Enter the 4-digit code you will get on the iPhone.
- Upload the photos you want to transfer to the laptop.
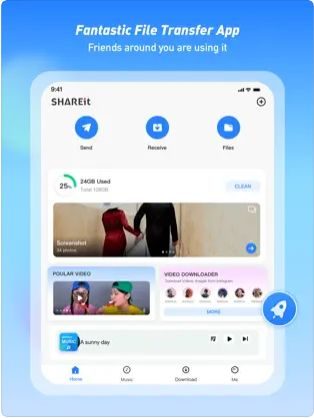
Transferring Photos Via Wi-Fi Using SHAREit:
Description: SHAREit: Transfer, Share Files 4+
Transfer, and share files faster
Rating: -4.6/5
Developer/Seller: SHAREit Technologies Co. Ltd
iPhone Compatibility: iOS 11.0 or later
Mac requirement: macOS 11.0 or later with an Apple M1 chip or later
Size: 113 MB
Here’s the procedure to transfer the photos from an iPhone to your laptop using SHAREit:
- Select “Send” on the iPhone.
- Choose the photos you want to transfer under the “Photos” tab.
- Create a hotspot on the iPhone and connect to it on the laptop.
- Click on the icon on the top left and choose the option “Connect to PC/MAC”.
- The iPhone will display a QR code to make the connection. Hold it in front of the laptop’s screen.
- Select the photo or folder of photos you want to transfer.
- Select “Shareit for PC” from the menu on the laptop.
- Choose a “basic” setup, as it’s sufficient for transferring photos.
- Choose a location to receive the photos on the laptop.
- Click on “Save” to start the transfer.
- Select “Send” on the iPhone.
Transferring Photos via Bluetooth
Bluetooth is a built-in feature on the iPhone and smartphones, generally, so you don’t need to download and install anything. Since it’s a core function integrated with some other apps, you can even use it from within those apps. Do the following to use Bluetooth for the transfer:
- Ensure that Bluetooth is turned on on both the iPhone and laptop.
- Ensure the visible or discoverable option is also turned on.
- Pair the iPhone and laptop.
- Select ‘Send files’ in the Bluetooth file transfer.
- Choose the name of the laptop you want to send the photo to.
- Browse the photo you want to send.
- Click on ‘next’ or ‘send’ to transfer the photo files wirelessly.
Transferring Photos via iCloud
iCloud is Apple’s built-in feature for accessing a cloud storage service, so you don’t need to download and install anything. Since it’s a core function integrated with some other apps, you can even use it from within those apps. Do the following to use Bluetooth for the transfer:
- Open iCloud on the iPhone.
- Find and select the photo file you want to transfer.
- Open the iCloud website in a browser on your laptop.
- Log in with your Apple ID.
- Once logged in, you will be able to see and download all the photos you select.
Note that if the photo is in an app that supports iCloud file sharing, open the photo from within that app and select the ‘Share’ option.
References
App images and details. https://apps.apple.com