

APN stands for Access Point Name, a gateway between your mobile network and the internet. Your TruConnect device needs specific settings to connect to data services correctly. That’s where this article comes in handy!
For proper connectivity on TruConnect devices, make sure the APN settings are accurately set. Android users should navigate through ‘Settings’ to ‘Access Point Names,’ while iPhone users should proceed to ‘Cellular Data Options> ‘Cellular Data Network.’
The Detailed TruConnect settings will be discussed below.
Steps to Configure TruConnect APN Settings for Android
First things first, let’s talk about APN or Access Point Name. It’s the gateway between your phone and the internet – like a translator who speaks both ‘phone’ and ‘internet.’
Let’s jump straight into it:
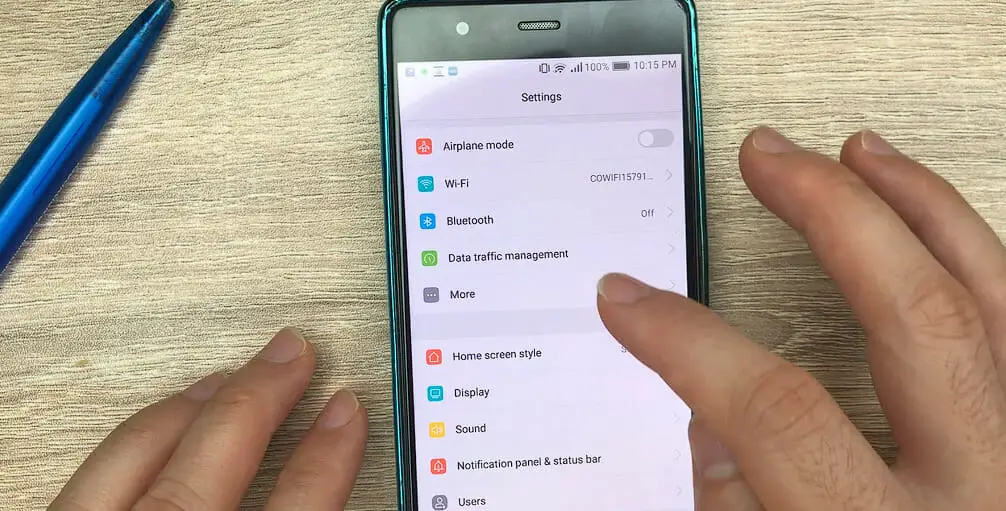
Step 1. Go ahead and pop open your phone’s ‘Settings’ menu – usually represented by the gear icon.
Step 2. Scroll down until you find ‘More Networks’ (or something similar), and tap on that.
Step 3. Next up is ‘Mobile Networks.’ Give that a tap too!
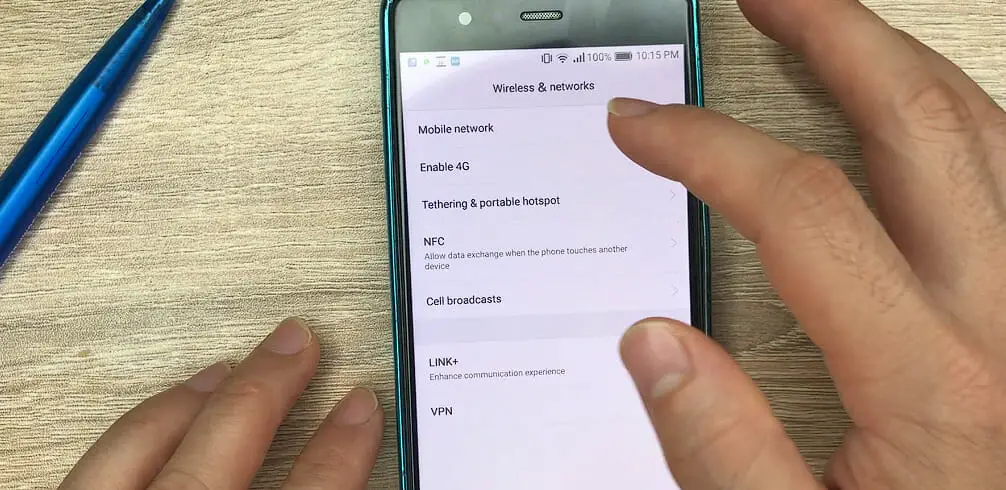
Step 4. Here comes our star player: ‘Access Point Names.’ Tap on this option.
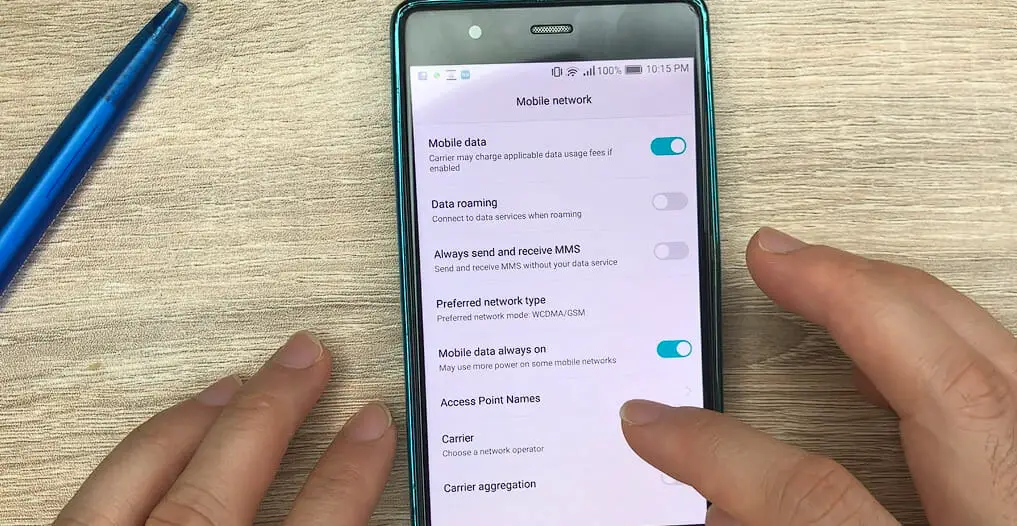
Now we’re at a screen with probably some pre-configured APNs listed out already. But we’re going to create a new one just for TruConnect!
Here are the details we’ll need:
| Setting | Value |
|---|---|
| Name | TruConnect |
| APN | wap.truconnect.com |
| Username | guest |
| Password | guest |
| Proxy | Not Set |
| Port | Not Set |
| Server | Not Set |
| MMSC | Not Set |
| MMS Proxy | Not Set |
| MMS Port | Not Set |
| MCC | 310 |
| MNC | 410 |
| Authentication type | None |
| APN type | default, mms, supl |
| APN protocol | IPv4/IPv4 |
| Bearer | (Unspecified) |
| MVNO | None |
- Hit that plus ‘+’ sign or opt for ‘New APN.’
- Fill in each field using data from our table above.
- Once all the fields are filled up, save these changes by tapping those three dots in the corner and selecting “Save.”
Voila! You’ve successfully configured TruConnect APN settings on your Android device.
Do bear in mind though – different versions of Android might have slightly varied pathways leading up to these settings but worry not – they’re all pretty similar at their core!
Also, remember – if you feel lost or confused during this process, don’t hesitate to contact TruConnect Support. They’re always ready to help!
Steps to Configure TruConnect APN Settings for iPhone
So let’s start with a simple step-by-step process:
Step 1. Head straight to your iPhone Settings – Tap that gear icon thingy.
Step 2. Choose ‘Cellular’; it’s usually near the top of the list.
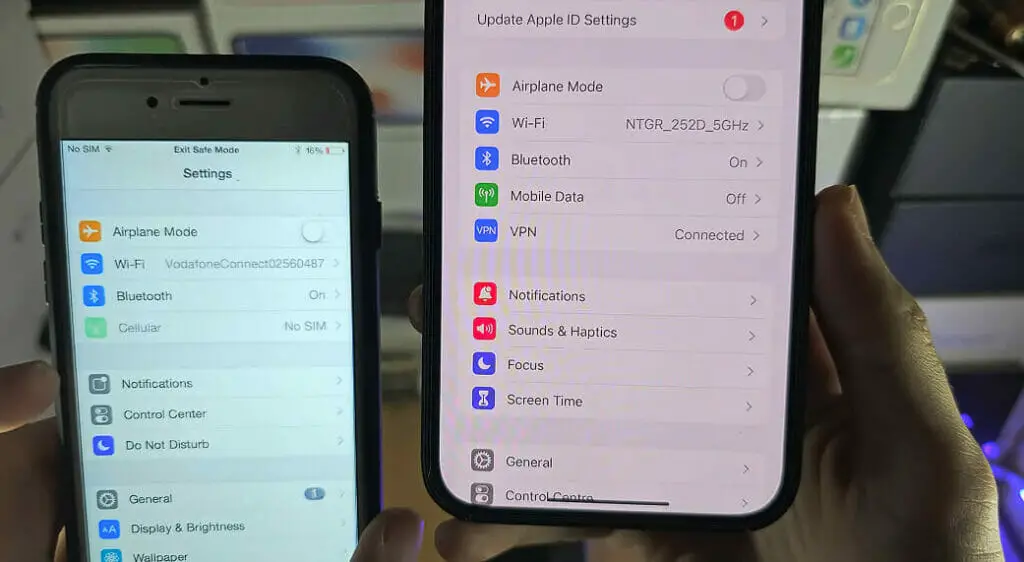
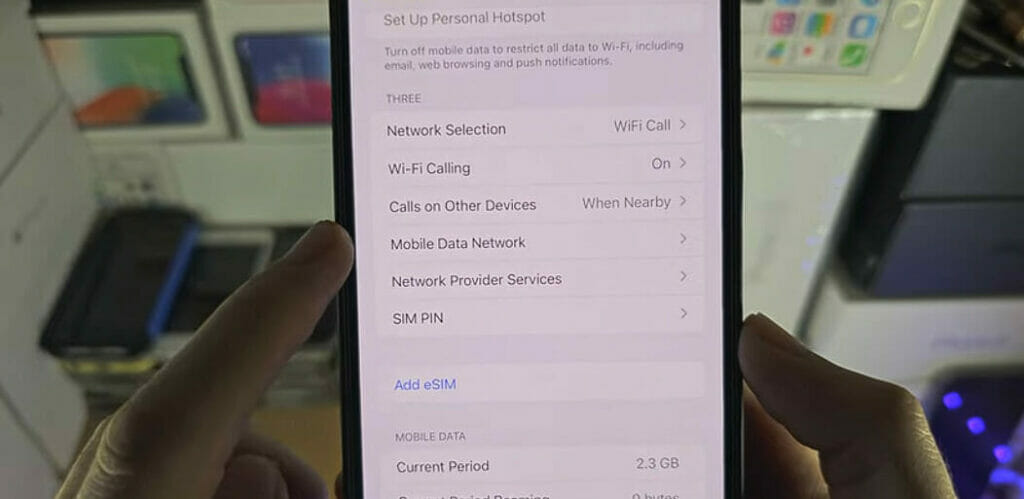
Step 3. Tap ‘Cellular Data Options’ or ‘Mobile Data Network’
Once you’ve reached this point, you’ll see a couple of sections: Cellular Data and MMS (Multimedia Messaging Service). Here’s what goes in those spots:
| Setting | Value |
|---|---|
| APN | wap.truconnect.com |
| Username | guest |
| Password | guest |
| LTE Setup APN | not set |
| LTE Setup Username | not set |
| LTE Setup Password | not set |
There you go! Once filled out correctly (and don’t worry if it takes a couple of tries), just hit that back button at the top-left corner of your screen – no save button is needed here! Your phone will automatically do its thing and apply these new settings.
Now remember, sometimes technology can be a little stubborn, so give it some time before everything kicks into gear after making these changes.
And there you have it! With just a few taps here and there, I’ve walked you through how to set up your TruConnect APN settings on an iPhone. Happy browsing!
Troubleshooting Common APN Issues with TruConnect
I understand how frustrating it can be when you’re wrestling with APN settings on your TruConnect device. It happens to the best of us, right? Let’s try turning that frown upside down and getting you back online.
First, if you’re having trouble connecting to the internet or sending MMS messages, double-checking your APN settings should be your initial move. It’s like checking if the power plug is connected when our TV doesn’t turn on. Make sure everything matches up with the official TruConnect APN settings.
I’ve noticed that sometimes a simple restart of your device might do the trick too! It seems basic (and trust me, I know how much we all love complicated solutions), but give it a shot — a quick reboot can often kick those gremlins into touch!
If all else fails, not to worry! You may need to reset your APN settings back to default.
It’s pretty easy:
For most Android devices, you’ll find this in ‘Settings’ > ‘Network & Internet’ > ‘Mobile Network’ > ‘Advanced’ > ‘Access Point Names.’
For iPhone users, head to ‘Settings’> ‘Cellular’> ‘Cellular Data Options> ‘Cellular Network’.
If these steps seem like they’d lead you down a rabbit hole, no stress – reach out to TruConnect’s customer service for help.
Remember that dealing with technology hiccups is part of life in our super-connected world. At least we aren’t dealing with dial-up anymore! Keep these tips handy; hopefully, it’ll be smooth sailing next time an issue pops up.
References
Organizations:
- GSMA. https://www.gsma.com/
Websites:
- HowToGeek. https://www.howtogeek.com/
- Android Central. https://www.androidcentral.com/
- Apple Support. https://support.apple.com/
Video References:
APN Settings
Alfve