You know how sometimes your mobile data acts up, and you can’t figure out why? It just might be your APN settings causing the ruckus. Don’t worry; I’m here to help you understand what they are and how to tweak them if needed.
Key Takeaways – On Android, navigate through Settings > Connections > Mobile Networks to access APN and add a new point using carrier details or default Access Wireless settings (I’ll provide the details later in the article). iPhone users can find APN settings via Settings > Cellular > Cellular Data Options.
As such, let’s not waste any time and hop into the world of APN (Access Point Names) settings!
Steps to Access and Modify APN Settings for Android
Let’s dive into your phone settings, specifically the Access Point Names or APN. These settings are like the backstage pass, allowing your device to connect with carrier networks.
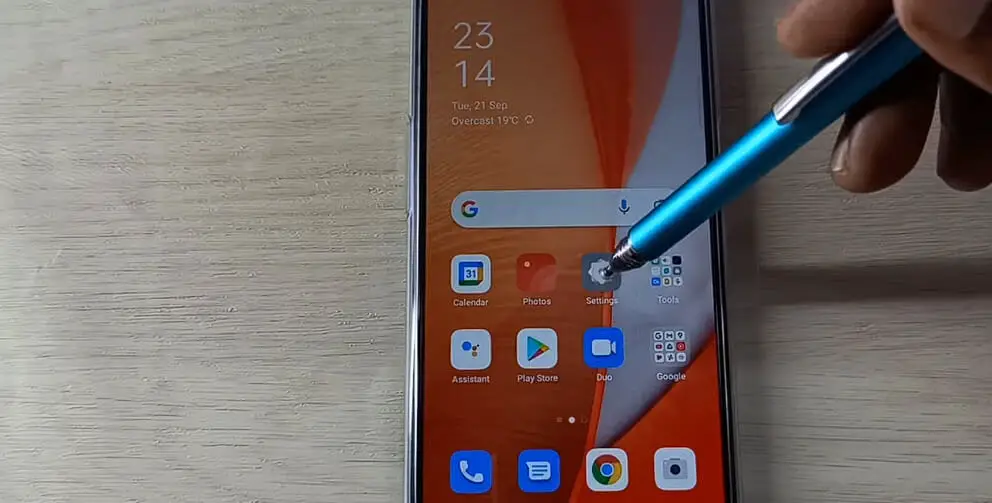
Step 1. First up, you have to reach out to your Settings menu. It’s not tricky at all—swipe down from the top of your screen to open the notification panel, then hit that gear-shaped icon.
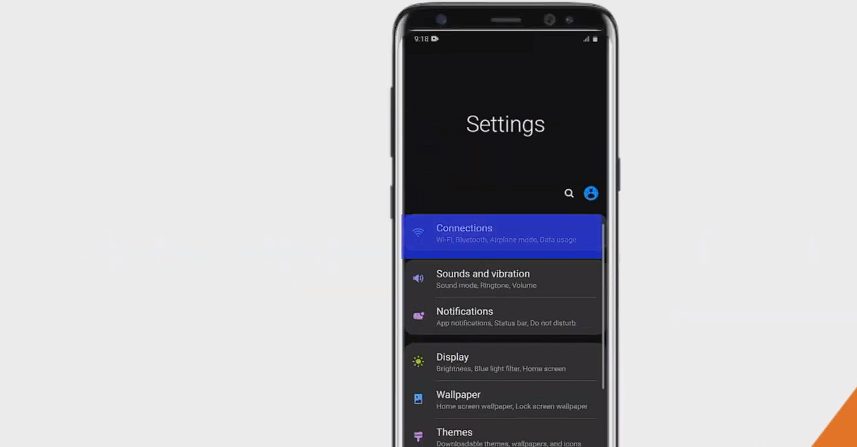
Step 2. Next, tap “Connections,” followed by “Mobile Networks.”
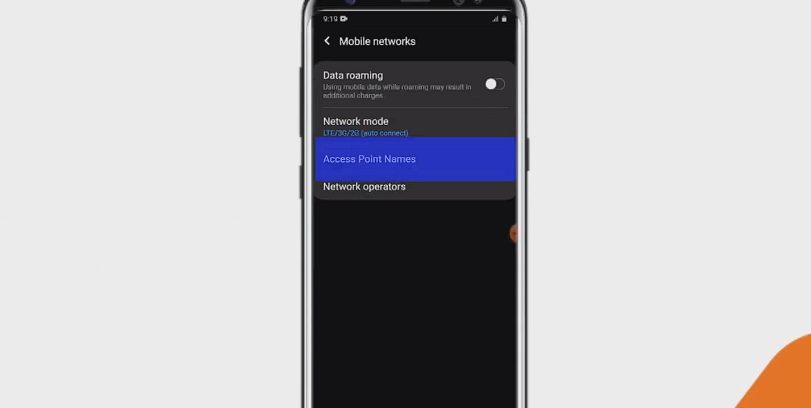
Step 3. Then we’ll stroll straight into Access Point Names.
Now here’s where things get interesting! You’ll probably see a list of APNs already in place for your carrier, but don’t fret if you don’t see any or if the internet isn’t working properly; we’re about to fix that.
To add a new APN, tap “+ Add” or “New APN.” Now fill in the details provided by your carrier or these default Access Wireless APN Settings.
| Setting | Internet |
|---|---|
| Name | Access Wireless |
| APN | internet |
| Username | (Not set) |
| Password | (Not set) |
| Proxy | (Not set) |
| Port | (Not set) |
| Server | (Not set) |
| MMSC | (Not set) |
| MMS Proxy | (Not set) |
| MMS Port | (Not set) |
| MCC | 310 (or default) |
| MNC | 02 (or default) |
| Authentication type | None |
| APN type | default, mms, supl |
| APN protocol | IPv4/IPv6 |
| APN roaming protocol | IPv4/IPv6 |
| Bearer | Unspecified |
| Mobile virtual network operator | None |
The MNC is specified as “02” and MCC as “310,” but you should use the default value if you find a different number.
If some fields mentioned above are ‘not set,’ they may not be necessary for your specific device or carrier.
Once you’re done filling in these details (and trust me, accuracy counts!), save this newly created APN by hitting either “Save,” “Done,” or whatever option suits best according to your device interface.
Voilà! Your new APN is ready for action and should now appear in the available Access Point Names list under Mobile Networks setting.
Remember: If something doesn’t seem right after changing these settings (like losing internet connectivity), no worries! Go back to those same menus and reset them to their default values.
Steps to Access and Modify APN Settings for iPhone
Hey there! So, you’re looking to tinker with your APN settings on your iPhone? No worries, I’ve got you covered. It’s quite simple, and I’ll guide you through it step by step.
Step 1. First things first, let’s head over to the Settings.
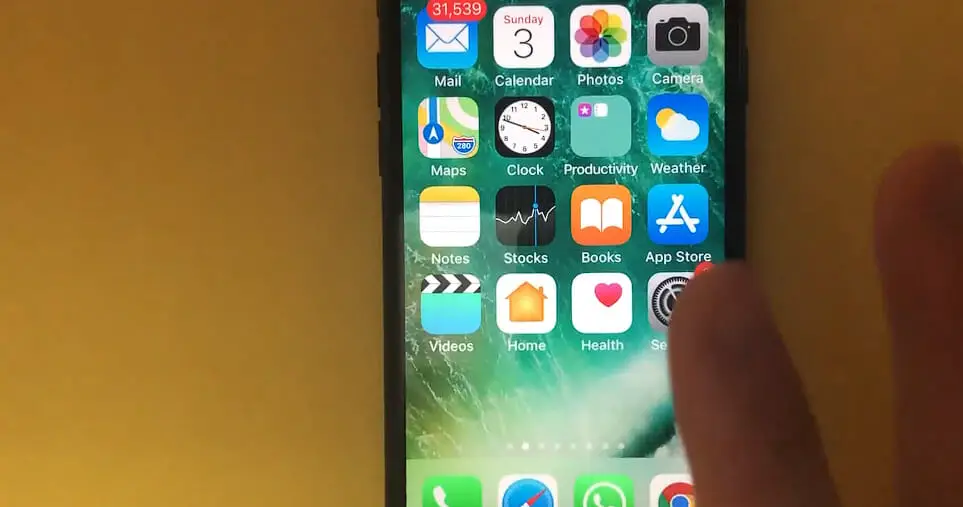
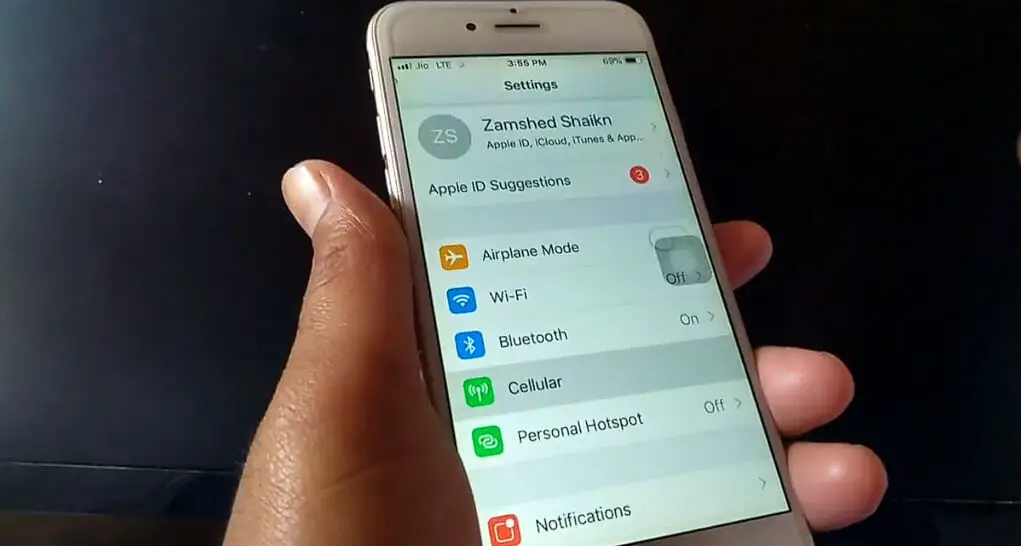
Step 2. Once you’re in there, scroll down till you see Cellular. Tap on that.
Step 3. Next up, look for an option called Cellular Data Options and give that a tap too.
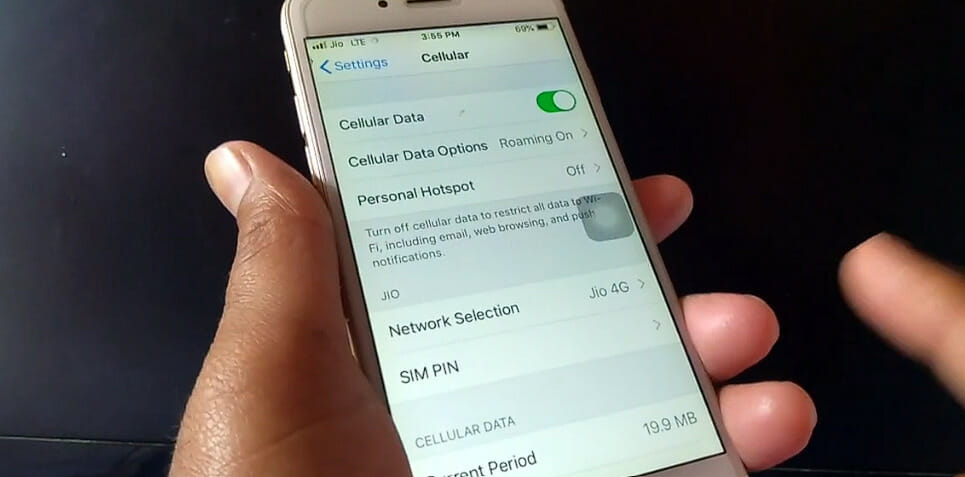
Step 4. You should be seeing something labeled as APN Settings. Give that a click, and voila! You’ve made it into the world of APN settings!
In this section, you can make changes depending on your needs. But below is the general guide:
| Setting | Internet |
|---|---|
| APN | internet |
| Username | (leave blank) |
| Password | (leave blank) |
To set up MMS settings:
| Setting | Value |
|---|---|
| APN | wap |
| Username | (leave blank) |
| Password | (leave blank) |
| MMSC | unchanged |
| MMS Proxy | unchanged |
| MMS Max Message Size | 1048576 |
| MMS UA Prof URL | http://www.apple.com/mms/uaprof.rdf |
Isn’t it great how easy that was? But wait, we aren’t done yet!
Once all those changes have been made, don’t forget to hit the Save button at the top right corner of your screen. That little button is often overlooked but important – always remember to save it!
And just like that, we’ve successfully navigated through accessing and modifying our APN settings!
Troubleshooting Common APN Problems
Alright, folks! Here we are at the final section of our Access Wireless APN settings discussion. I’ll walk you through some common problems and how to troubleshoot them.
Issue # 1. First off, let’s tackle a nightmare scenario – no data connection. If your device is showing signal bars but no internet, chances are it’s an APN issue. You might have entered incorrect information or missed something while setting up the access point names (APNs). So what should you do? Simple – double-check your entries against the official Access Wireless APN settings.
Issue # 2. Next up: slow data speed. If you’re pulling your hair out over sluggish internet despite having full signal bars, it could be due to an overcrowded network tower or usage beyond your data limit. But guess what? It can also happen because of incorrect APN protocol or roaming protocol. Make sure that both are set as IPv4/IPv6 in your settings.
Issue # 3. And then there’s the pesky problem of being unable to send or receive MMS messages – yes, those cute photos and videos from family and friends! Sometimes this happens because the MMSC, MMS proxy, or MMS port fields in your phone’s APN settings aren’t filled in properly according to Access Wireless’ configuration.
Finally, remember this golden rule for troubleshooting any tech issue – when in doubt, reset! A simple reboot of your device can sometimes fix minor glitches that may mess with your connectivity.
So that’s all from me today! I hope these tips help you troubleshoot any issues related to Access Wireless APN settings. Until next time!
References
Organizations:
- GSMA. https://www.gsma.com/
Websites:
- Android Central. https://www.androidcentral.com/
- HowToGeek. https://www.howtogeek.com/
Video References:
Nucleus
Guyana Telephone and Telegraph Co.
APN Settings
Tech Selfish

