
Ever found your phone's internet just gives up the ghost after you've switched carriers or landed in a new country? The culprit is often tucked away in your Access Point Name (APN) settings. You can think of the APN as the specific digital address your phone needs to connect to your carrier's network for mobile data and MMS.
Why Your APN Settings Matter and When to Check Them
When that "address" is wrong—or gets jumbled up for some reason—your connection just won't work. It’s like trying to send a package to the wrong street; it’s never going to get there. Getting a handle on these settings is the secret to fixing a lot of common connection headaches without having to call tech support.
The good news is that most modern phones are smart enough to handle APN configuration all on their own. The second you pop in a new SIM card, your phone usually figures out the carrier and quietly applies the right settings for you. But, this automatic process isn't always perfect.
Scenarios Demanding an APN Check
There are a few common situations that can mess with your APN settings, leaving you without mobile data right when you need it. I'd recommend taking a look at the default apn settings on your Android if you run into any of these problems:
- Switching Mobile Carriers: This is a big one. Putting a new SIM into an unlocked phone is a primary trigger for APN issues.
- After a Software Update: It's rare, but sometimes an OS update can accidentally wipe or corrupt your network configurations.
- Traveling Internationally: Your phone might get confused and struggle to grab the right settings for a roaming partner's network.
This wasn't always so automated. I remember back in the day, especially with Android devices running versions older than 5.1, you almost always had to input these settings by hand. Many phones would also lose their settings completely when you were roaming.
Key Takeaway: If your mobile data or picture messages suddenly stop working, don't panic. Incorrect or corrupted APN settings are a very likely cause. A quick check and reset can often get you back online in just a couple of minutes.
Of course, if you're constantly in areas with spotty service, fixing the APN is just one piece of the puzzle. You might also want to enhance your mobile connectivity with signal boosters. For many people, though, a simple APN tweak is all it takes to solve the problem.
How to Find Your APN Settings on Any Android Phone
Before you can start tweaking or resetting anything, you first need to know where to find the APN settings on your Android device. It's a bit like finding the circuit breaker in a new house—the location can vary, but its purpose is the same.
The path to this menu changes slightly depending on who made your phone, which I know can be a bit frustrating. Because brands like Samsung, Google, and Motorola all put their own spin on the Android software, the settings menus are never identical. A setting that's right at your fingertips on one phone might be buried three layers deep on another.
Common Paths to the APN Menu
Let’s cut right to it. Even though the exact names might differ, the general path is pretty similar across most phones. Here are the two most common routes I see:
- For Samsung Galaxy Phones: Pop open Settings, then tap Connections > Mobile networks > Access Point Names.
- For Google Pixel & Stock Android Phones: Head into Settings, then go to Network & internet > SIMs > Access Point Names.
If you're still not seeing it, don't worry. Just about every Android phone has a search bar right at the top of the main Settings screen. My go-to trick when I’m helping someone with a phone I don't recognize is to simply tap that search bar and type "Access Point Names" or even just "APN." Your phone will pull up the direct link.
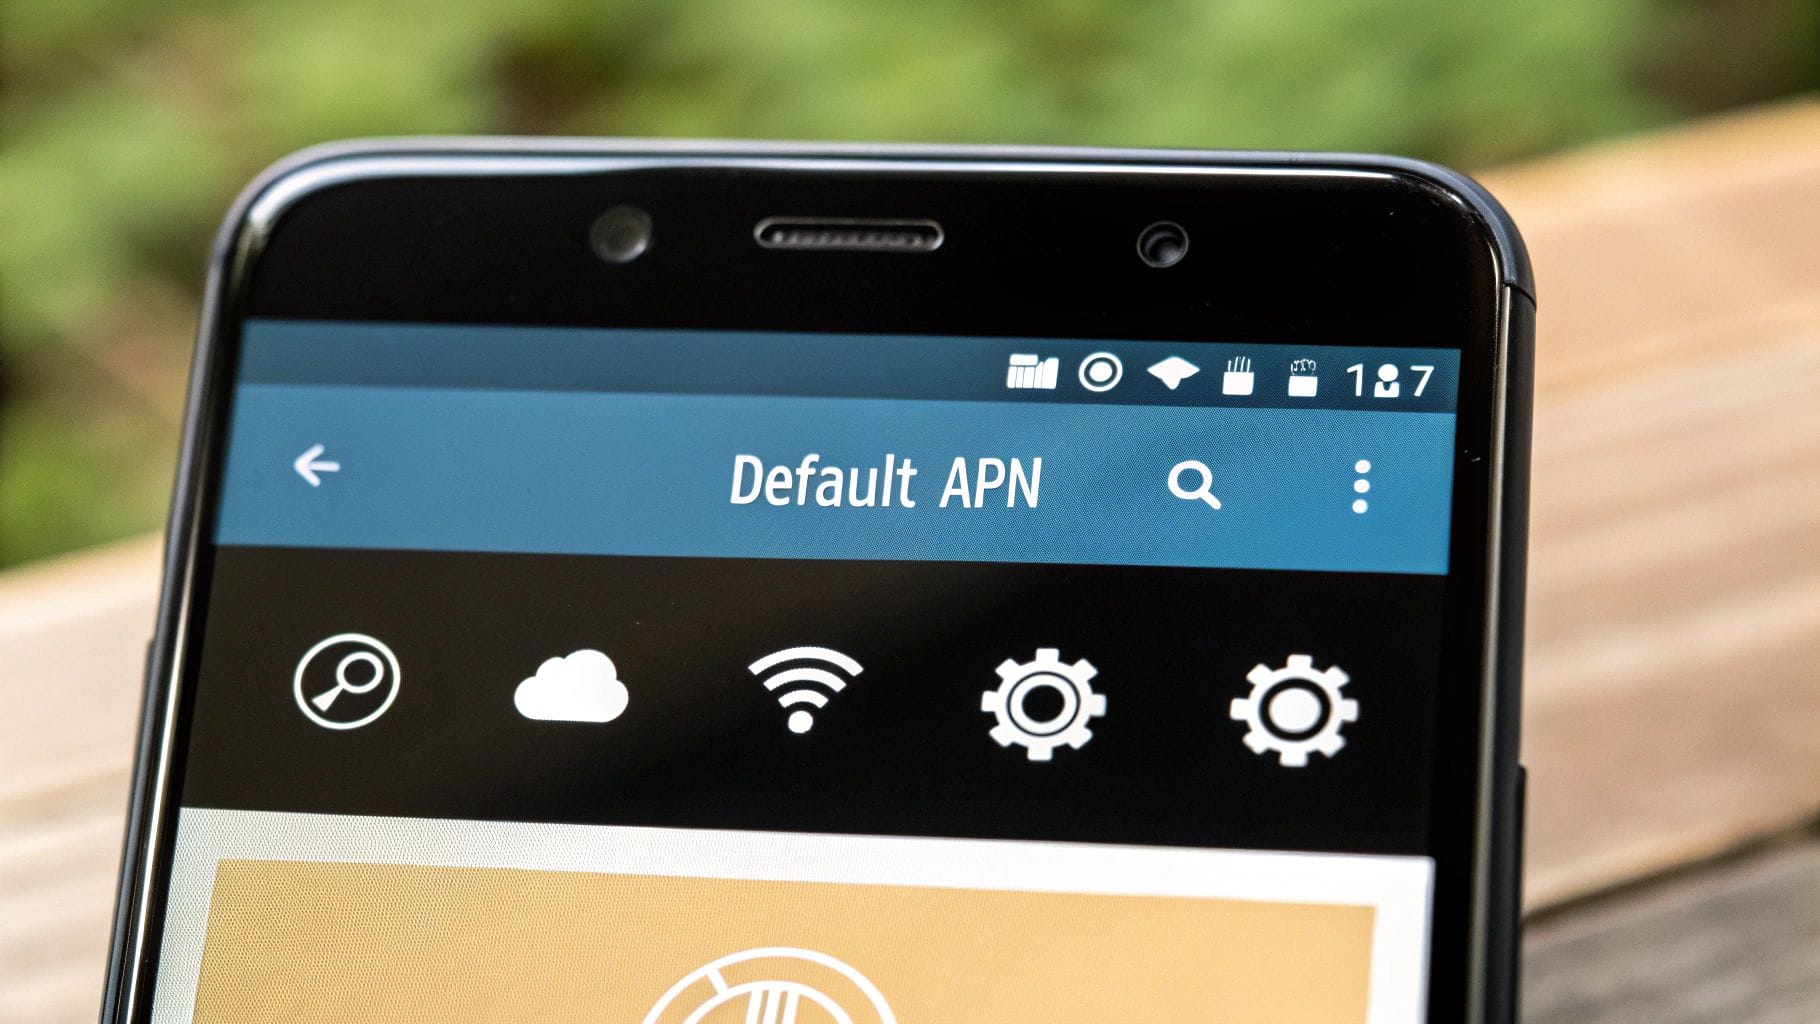
Once you get to the Access Point Names screen, you'll see a list of one or more carrier profiles. The one with a filled-in circle next to it is the one your phone is currently using. This tells you which APN is handling your mobile data and MMS messages.
Just knowing how to get to this screen is the first step in fixing most mobile data headaches. It puts you in control, allowing you to check, reset, or manually edit your connection without having to call for tech support.
The Easiest Fix: Resetting APN Settings to Default
When your mobile data or picture messages suddenly stop working, the quickest and most effective fix is often the simplest one. Before you even think about diving into complex manual configurations, your first move should always be to reset the default APN settings on your Android device.
I've found this single step solves the problem more often than not. It's a powerful troubleshooting move that clears out any corrupted or incorrect entries that might be causing the connection headache. Think of it as a factory reset just for your network connection profile, restoring the official settings your mobile carrier intended for your phone in the first place.
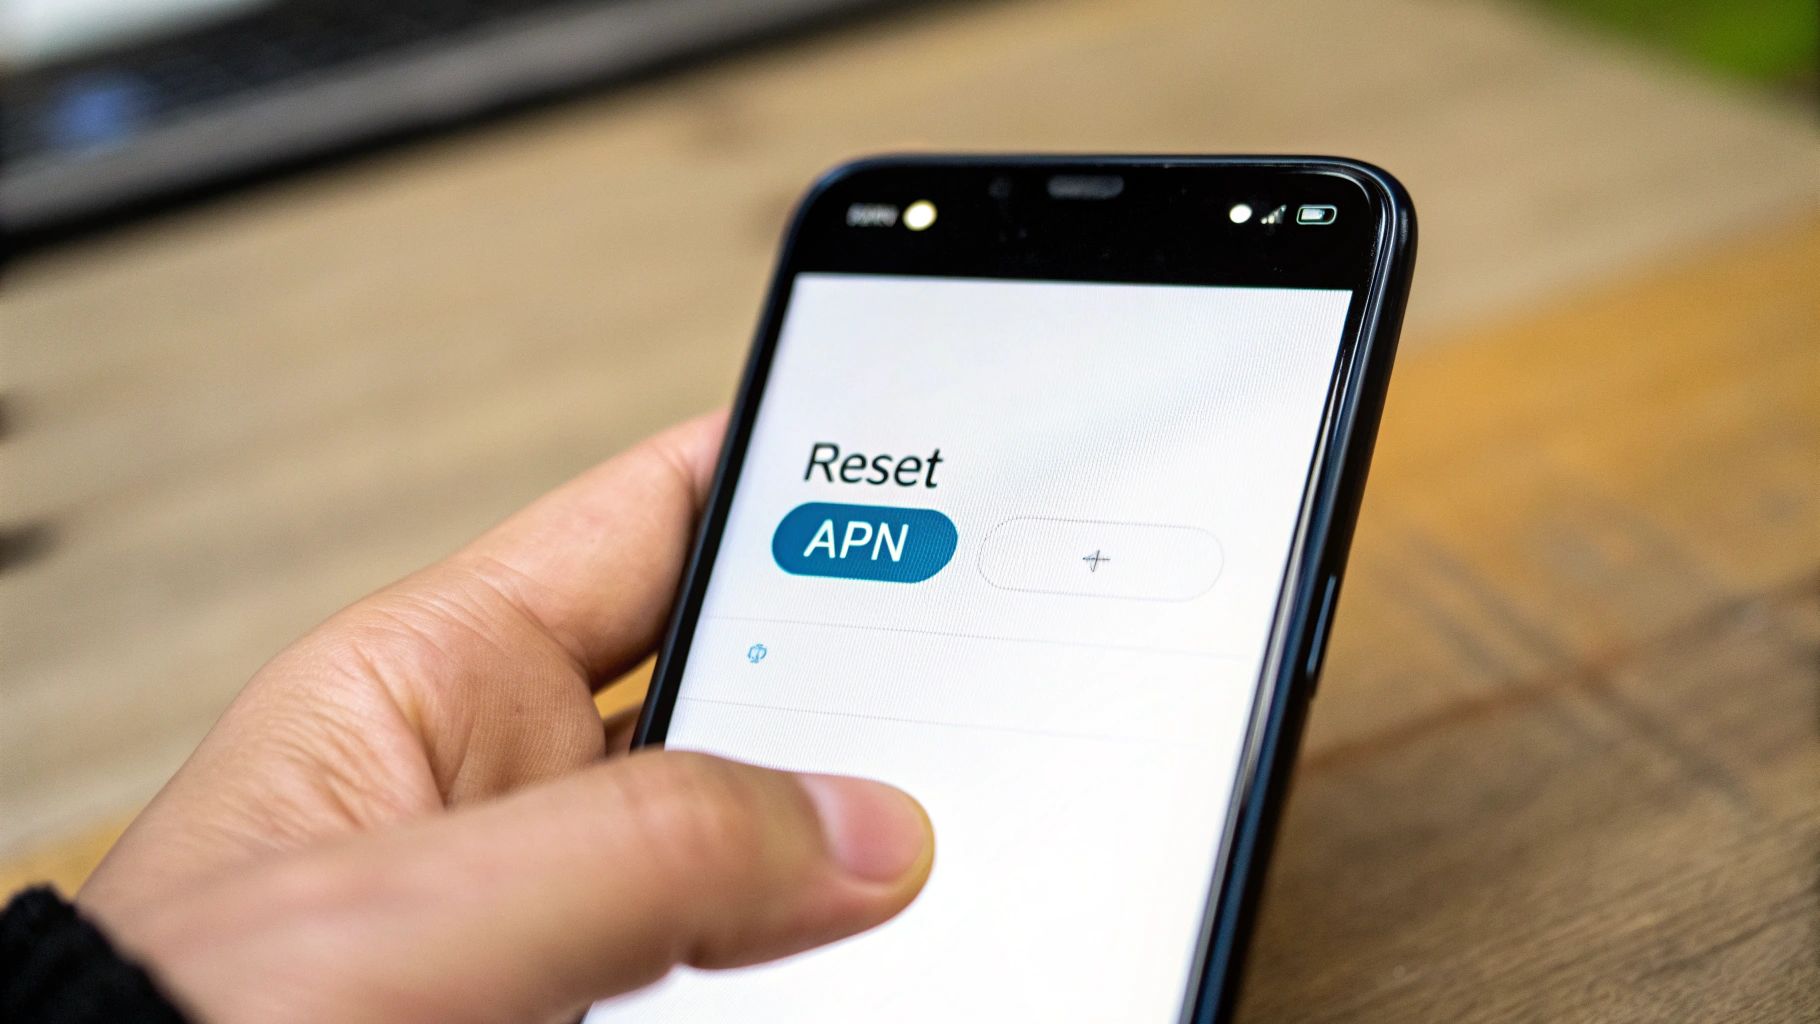
Performing the APN Reset
Finding the reset option is pretty straightforward. Once you get to the Access Point Names screen, look for a three-dot menu icon. It's usually tucked away in the top-right corner.
Give that a tap, and you should see a "Reset to default" option. Select it. Your phone will instantly wipe any custom APNs you've added and reinstall the original ones from its internal library.
This infographic gives you a quick visual on how to navigate to the network settings where the APN menu lives.
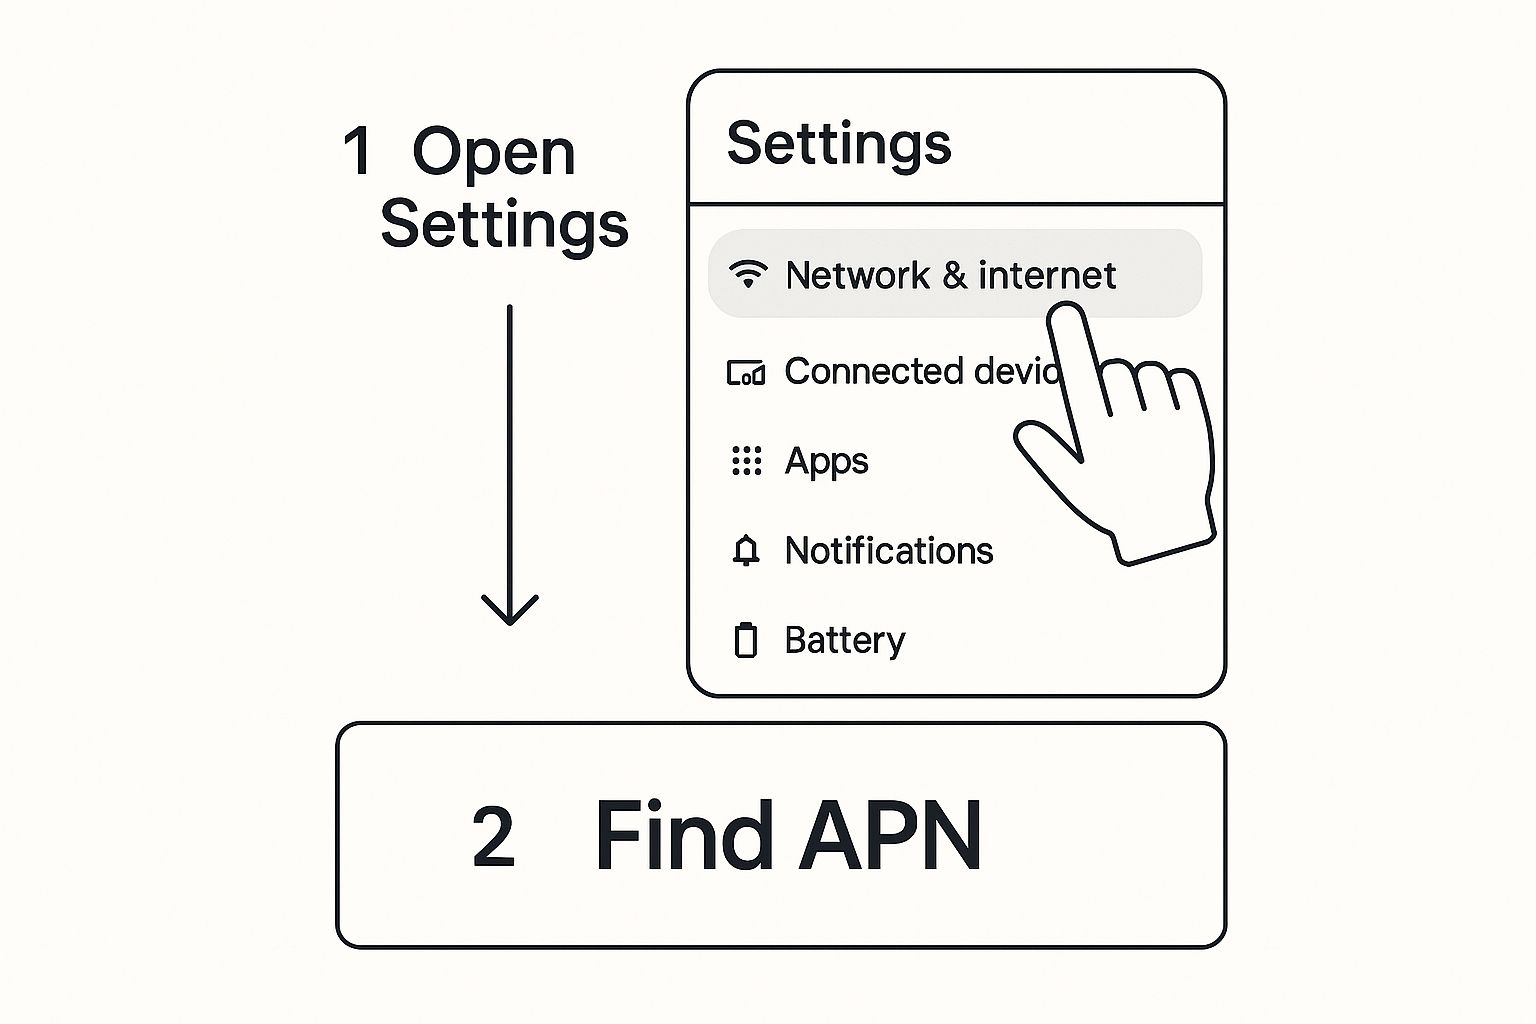
As you can see, just getting to the right menu is half the battle for any APN-related fix, and the reset is no exception.
This works so reliably because Android devices come with a built-in library of carrier settings. From a development perspective, Android maintains a central file of APN configurations for hundreds of global carriers, which gets updated with major system releases.
Pro-Tip: Always restart your phone right after you do an APN reset. A lot of people skip this, but a reboot is what forces your device to establish a fresh connection to the carrier's network. This ensures the newly restored default settings are properly locked in and applied.
If you want to see what this screen typically looks like before you start, you can check out this helpful example of an APN settings page to get your bearings.
A Practical Guide to Manual APN Configuration
Sometimes, just resetting your APN to the default settings doesn't solve the problem. I’ve seen this happen a lot, especially if you’re using a smaller carrier—what we call an MVNO (Mobile Virtual Network Operator)—that leases network space from the big guys. When the automatic fix fails, it’s time to roll up your sleeves and manually configure the default APN settings on your Android.
Don't let the technical terms scare you. It’s basically just like filling out a short digital form. The catch? Every single detail has to be perfect. One small typo can prevent the whole thing from working. My best piece of advice is to get these settings directly from your carrier's official support website. Steer clear of random forums; the information there can be outdated or just flat-out wrong.
Demystifying the Key APN Fields
When you tap that "Add" button for a new APN, you'll be greeted with a screen full of fields. The good news is that most of them can be left blank. A few, however, are absolutely critical. It really helps to understand what you're actually typing in.
Think of it like sending a letter: if the zip code (MCC/MNC) and the street address (APN) are wrong, your mail is never going to get there. It's the same principle for your phone's data connection.
To make this crystal clear, here’s a breakdown of the most common fields you'll need to deal with.
| Common Android APN Fields Explained |
| :— | :— | :— |
| Field Name | What It Means | Example/Common Value |
| APN | This is the gateway address. It’s the single most important setting that tells your phone where to connect for internet access. | internet, wholesale, or a carrier-specific name like epc.tmobile.com |
| MMSC | Stands for Multimedia Messaging Service Center. This address is used specifically for sending and receiving picture/video messages (MMS). | A URL, often looking something like http://mms.carrier.com/mms/wapenc |
| MCC | The Mobile Country Code. A three-digit number that identifies the country your carrier operates in. | 310 for the USA, 234 for the UK |
| MNC | The Mobile Network Code. A two or three-digit number that identifies the specific carrier network within that country. | Varies by carrier (e.g., 260 for T-Mobile USA) |
| APN Type | This tells the phone what this APN profile is used for. It’s a comma-separated list of services. | default,mms,supl |
Getting these codes and addresses exactly right is non-negotiable for a stable connection.
Finding and Entering Your Settings
Okay, so you've found the correct values on your carrier's official help page. Now what? Just navigate back to that Access Point Names screen you found earlier and tap the "+" icon or the "Add" button to start a new profile.
Very carefully, enter the information you gathered into the matching fields on your phone.
Crucial Tip: Pay extra close attention to the "APN type" field. This one is a common troublemaker. A typical entry is
default,mms,supl, which handles your general internet, picture messages, and GPS location services. If you leave this blank or type it incorrectly, you can expect some major connection headaches.
Once you’ve filled everything in, triple-check every single character for typos. Seriously. When you're sure it's perfect, tap the three-dot menu icon (usually in the top corner) and hit "Save."
The final step is to make your new profile active. Just tap the little circle next to the APN you just created. To lock everything in, I always recommend a quick phone restart. It forces the device to establish a fresh connection with the new settings.
Advanced APN Fields for Power Users and IT Pros
While most people will never need to touch anything beyond the basic fields, there's a whole other layer of control available for tech enthusiasts and IT professionals. The advanced default APN settings on Android are where the real magic happens. These options let you fine-tune performance or even enforce specific network rules across a fleet of company phones.
Let's be clear: tinkering with these settings isn't for everyone. But if you're trying to solve a really stubborn connection issue, understanding what these fields do can be a total game-changer.
Fine-Tuning Your Connection Protocol
Two of the most powerful advanced fields you'll find are APN protocol and Bearer.
The protocol setting, for example, lets you decide if your phone should use IPv4, IPv6, or the generally recommended IPv4/IPv6 combination. Now, most modern networks handle this switch automatically, but I’ve seen some strange edge cases. An older app or a specific internal service might just refuse to connect on an IPv6-only network. By manually setting the protocol to IPv4/IPv6, you can often force compatibility and get things working again.
Then there's the Bearer setting, another incredibly useful tool. It essentially lets you tell your phone which radio technology to prioritize for its data connection, like LTE (4G) or NR (5G). Imagine this real-world scenario: you've got a solid 5G signal, but for some reason, your phone is clinging to a congested 4G tower. By setting the bearer to NR, you can give your device a nudge to prioritize that faster 5G connection—a neat trick for enterprise apps that need all the speed they can get. You can check out our visual on 5G APN settings for a bit more context.
Expert Insight: For anyone in IT administration, these settings are pure gold for maintaining consistency. The ability to programmatically deploy specific APNs to hundreds or thousands of devices is a fundamental part of modern mobile device management (MDM).
This is especially critical for what's known as Android Enterprise Work Managed Devices. An admin can push out specific APNs to enable features like DUN (for tethering) or IMS (which handles VoLTE and Wi-Fi calling), ensuring every device behaves exactly as it should on the network. For those who manage these kinds of deployments, the documentation on enterprise APN configuration on Ivanti.com is a fantastic resource.
Common Questions About Android APN Settings
Even with a perfect guide, I know that questions always come up. I’ve run into my fair share of confusing issues over the years, so I’ve put together some quick answers for the most common headaches people face with their default APN settings on Android. Let's get your connection sorted out.
Why Did My Mobile Data Stop Working After an Android Update?
This is a classic—and incredibly annoying—problem. Sometimes, a major system update can accidentally jumble or even wipe your network configurations. It’s a strange but surprisingly common side effect of the update process.
Before you start digging into settings, the very first thing you should always try is a simple restart of your phone. You'd be surprised how often that clears things up.
If a reboot doesn't do the trick, your next best move is to find your APN settings and hit the "Reset to default" option. This one-tap fix forces your phone to pull the correct settings from your carrier again, and it usually solves the issue instantly without any manual work.
Can I Use APN Settings From a Different Carrier?
That's a definite no. You must always use the specific APN settings provided by the carrier whose SIM card is in your phone. Each mobile provider has a unique configuration that acts as a secure gateway to their network.
Key Insight: Trying to use another carrier's settings is like using your house key to open your car door. It just won’t work. You won't be able to get on mobile data or send MMS messages, so always stick to the official settings from your current carrier's website.
Which APN Protocol Should I Choose IPv4 or IPv6?
For almost any modern smartphone and network, your best bet is to select the combined "IPv4/IPv6" option. I always recommend this because it gives your phone the flexibility to use whichever protocol your carrier’s network is prioritizing at that moment. It's the most stable choice and essentially future-proofs your connection.
The only time you should ever touch this setting is if you're troubleshooting a very specific connection problem and a tech support agent from your carrier explicitly tells you to select "IPv4" by itself. Otherwise, leave it on the combined setting for the smoothest experience.
After any change, it's always a good idea to run a quick mobile speed test to make sure everything is running as it should.