
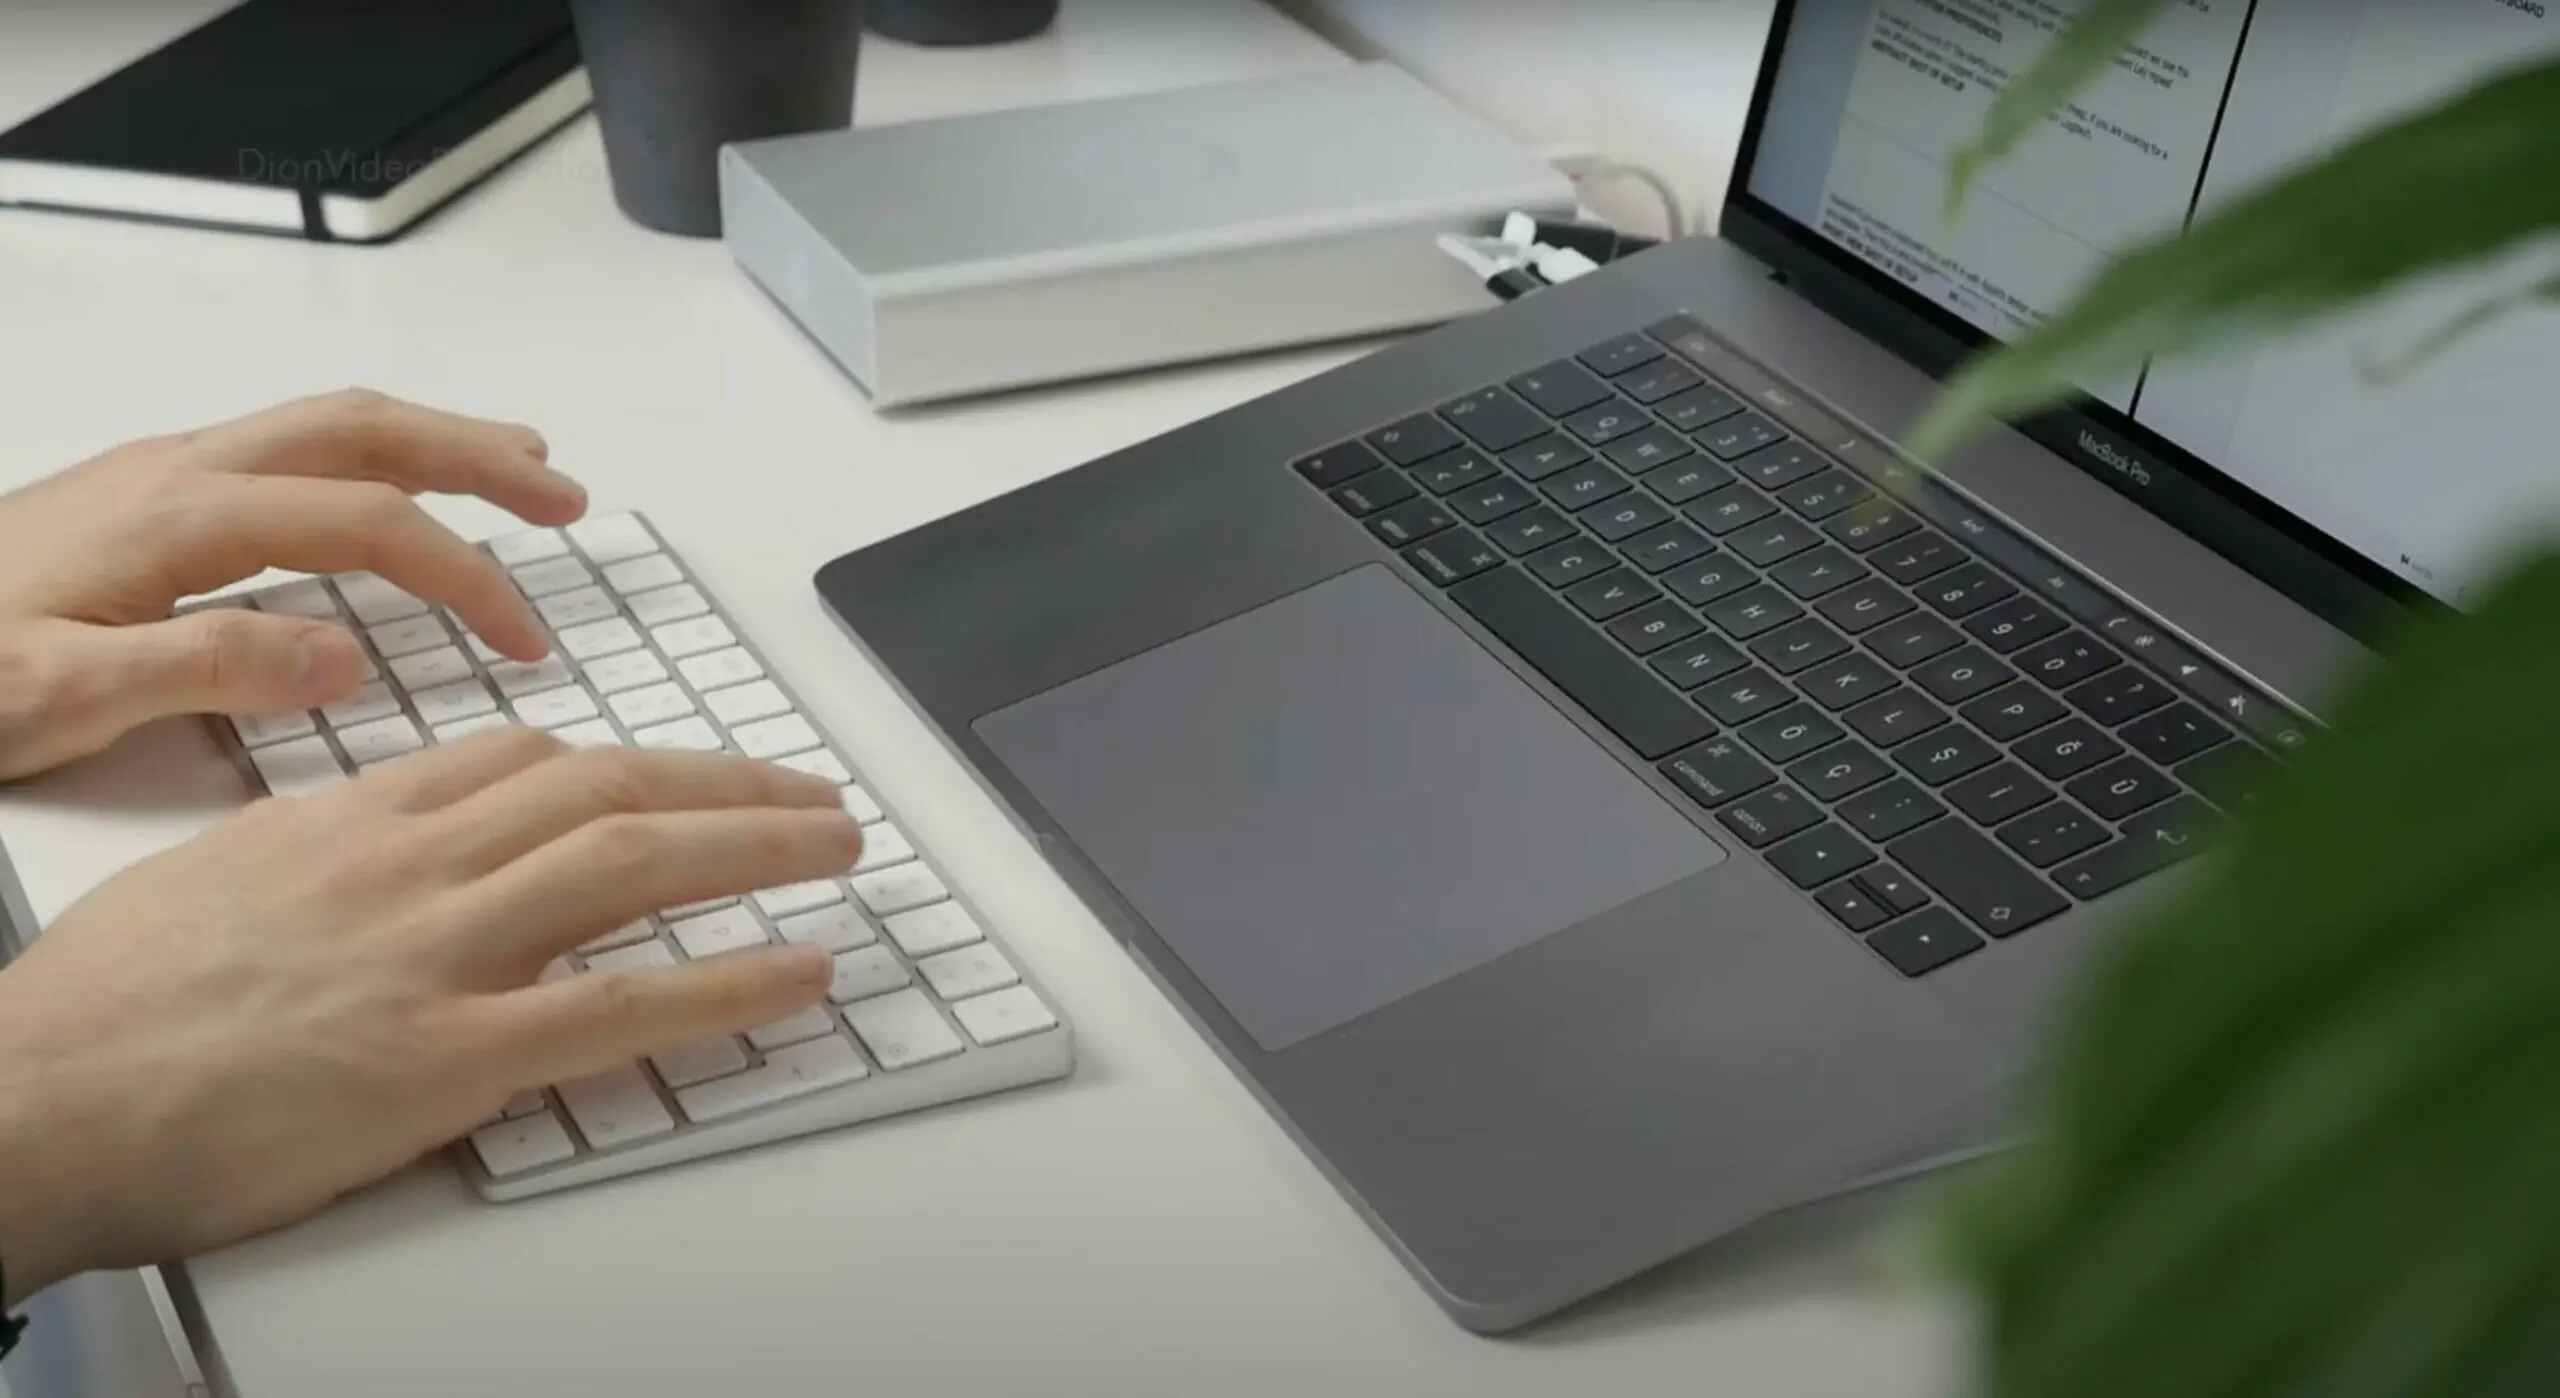
A wireless setup can completely declutter your workspace, allowing you to type comfortably from any position.
Let’s dive into pairing your Mac with your wireless keyboard and embark on a smooth, uninterrupted typing journey.
Overview of Steps for Connecting a Mac Wireless Keyboard
| Step | Description |
|---|---|
| 1 | Enable Bluetooth on Your Mac |
| 2 | Prepare the Wireless Keyboard for Pairing |
| 3 | Pair Your Wireless Keyboard with Your Mac |
| 4 | Enter the Passcode |
Basic Requirements
Before getting started with connecting your Mac and wireless keyboard, let me tell you a few things you should consider. First, ensure your Mac is updated with the latest version of macOS. This helps to avoid any compatibility issues and ensures a smooth experience.
Also, remember that a charged keyboard is a happy keyboard, so you might want to check the battery level. When it’s time actually to connect the wireless keyboard to your Mac, follow the simple steps below:
Connecting a Mac Wireless Keyboard
Step 1. Enable Bluetooth on Your Mac
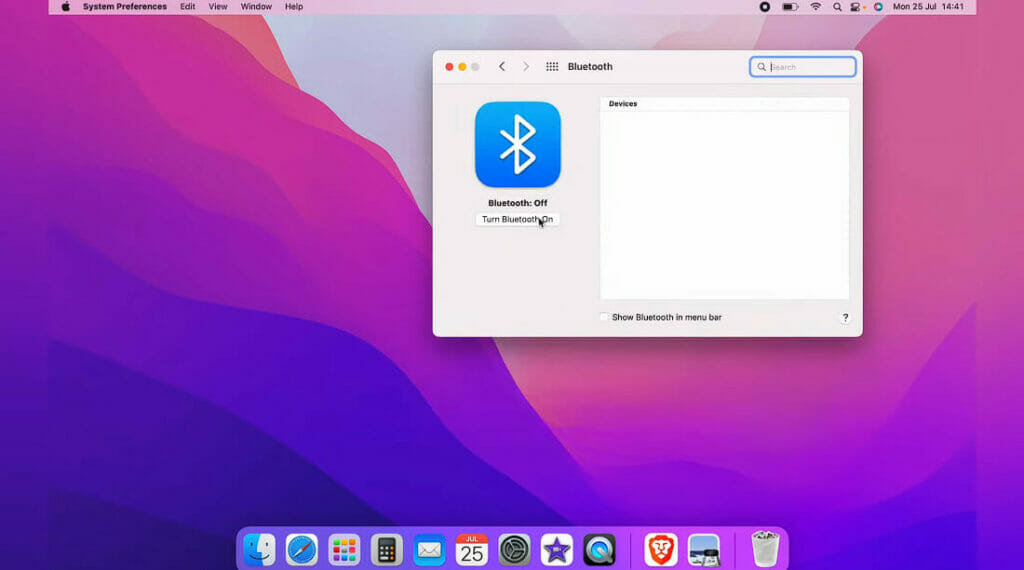
First, we need to ensure Bluetooth is enabled on our Mac.
To do this, simply click on the Apple menu at the top left corner of the screen and then choose System Preferences. From there, click on the Bluetooth icon to open the Bluetooth settings. If Bluetooth is not enabled, click “Turn Bluetooth On.”
Step 2. Prepare the Wireless Keyboard for Pairing
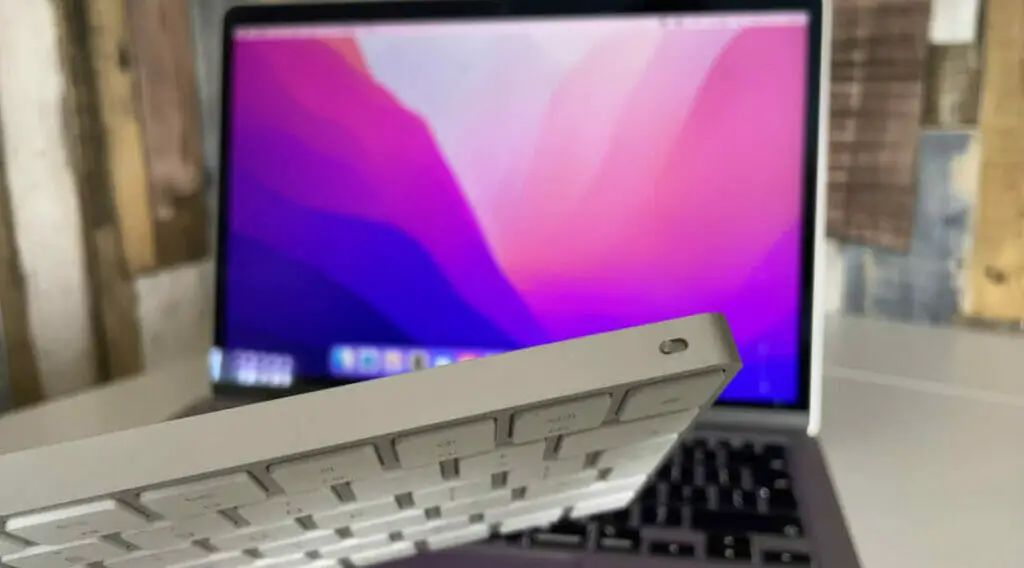
Now that Bluetooth is enabled on your Mac, it’s time to get your wireless keyboard ready for pairing.
Turn on your wireless keyboard by pressing its power button. Keep an eye on the LED light on the keyboard, which should start blinking, indicating that the keyboard is discoverable and ready to be paired with your Mac.
Step 3. Pair Your Wireless Keyboard with Your Mac
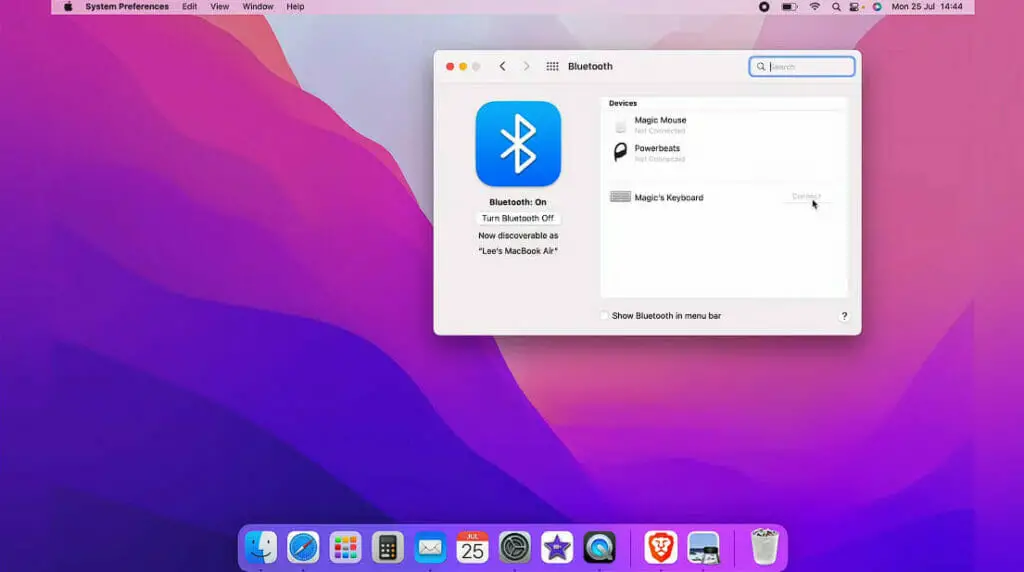
With your wireless keyboard powered on and discoverable, it’s time to pair it with your Mac. In the Bluetooth settings on your Mac, you should see your keyboard listed under devices.
If you don’t see it, ensure the keyboard is powered on and within close range of your Mac. Click Connect next to the keyboard’s name to start the pairing process.
Step 4. Enter the Passcode
During the pairing process, you may be asked to enter a passcode. If prompted, enter the passcode shown on your Mac’s screen using the wireless keyboard, and then press the Return key on the same keyboard.
This will successfully connect your wireless keyboard to your Mac.
Recommended Actions After Successful Pairing
| Action | Steps |
|---|---|
| Test Connection | Try typing a few sentences in a text editor to check if all keys are working properly. |
| Adjust Keyboard Settings | Go to System Preferences > Keyboard on your Mac to adjust settings such as key repeat speed, function keys, etc. |
| Check Battery Level | Ensure to regularly check the battery level of your wireless keyboard to prevent unexpected disconnections. |
| Monitor Keyboard Response | Be mindful of any delays or unresponsiveness while typing, as this could be a sign of an unstable connection or low battery. |
| Keep the Keyboard Clean | Regularly clean the keyboard to ensure the keys continue to function well |
| Remember to Turn off the Keyboard | If you aren’t using the keyboard for a while, remember to turn it off to save battery life. |
Dealing with Connection Issues
Check the Battery Level
First of all, make sure your keyboard’s battery is charged. A low battery can cause connection issues. You can check the battery level on your Mac by going to the Bluetooth settings. If the battery is indeed low, replace it or charge your wireless keyboard and try it again.
Restart Your Mac and Keyboard
Sometimes, a simple restart can resolve connection issues. If your keyboard is not connecting, restart your Mac and keyboard. Turn off your Mac and keyboard, and then turn them back on. This could eliminate any temporary glitches preventing your keyboard from connecting.
Ensuring Proper Positioning and Space for Your Keyboard
Bluetooth has a limited range, so make sure your keyboard is placed within range of your Mac. Avoid physical obstacles or interference from other devices that may cause connection difficulties.
A clear line of sight between your Mac and the keyboard is ideal, as this can help to maintain a stable connection.
Re-Pair the Keyboard
If your keyboard isn’t connecting, you might need to re-pair it with your Mac. Here’s a step-by-step guide to help you:
- First, disconnect the keyboard from your Mac’s Bluetooth settings.
- Next, restart your Mac and the keyboard to ensure no lingering connection.
- Now, make sure the Magic Keyboard is turned on and discoverable.
- Open your Mac’s Bluetooth settings to find your Magic Keyboard. If you have trouble finding it, ensure your Mac’s Bluetooth is enabled and working properly.
- Click “Connect” next to the Magic Keyboard listing.
- You may be asked to enter a passcode using the keyboard and press Return.
After these steps, your keyboard should be connected to your Mac. Always double-check your battery, restart your devices, position your keyboard properly, and, if necessary, repair your devices. These simple troubleshooting tips could save you a whole lot of frustration. Happy typing!
References
Websites:
- Apple Support. https://support.apple.com/
- Macworld. https://www.macworld.com/
- iMore. https://www.imore.com/
Video References
Dion Schuddeboom
Tech Leveller