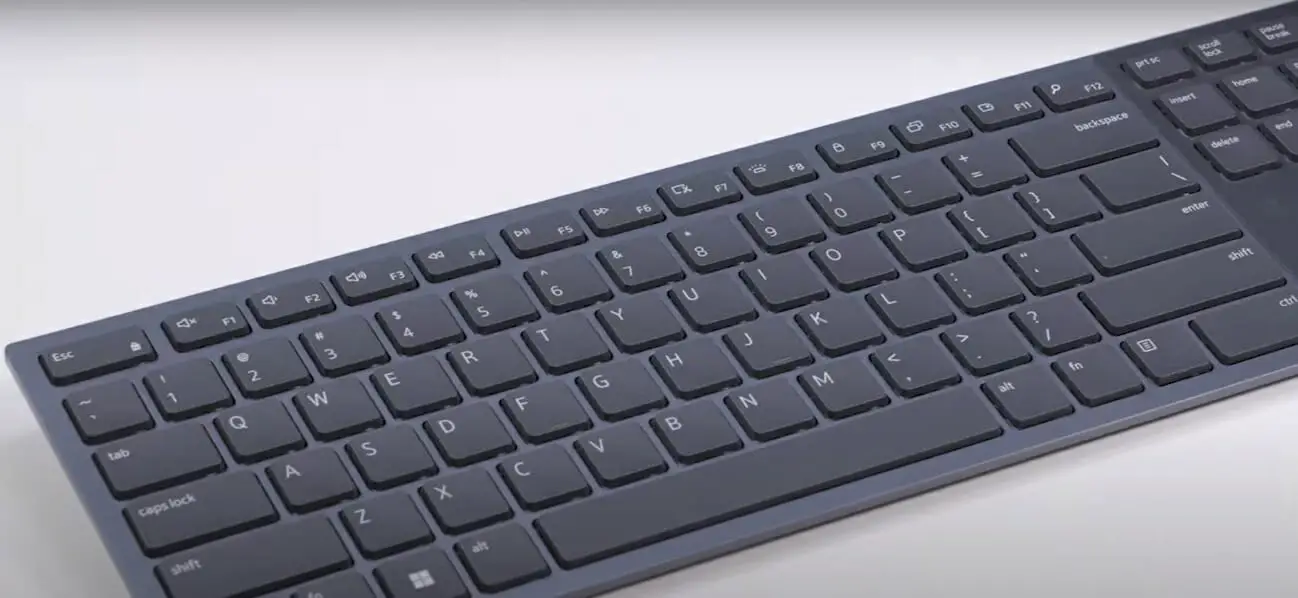
Connecting a Dell wireless keyboard can significantly improve your workspace by providing a clutter-free and efficient environment; today, I will teach you how.
Connecting to the Computer
Connecting the Dongle
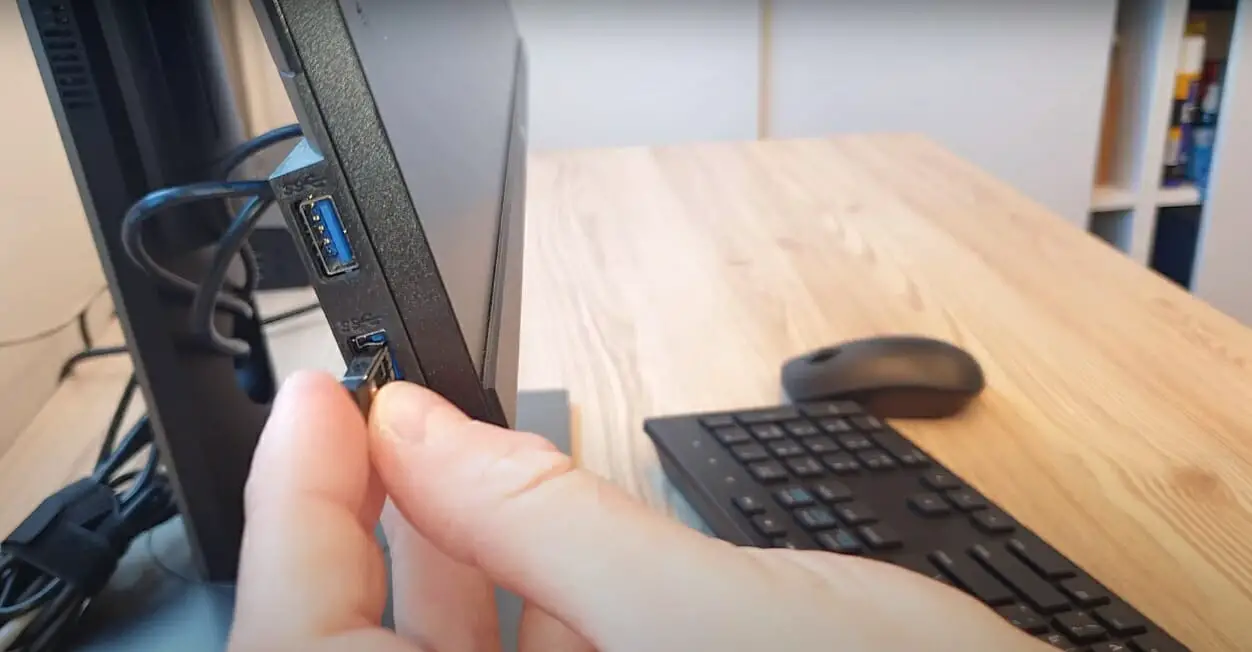
To connect your Dell wireless keyboard to your computer, you must first ensure the Bluetooth USB dongle is plugged into your computer.
Pairing the Keyboard with the Computer
Once your computer’s Bluetooth is enabled, it’s time to pair the keyboard with your computer.
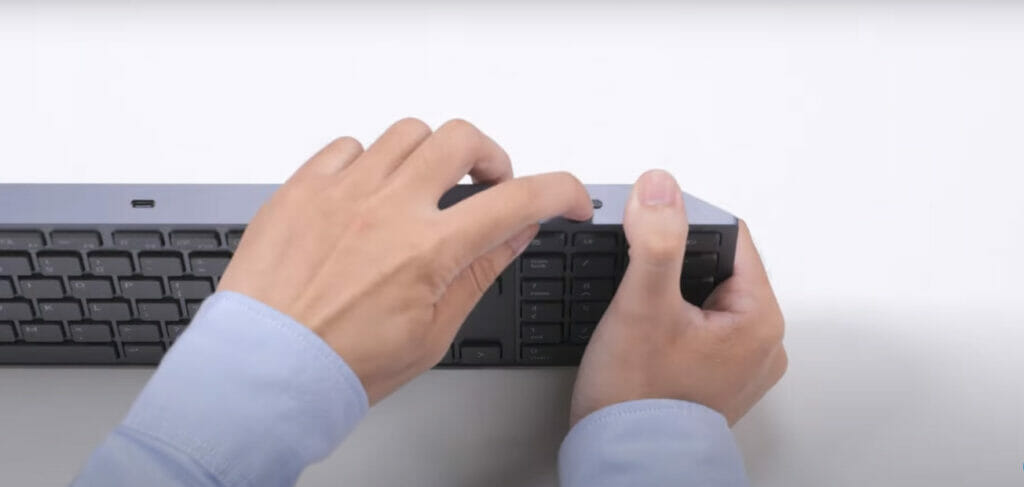
Step 1. First, ensure your Dell wireless keyboard is powered on. Most Dell wireless keyboards have a power button or switch on the underside of the keyboard. If unsure, check the user manual for your specific keyboard model.
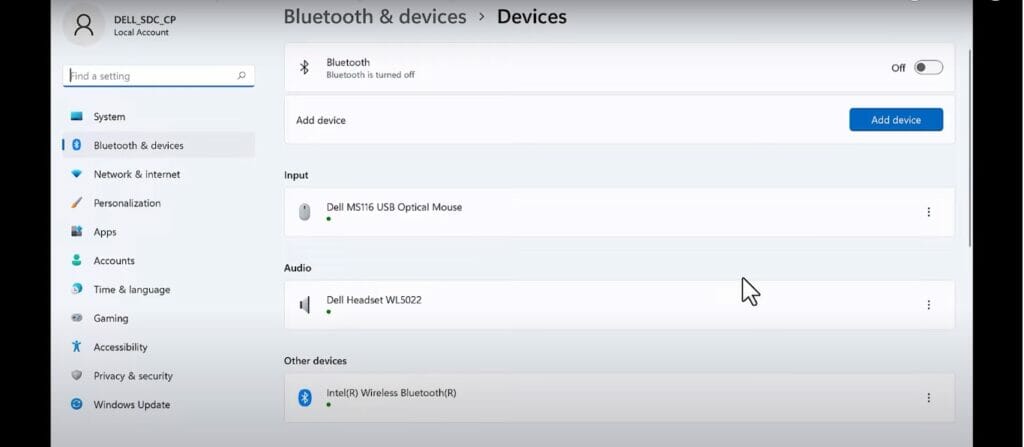
Step 2. Go to the Settings menu on your computer again, then click on Devices.
Step 3. Put your Dell wireless keyboard in discovery mode. This typically involves pressing and holding a pairing button on the keyboard for several seconds.
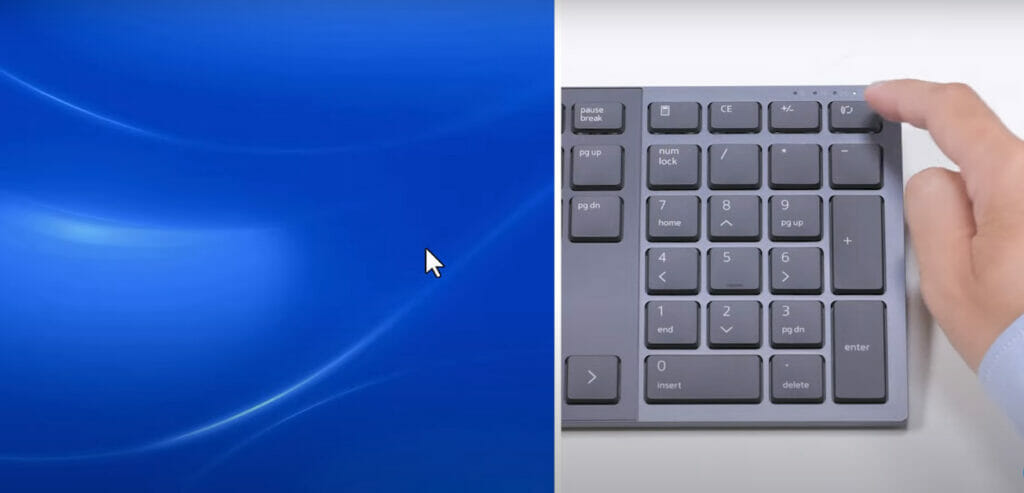
Step 4. A new window will appear, and you should see your Dell wireless keyboard listed among the available devices. Click on Connect to begin the pairing process.
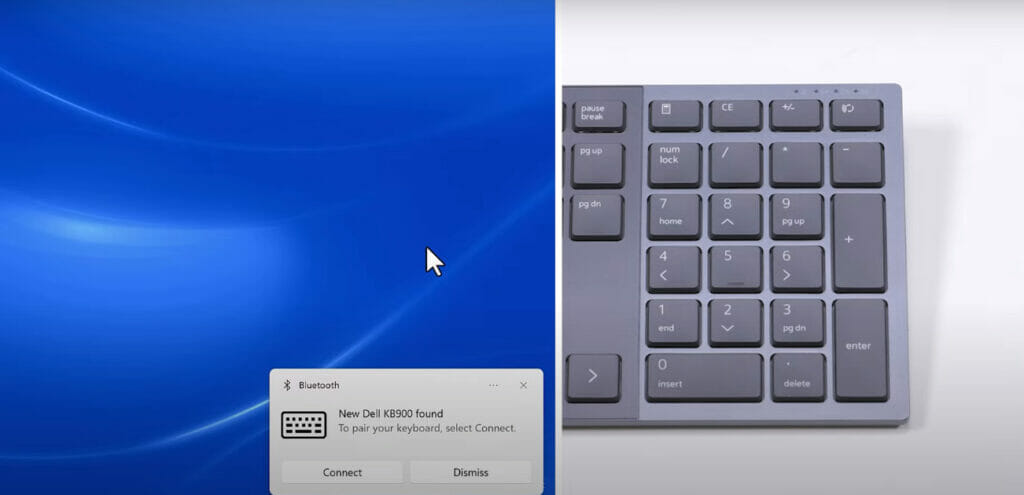
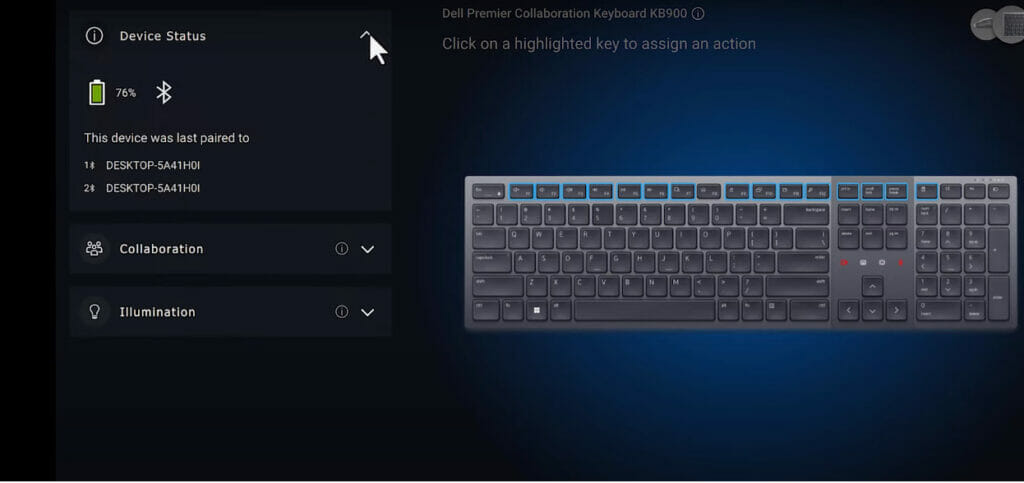
Step 5. Your Dell wireless keyboard should connect to your computer briefly.
Troubleshooting Common Issues
Keyboard Not Responding
Ah, the dreaded issue when your Dell wireless keyboard won’t respond no matter how many buttons you press! Don’t worry, I’ve got your back. First, try to reboot the system and check if the keyboard switches back on. If that doesn’t work, try reseating your computer’s Bluetooth dongle or USB receiver. Still no luck? It’s time to re-pair the keyboard with your device.
Connection Interruptions
Nobody likes choppy connections ruining their workflow. If your Dell wireless keyboard experiences erratic behavior, such as keystrokes getting missed or the cursor jumping around randomly, it’s time to check for common issues:
- Make sure there aren’t physical obstructions between the keyboard and the receiver. You’d be surprised how a simple desk relocation could affect the connection!
- Uh oh, the signal might be disrupted by other devices. Keep your keyboard away from Wi-Fi routers and cordless phones.
- When all else seems fine, it’s time to update drivers. Head to Dell’s official website and search for the latest device drivers to keep your keyboard functioning smoothly.
Low Battery Problems
Let’s not forget how crucial batteries are to keep your wireless keyboard running. Low battery power may be the culprit if you’re facing performance issues. Always have a fresh pair of batteries handy and replace them when needed.
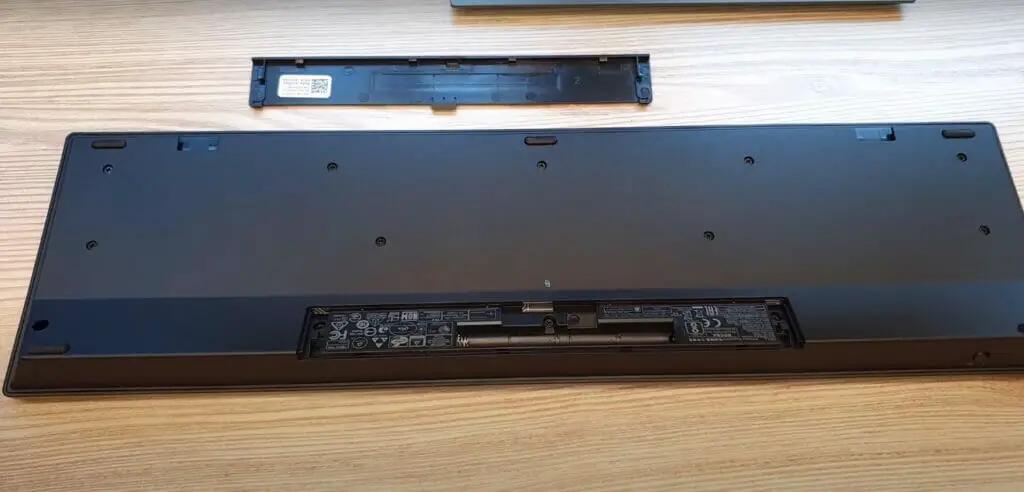
Here are a few steps to check for battery-related problems:
- Check for battery tabs preventing power supply and remove them.
- Swap the old batteries for a brand new pair, ensuring they’re the correct type.
- Inspect the battery compartment for corrosion or damage and clean, if necessary.
Ensure Bluetooth is Enabled
Before attempting any troubleshooting, make sure Bluetooth is enabled on your computer:
- Windows: Navigate to the Settings menu, select “Devices,” and check if Bluetooth is turned on.
- macOS: Access System Preferences, choose “Bluetooth,” and verify that Bluetooth is activated.
- Linux: Access the Bluetooth settings through System Settings or the Bluetooth Manager, depending on the distribution.
Tips for Optimal Usage

First, always ensure your keyboard is in range of the device you plan to use it with. Dell wireless keyboards typically range about 30 feet, but staying within 15 feet or closer is ideal. This will help avoid lag or connection dropouts.
Check the battery levels regularly using the manufacturer’s instructions. And when you’re not using your keyboard, remember to turn it off.
So there you have it! By following these tips, you’ll be able to enjoy a smooth and uninterrupted experience with your Dell wireless keyboard. Happy typing!
References
Website Resources:
- Dell Support. www.dell.com/support/home
Video References:

