

Having trouble with your wireless keyboard? Don’t fret – I’ve been there too. Whether it’s acting up, not connecting properly, or just plain misbehaving, sometimes all you need is a simple reset to get everything back in order.
Key Takeaways: Resetting a wireless keyboard is much easier than you might think. Sometimes all it takes is holding down the power button for a few seconds to turn it off and on again. Other times, you might need to dive into your computer’s settings to reconnect your keyboard or even change its language settings. Don’t worry; we’ll cover these steps in more detail throughout this article.
By this end, you’ll be well-equipped to tackle any keyboard hiccups you might encounter. So, let’s dive right in and begin our journey to a perfectly functioning wireless keyboard.
General Overview of the Steps to Reset Wireless Keyboards with Different OS
| Operating System | Steps to Reset Wireless Keyboard |
|---|---|
| Windows | 1. Open ‘Device Manager’ in the Control Panel. 2. Right-click on the wireless keyboard and select ‘Remove device.’ 3. Press the connect button on the wireless receiver, then on the keyboard. 4. On your PC, click ‘Add a device’ in ‘Device Manager.’ |
| macOS | 1. Open ‘System Preferences’ and click ‘Bluetooth.’ 2. Select the wireless keyboard and click ‘Remove.’ 3. Press the connect button on the keyboard. 4. Back in ‘Bluetooth,’ click ‘Add new device’ and select the keyboard. |
| Linux (Ubuntu) | 1. Open ‘Settings’ and click on ‘Bluetooth.’ 2. Click on the keyboard and select ‘Remove Device.’ 3. Press the connect button on the keyboard. 4. Click ‘Set Up New Device’ and follow the instructions. |
| Chrome OS | 1. Click the status area, then click ‘Bluetooth.’ 2. Click on the keyboard and then ‘Disconnect.’ 3. Press the connect button on the keyboard. 4. Back in the ‘Bluetooth’ menu, click on the keyboard to reconnect. |
Please note that these are general steps and can vary depending on the exact model of your keyboard and your operating system’s version.
Nonetheless, below are in-depth guides for resetting Windows and Mac:
Resetting a Wireless Keyboard on Windows

Restart and Update the Operating System
First things first, let’s restart the computer. Sometimes, this simple step can help resolve any issues with keyboard connectivity.
While we’re at it, let’s check for Windows updates too. I usually go to Settings > Update & Security > Windows Update and click Check for updates. Installing the latest updates can sometimes fix any compatibility issues with our wireless keyboard.
Remove and Re-add the Keyboard in Devices Settings
Now, let’s try removing the keyboard from the list of devices and then add it back. Here’s how to do it:
- Go to Settings > Devices > Bluetooth & other devices
- Find the wireless keyboard from the list and click on it
- Select Remove device
- After the keyboard has been removed, restart the computer
- Once the computer is back on, go back to the Bluetooth & other devices section
- Click on Add Bluetooth or other device and follow the on-screen instructions
By doing this, we’re refreshing the connection between the computer and the wireless keyboard.
Update Drivers and Control Panel Settings
Lastly, we’ll want to ensure our keyboard’s drivers are up to date and we have the correct settings in the Control Panel. I typically start by checking the Device Manager:
- Press Win + X and select Device Manager from the menu
- Look for Keyboards and expand the list
- Right-click on the wireless keyboard and choose Update driver
- Follow the steps to update the driver and restart the computer when prompted
Once the drivers are updated, let’s look at the Control Panel settings. Here’s what I do:
- Press Win + S and search for Control Panel
- Select Hardware and Sound, then Devices and Printers
- Find the wireless keyboard from the list, right-click on it, and choose Keyboard settings
- Adjust the settings as needed and click Apply
Following these steps gives our wireless keyboard the best chance to work properly with our Windows computer. Remember to keep it short, engaging, and informative, just like I’m writing now. Happy typing!
Resetting a Wireless Keyboard on Mac
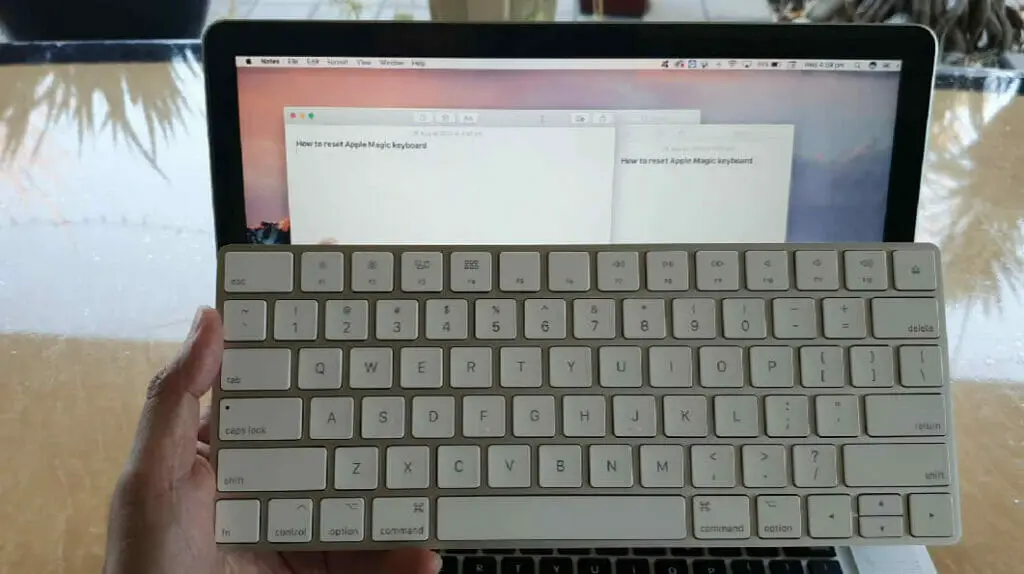
Restart and Update the macOS
First and foremost, do a quick restart of your Mac. Sometimes, it’s the simple things that make a difference!
Also, ensure your macOS is up to date, as outdated software can cause issues with connected devices, including wireless keyboards. So, always check if there’s a new update available by heading to the Apple menu > System Preferences > Software Update.
Remove and Re-add Keyboard in System Preferences
Another thing to do is to remove and re-add your keyboard in the System Preferences. Here’s how you can do that:
- Open System Preferences and go to the Bluetooth settings.
- Find your wireless keyboard in the list of devices and click the “x” button next to it.
- After removing the keyboard, ensure it’s in pairing mode and click “Add” to reconnect it.
This method sometimes does the trick when my Mac doesn’t recognize my keyboard.
Change Language and Layout Settings
Lastly, check your language and layout settings to ensure they are correctly set up. I learned that incorrect settings could cause the keyboard to behave unpredictably. Here’s how you can check and change them:
- Head to System Preferences and click on Keyboard.
- Go to the Input Sources tab and ensure the correct language is selected for your keyboard.
- Click the “+” button to add an input source if the one you need isn’t listed.
Don’t worry! You don’t have to be a tech guru to get your wireless keyboard up and running on your Mac. Trust me; these methods helped me, and they can help you too! Give them a try, and you’ll be typing away like a pro in no time!
Working with Specific Brands and Models
When resetting wireless keyboards, it’s essential to understand that different brands and models might require slightly different steps. This section will examine two specific brands: Logitech and Microsoft Surface keyboards. Don’t worry; I’ve got you covered!
Logitech Keyboard Reset Steps
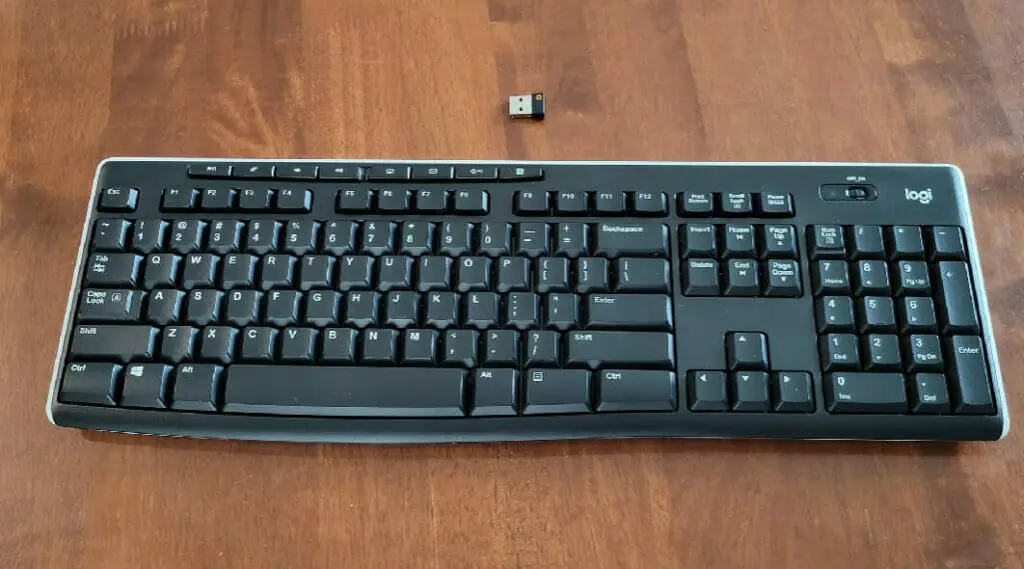
Now, let me tell you how to reset a Logitech wireless keyboard.
- First, make sure your keyboard is turned off.
- Then, while holding the ESC key, turn your keyboard back on. In my experience, the keyboard lighting flashes after 2 to 5 seconds, indicating a successful reset.
- Once you see this, release the ESC key
Pretty simple, right?
Microsoft Surface Keyboard Reset Steps

As for the Microsoft Surface keyboard, the process is slightly different.
- First, ensure your Surface keyboard is disconnected from your device.
- Then, press and hold the left and right Shift keys simultaneously for about 10 seconds.
- After this, release the keys, and your Surface keyboard will be reset!
Don’t be afraid to experiment and try different methods if you have a different brand or model. Always consult your keyboard’s manual or manufacturer’s website for the most accurate steps.
Hard Reset on Most Keyboards
A hard reset may be necessary if the standard reset methods don’t work. Here’s how I usually do it:
- Remove the batteries from the wireless keyboard.
- Press and hold any key on the keyboard for at least 30 seconds.
- Replace the batteries and turn the keyboard back on.
Your wireless keyboard should be reset, and any connectivity issues should be resolved. I hope you find these steps helpful in resetting your wireless keyboard. Happy typing!
References
Websites:
- Lifewire. https://www.lifewire.com/
- PCMag. https://www.pcmag.com/
- Microsoft Support. https://support.microsoft.com/en-us
- Logitech Support. https://support.logi.com/hc/en-us
- Apple Support. https://support.apple.com/
Video References
ELECTRECA
ITJungles
Todd’s Garage
Ho Young Won