
Hardwiring wireless cameras ensure a more stable internet connection, reduces interference risk, and is often faster than their wireless counterparts.
Stay with me as we walk through this step-by-step process together. By this end, you’ll know exactly how to set up your camera for optimal performance and peace of mind. Let’s get started!
How to Hardwire a Wireless Camera
➔ Step 1. Choose a camera and placement ➔ Step 2. Mount ➔ Step 3. Wire ➔ Step 4. Connect the camera ➔ Step 5. Configure ➔ Step 6. Test
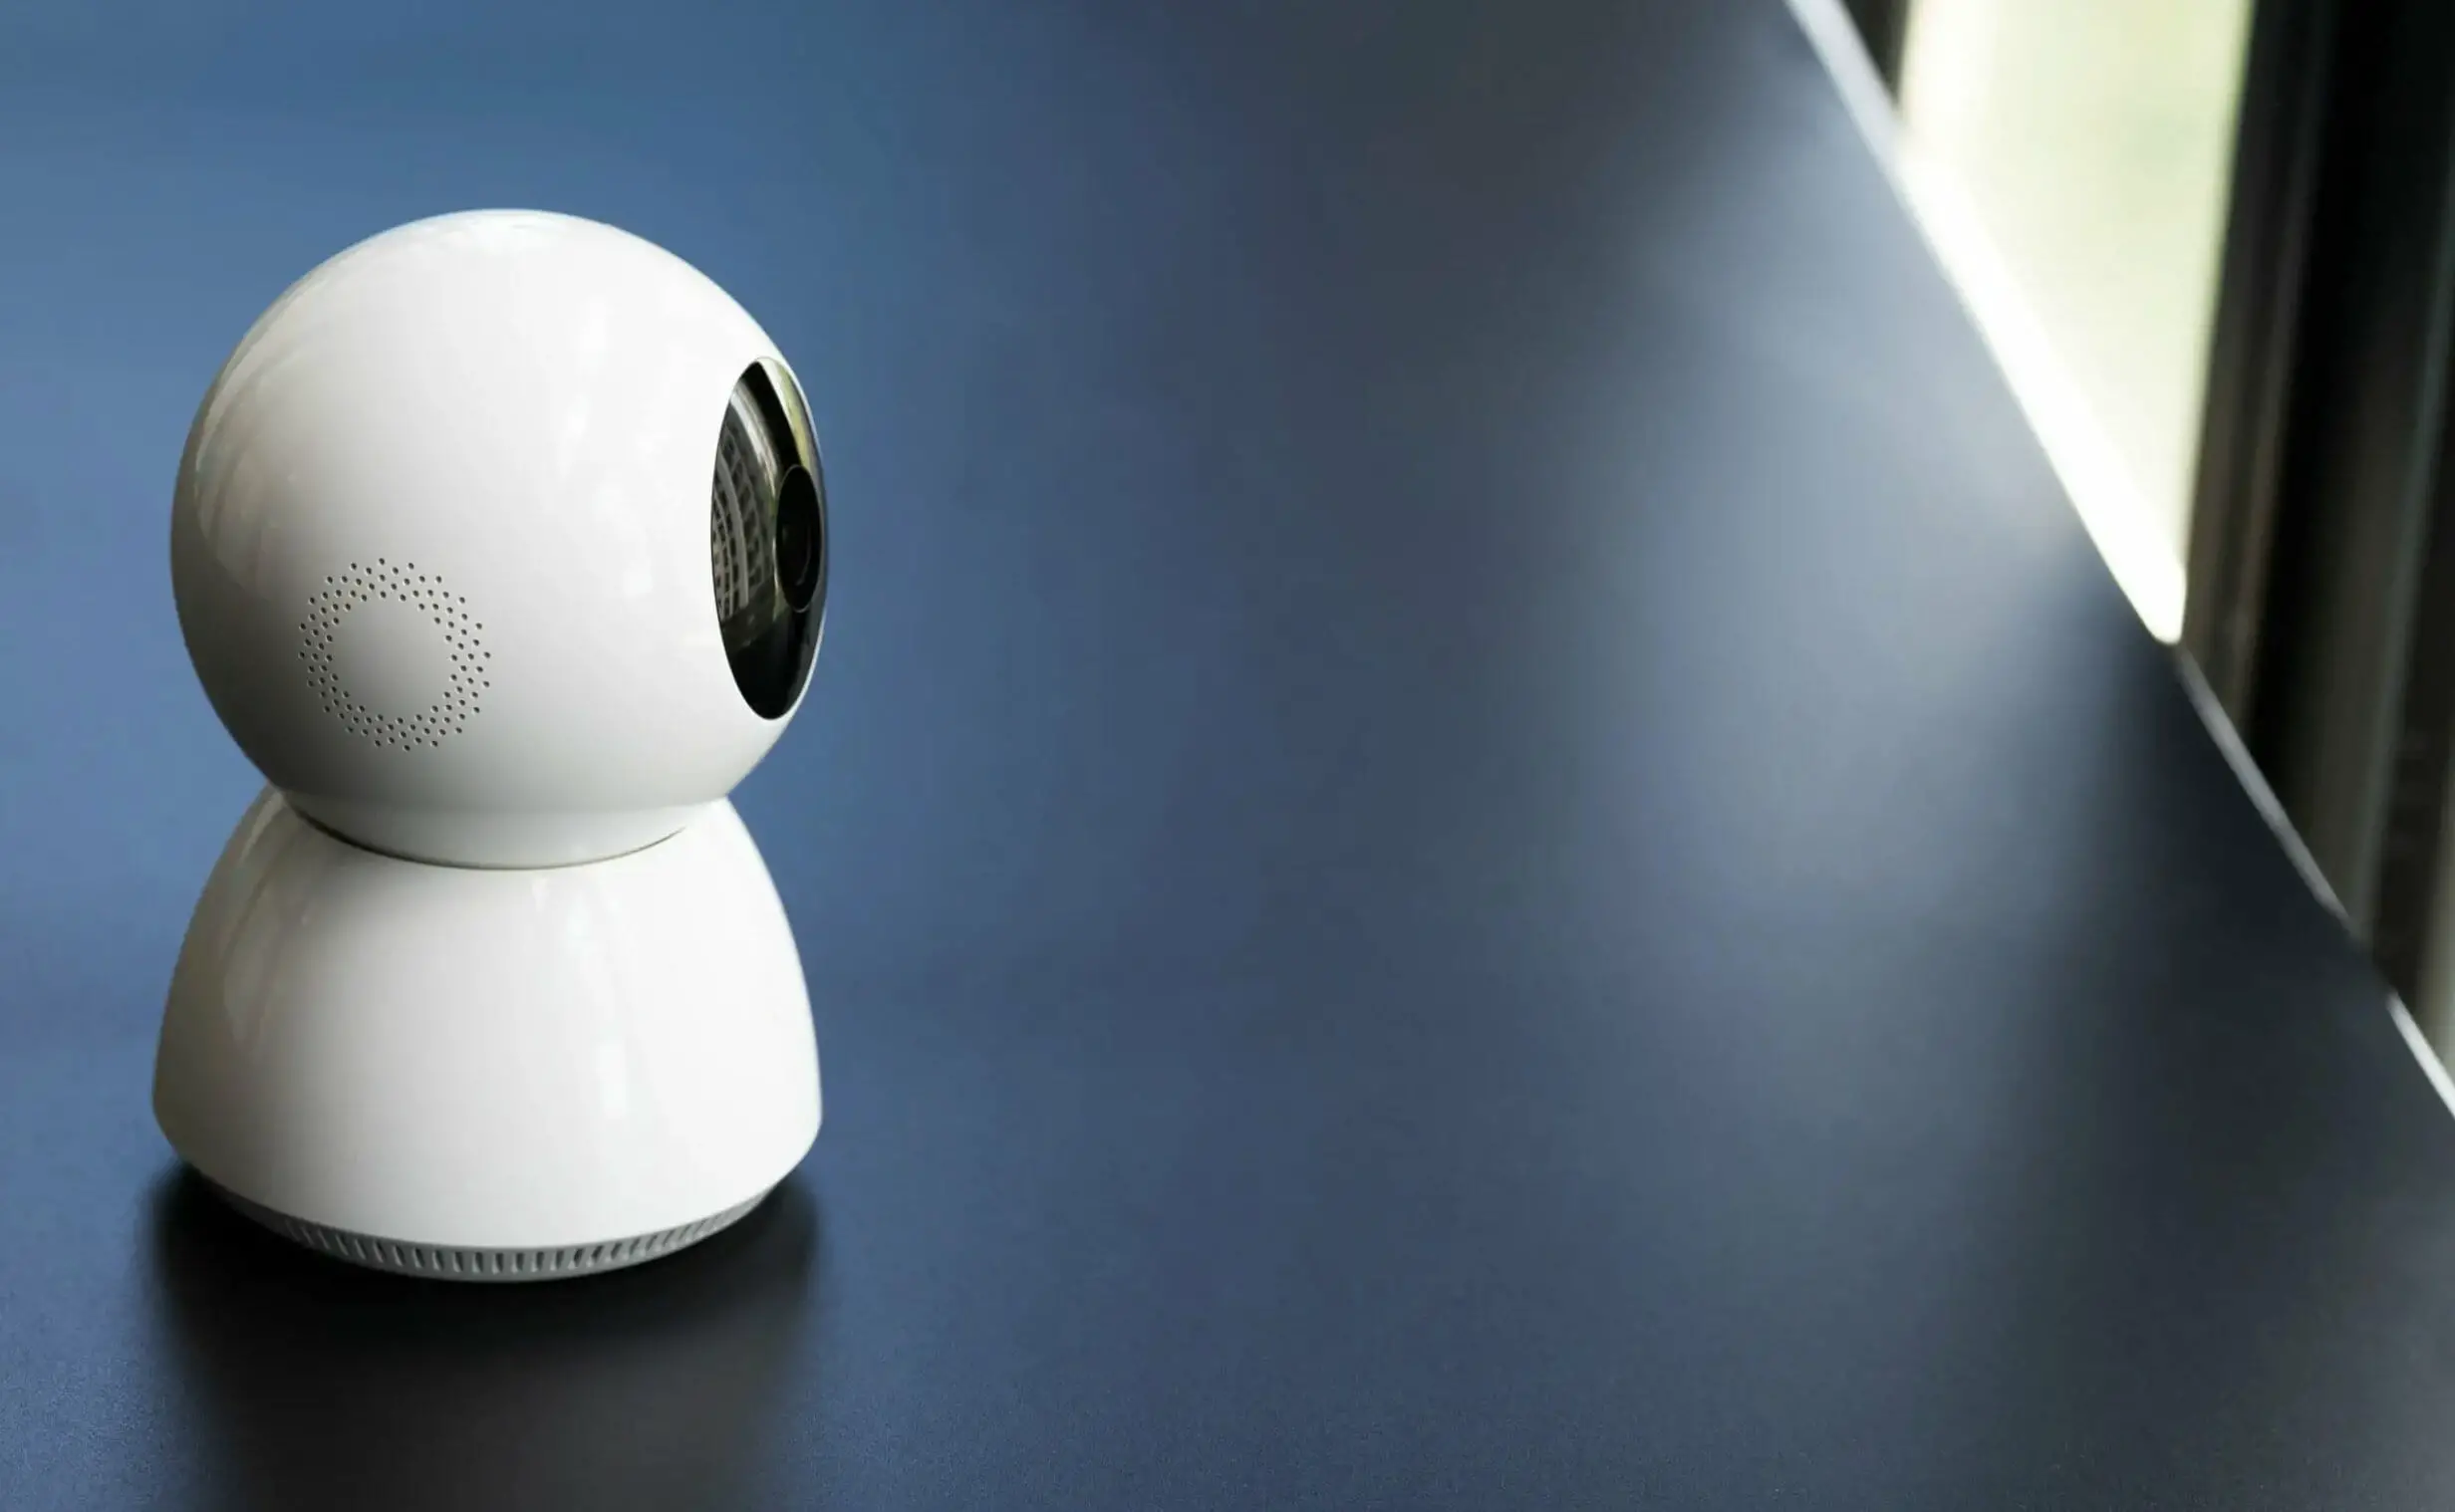
Choosing a Camera
I recently decided to hardwire one of my wireless cameras for better performance, and the first thing you’d need is a good camera.
Pick one that supports both wireless and wired connections for versatility. Look for features like high-resolution video, night vision, and weatherproofing to ensure you’re getting the most for your money.
Tools and Materials Needed
Now let’s discuss what you need to do the job. In my experience, these are the essentials:
| Equipment | Role |
|---|---|
| Wireless Camera | The main device that will capture video. Should support wired connections. |
| Ethernet Cable | Connects the camera to the router or network switch, enabling wired internet access. |
| Internet Router | Connects to the camera via Ethernet cable, providing internet connection. |
| Computer or Laptop | Used to configure camera settings and view the video feed. |
| Power Adapter | Supplies power to the camera. May be provided with the camera. |
| Cable Clips (optional) | Helps manage and secure the Ethernet cable along walls or ceiling. |
The process starts with resetting the camera. Locate the reset hole either under or on the back of the camera. Grab a paper clip and insert it into the hole, restarting everything. Next, let’s get the camera physically installed.
Installation Process
Camera Placement
Before we dive into installing our hardwired, wireless camera, let’s first discuss the importance of camera placement.
Selecting the right location for your security cameras is crucial in getting the most out of your surveillance system.
You don’t want to have limited coverage or poor video quality. So, in picking a spot for your security camera, make sure it’s:
- Properly covering your priority areas.
- Installed at a height that provides optimal angles and recognizable faces.
- Safe from easy tampering and theft.
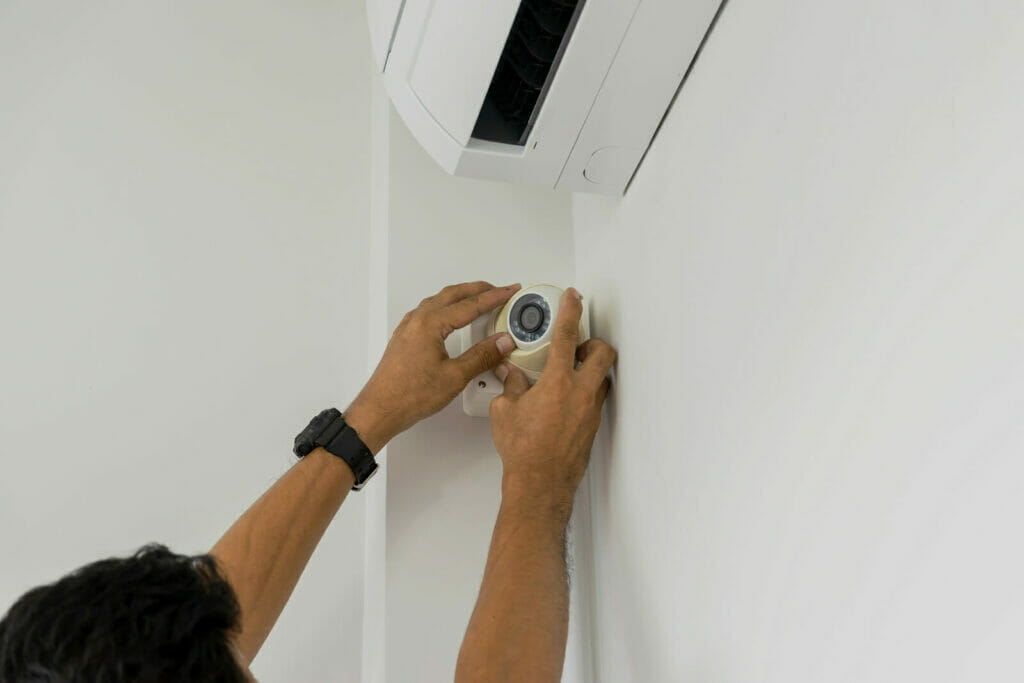
Mounting the Camera
Now that we’ve identified the perfect spot let’s talk about mounting the camera. I cannot stress enough how important it is to mount the camera to its location securely. Not only does this keep it safe, but it also ensures a stable video signal. So, here’s what we need to do:
- Gather the necessary tools and hardware (screws, anchors, etc.).
- Drill pilot holes for the screws or anchors.
- Securely attach the camera mount to the wall or ceiling.
- Tighten the camera onto the mount, ensuring it is firmly in place.
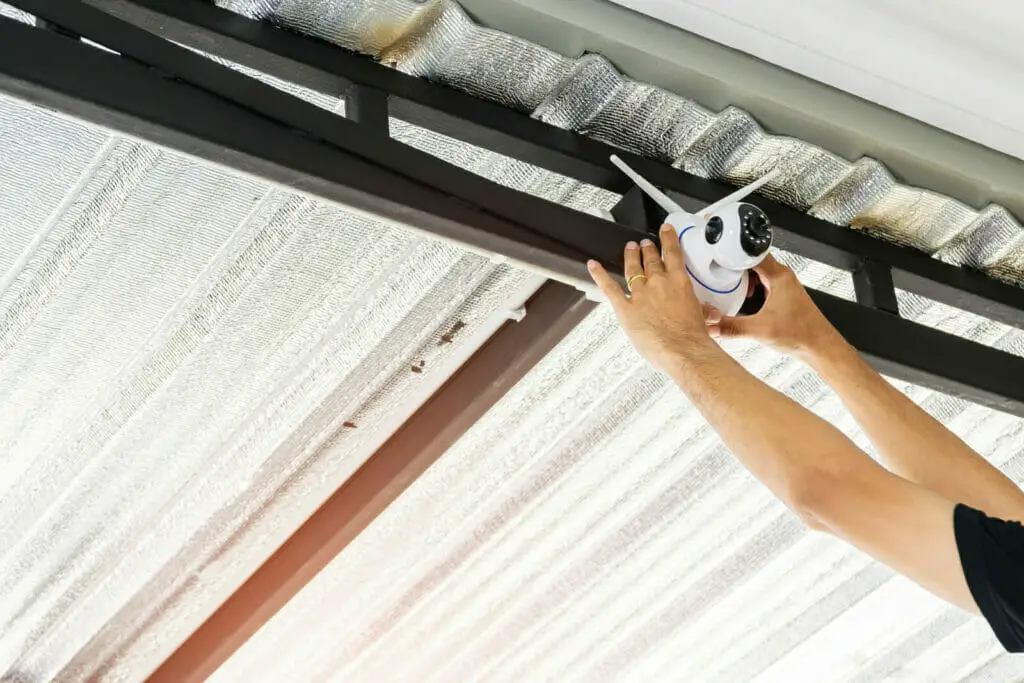
Wiring the Camera
At last, we’re ready to hardwire our wireless camera. We’ll need an ethernet cable, a power adapter, and possibly a few cable clips to keep everything neat and tidy. Just follow these simple steps:
- Disconnect the camera from any wireless receiver.
- Run an ethernet cable from the camera to your router or network switch, ensuring no kinks or stress points.
- Plug one end of the power adapter into the camera’s power port and the other into a nearby power outlet.
- Secure the cables to the wall or ceiling using cable clips.
- Power on your camera and connect it to your computer or security system for proper setup.
That’s it! By following these steps, you should have successfully hardwired your wireless camera, enjoying the perks of a more secure and stable connection.
Connecting to the Network
Now, we’ll tackle two important sub-sections: Router Settings, Username, and Password Configuration. Let’s dive in!
Router Settings
First things first, we need to configure our router settings. Let me walk you through the steps:
- Find your router’s IP address (usually printed on a sticker or label on the router).
- Open your favorite web browser and type in that IP address.
- Enter your router’s admin username and password (also found on the sticker or in the router’s manual).
Now that we’re in the router’s admin panel let’s do some tweaking:
- Look for a section called Port Forwarding or Virtual Servers.
- Add a new rule for your camera. This tells your router to allow external connections to access your camera.
- Set the internal IP address of your camera (check your camera’s manual or web interface to find it).
- Choose the appropriate protocol (usually TCP) and port number (also found in your camera’s manual or web interface).
Username and Password Configuration
Keeping your camera secure is important, so configure your username and password. Follow these steps:
- Access your camera’s web interface (usually via its IP address in your web browser).
- Log in with the camera’s default username and password (found in the manual or on the camera itself).
- Look for a section called User Management, User Settings, or something similar.
- Create a new user with a unique username and a strong password.
- Assign the appropriate user role (usually “admin” or “operator”) for your desired level of access.
- Save your settings and log out.
And there we go! Now your wireless camera is hardwired into the network and secured with a username and password.
Testing the System
Now that you’ve successfully set up your wireless camera, it’s time to put it to the test. In this section, we’ll cover two important aspects of your system: Verify Signal Strength and Check Video Quality. Let’s get started!
Verify Signal Strength
To make sure our camera is receiving a strong enough signal, we should do the following steps:
- Stand near the camera and check the signal bars on the Wi-Fi receiver or monitoring device.
- If the signal is weak, try moving the router or camera closer to each other.
- Consider using a Wi-Fi range extender or powerline adapter to boost the signal.
I’ve personally found that having a solid wireless signal is crucial for a stable and reliable connection.
Check Video Quality
You should now check your camera’s video quality to ensure it’s up to par. Here’s what I do to test video quality:
- Adjust the camera’s position and angle to ensure it captures the desired area.
- Check the camera’s focus and ensure the image is clear and sharp.
- Test the video feed in various lighting conditions to confirm the camera provides good visibility.
Remember, a high-quality video feed is essential for effective security monitoring.
Once your signal strength is verified and your video quality looks good, your hardwired, wireless camera will be all set for top-notch surveillance.
Troubleshooting and Maintenance
So, you’ve successfully set up your wireless camera but are suddenly facing some issues? Don’t worry. I’m here to guide you through common troubleshooting and maintenance steps to help keep your camera working smoothly.
First, let me talk about connection issues. It’s common for your camera to lose connection with your network occasionally. Often, simply power cycling the camera and router can resolve these problems.
Just unplug both devices for a minute, plug them back in, and give them a moment to reconnect. If that doesn’t work, it’s a good idea to check your router’s settings and ensure the camera is allowed on your network.
Next up is poor image quality. I’ve seen this issue with many clients, and there are many possible causes. Start by cleaning the camera lens with a microfiber cloth. Also, adjust the camera’s focus according to the manufacturer’s instructions.
Sometimes, the issue can be as simple as a dirty lens or an out-of-focus camera. Don’t forget to check the camera’s resolution settings to ensure they’re not too low.
Here are some quick tips for general maintenance:
- Keep your camera’s firmware up-to-date: Manufacturers often release updates to fix bugs or improve performance. Regularly check for updates and install them when available.
- Inspect all connections and wiring: Ensure cables are securely connected and free from damage.
- Keep the camera and its components clean: Dust and dirt can impair the camera’s performance, so clean the lens and other parts periodically.
Lastly, I’d like to mention motion detection issues. If your camera isn’t picking up movement as expected, there are a few potential causes. Firstly, adjust the motion detection settings on your camera.
Ensure it’s set at a reasonable sensitivity level that fits the environment where the camera is installed. If that’s not the problem, it could be something as simple as a tree branch or another object in the camera’s field of view causing false triggers. In this case, repositioning the camera might be necessary.
Following these troubleshooting and maintenance steps, you should be able to keep your wireless camera functioning effectively and reliably. Remember, if all else fails, don’t hesitate to contact your camera manufacturer for further assistance.
References
Books:
- “Home Security Systems DIY using Android and Arduino” by Robert Chin
Websites:
- TechRadar. https://www.techradar.com/
- CNET. https://www.cnet.com/
- Wirecutter. https://www.nytimes.com/wirecutter/
- Reddit’s r/homesecurity. https://www.reddit.com/r/homesecurity/