
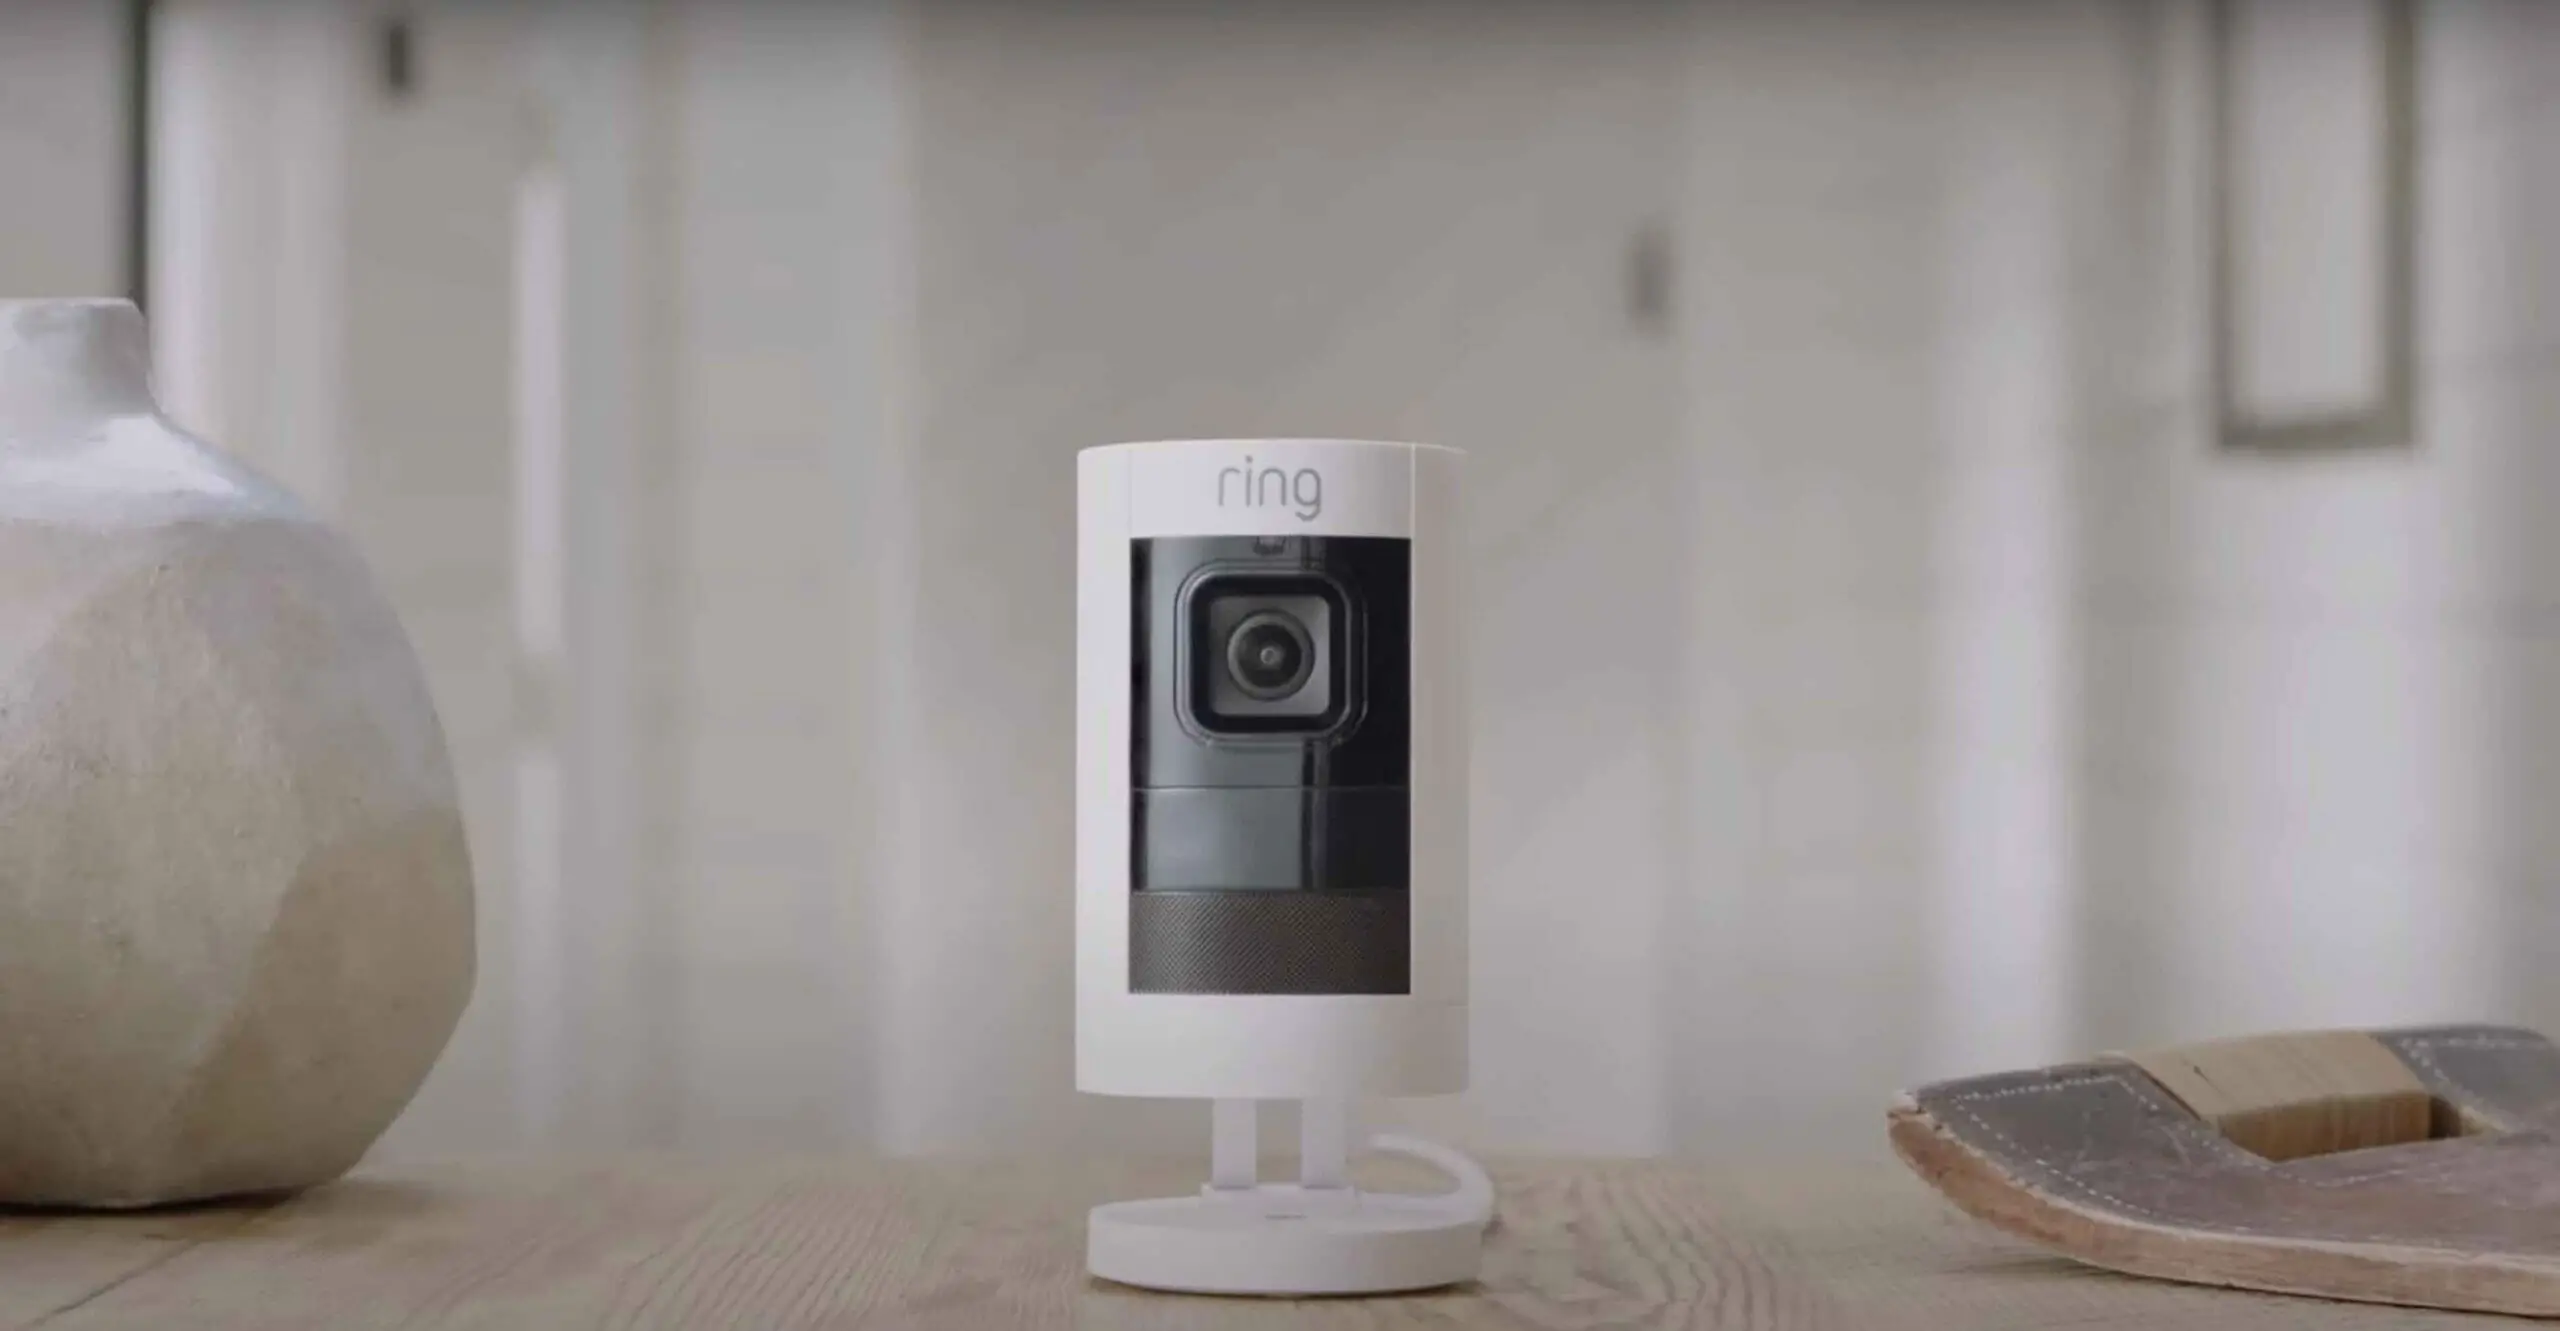
Unlike wired cameras, wireless cameras don’t require complex wiring or drilling into walls. However, one of the most common questions is how to power these cameras.
One of the simplest ways to power a wireless security camera is using batteries. Many cameras come with rechargeable batteries that last for several weeks or months. Another method of powering wireless security cameras is solar power. Solar panels can be purchased separately and attached to the camera to provide a reliable power source.
So, which option is right for you? That depends on your specific needs and preferences. In the next sections, I’ll detail each option and alternative methods for powering your wireless security cameras. Let’s get started!
Selecting the Right Power Source for Your Wireless Security Camera

These cameras need electricity to operate, and there are various ways to power them.
In the following section, I’ll discuss different power options for wireless security cameras and their advantages and disadvantages.
Option 1: Using Batteries to Power Your Wireless Cameras
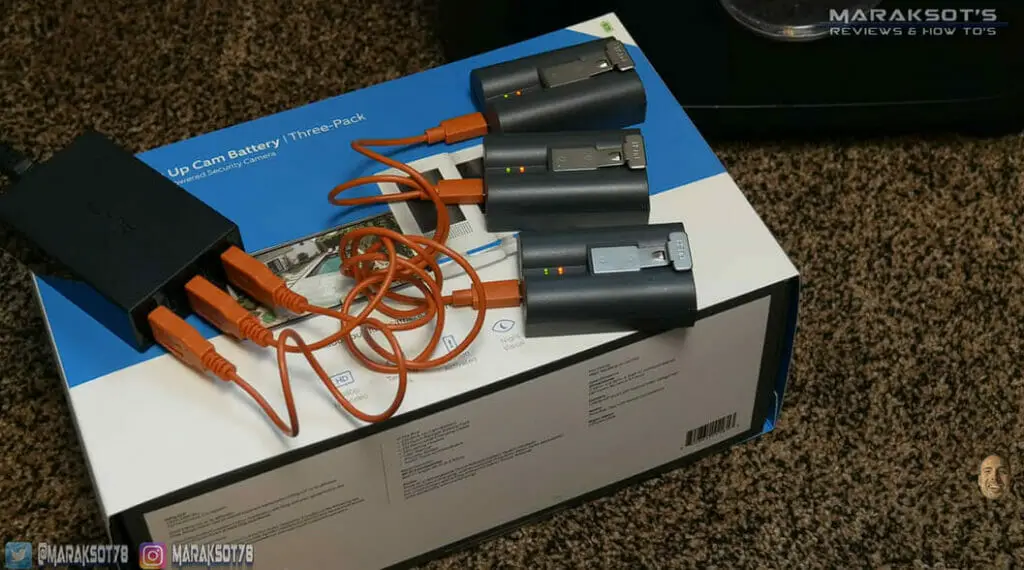
When it comes to powering your wireless security cameras, there are a few options available. One of the most popular methods is using batteries.
This option offers several advantages, such as being easy to install, not requiring any electrical wiring, and providing additional flexibility regarding camera placement.
| Steps | Instructions |
|---|---|
| 1 | Identify Battery Type: Identify the type of battery your wireless camera uses. It may use AA, AAA, or a specific rechargeable battery pack provided by the manufacturer. |
| 2 | Close Battery Compartment: Close the battery compartment, ensuring it’s secure. |
| 3 | Open Battery Compartment: On your wireless camera, find and open the battery compartment. It’s often on the back or bottom of the unit. |
| 4 | Insert Batteries: Insert the batteries according to the polarity inside the battery compartment. If it’s a rechargeable battery pack, connect it to the appropriate port. |
| 5 | Test Camera: Test the camera to ensure it’s working correctly. You can check the live feed on your corresponding app or receiver. |
| 6 | Power On the Camera: Switch on your camera. Most wireless cameras have an LED light that indicates whether the camera is powered. |
| 7 | Dispose of Batteries Properly: If you use disposable batteries, ensure you dispose of them properly according to local regulations. |
| 8 | Monitor Battery Levels: Most wireless cameras will alert you when the battery is low. Keep an eye on this to know when to recharge or replace batteries. |
| 9 | Replace/Recharge Batteries: When battery levels are low, replace or recharge the battery pack. Remember to turn off the camera before changing the batteries. |
| 10 | Dispose of Batteries Properly: If you’re using disposable batteries, ensure you dispose of them properly according to local regulations. |
The battery life of your cameras will vary depending on a few factors, such as how often your cameras are triggered, how long they record for, and the temperature of their surroundings. To ensure that your cameras have adequate battery life, you can do the following:
- Purchase high-quality batteries that are specifically designed for outdoor use.
- Opt for rechargeable batteries, which offer a more cost-effective and eco-friendly solution to powering your cameras.
- Set the recording length and frequency to a level that you are comfortable with based on the battery life of your cameras.
Option 2: Using Solar Power for Wireless Security Cameras
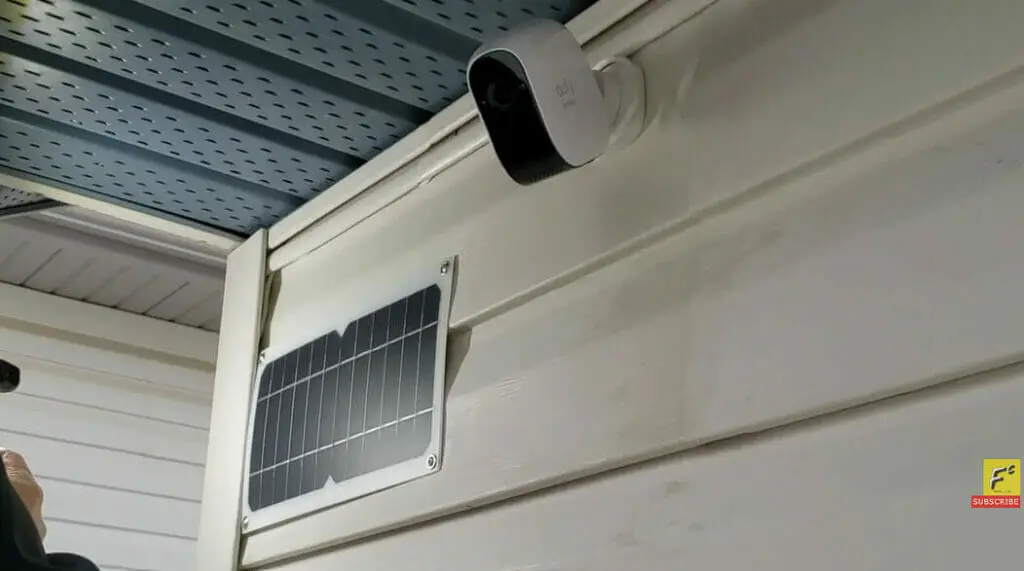
Another viable option for powering your wireless security cameras is to use solar power.
This option can be particularly attractive for those who want cameras in areas without nearby power sources or prefer a more environmentally friendly solution.
Using solar power involves installing solar panels that capture sunlight and convert it into electricity. This solar energy can then be used to power your wireless security cameras.
| Steps | Instructions |
|---|---|
| 1 | Identify Solar Power Compatibility: Check if your wireless security camera is compatible with solar power. Some cameras come with solar panels, while others need an external accessory. |
| 2 | Purchase Solar Panel: If your camera doesn’t come with a solar panel, purchase a compatible one. Some brands provide their own solar panels that connect easily with their cameras. |
| 3 | Choose Installation Location: Choose an outdoor location that receives plenty of sunlight throughout the day. The more direct sunlight the panel receives, the better it will power your camera. |
| 4 | Install Solar Panel: Install the solar panel according to the manufacturer’s instructions. This usually involves mounting it at a particular angle facing the sun and securing it with screws or brackets. |
| 5 | Connect Solar Panel to Camera: Use the provided cable to connect the solar panel to your camera. This cable usually plugs into the camera’s power input. |
| 6 | Test the Camera: Turn on your camera and check that it’s working correctly. You can view the live feed on the corresponding app or receiver. |
| 7 | Monitor Power Levels: Check your camera’s app or interface regularly to ensure that the solar panel is providing enough power. If your camera’s battery levels are consistently low, you may need to adjust the panel’s position or consider an additional power source. |
Here are some key things to keep in mind if you’re considering this option:
- Location Matters: Solar panels require sunlight to generate electricity, so installing them in a location that receives sufficient sunlight throughout the day is important. This may require some experimentation to find the best spot.
- Panel Size: The size of the solar panel you’ll need will depend on the power requirements of your specific wireless security camera. You’ll need to choose a panel that can generate enough energy to power your camera(s) while still accounting for any energy losses due to weather conditions or other factors.
- Battery Backup: To ensure that your wireless security cameras continue to function even during periods of low sunlight, it may be helpful to have a battery backup system in place. This can store excess solar energy generated during peak sunlight hours, which can be used to power your cameras when sunlight is scarce.
- Professional Installation: While some solar power systems can be relatively simple to install, it’s recommended that you hire a professional to install your system to ensure that it’s set up correctly and safely.
In addition to providing a reliable power source for your wireless security cameras, solar power can also help you save money on energy costs in the long run.
Overall, it’s a great option if you’re looking for an eco-friendly and cost-effective way to power your cameras.
Option 3: Wiring Your Wireless Security Cameras Directly to Power
If you want to power your wireless security cameras without any risk of running out of battery or signal loss, then wiring your cameras directly to power is the way to go.
This also ensures that your cameras are recording continuously without any interruption.
| Steps | Instructions |
|---|---|
| 1 | Check Camera’s Power Requirements: Most cameras use a 12V DC power supply, but check your camera’s specific voltage requirement to ensure you have the correct power supply. |
| 2 | Locate a Power Source: Identify a power source near your camera’s location, such as an outlet or a junction box. If there isn’t one nearby, you’ll need to run a power cable from the source to your camera’s location. If the cable runs outdoors, ensure it’s weather-resistant. |
| 3 | Begin Wiring Your Camera: Connect the positive (+) wire from your camera’s power cable to the positive (+) terminal on the power supply. Then, connect the negative (-) wire from your camera’s power cable to the negative (-) terminal on the power supply. Ensure the connections are secure and wires aren’t exposed. |
| 4 | Test Your Camera: Turn on the power supply to check that your camera is receiving power. If all connections are correctly made, your camera should immediately start recording. |
Wiring your wireless security cameras directly to power is a reliable and convenient way to ensure uninterrupted surveillance.
However, it does require some additional installation steps and may not be a suitable option for everyone.
Option 4: Using Power Over Ethernet (PoE) Technology for Wireless Security Cameras

Another way to power wireless security cameras is to use Power Over Ethernet (PoE) technology. PoE allows the camera to receive data and power over a single Ethernet cable, simplifying installation.
PoE technology is a great option for those who want to avoid running additional power cables to the camera location. It’s also a good choice for outdoor camera installations where traditional power outlets are unavailable.
| Steps | Instructions |
|---|---|
| 1 | Check Compatibility: Ensure your wireless camera supports PoE technology. This information can be found in the product description or user manual. |
| 2 | Purchase PoE Switch/Injector: If you do not already have one, you will need a PoE switch or a PoE injector to transmit power and data over the Ethernet cable. |
| 3 | Connect Camera to PoE Switch/Injector: Using an Ethernet cable, connect your camera to the PoE switch or injector. Plug one end of the cable into the camera’s Ethernet port and the other into the PoE device. |
| 4 | Connect PoE Switch/Injector to Router: Connect the PoE switch or injector to your router or network switch using another Ethernet cable. This allows your camera to communicate with your network and the internet. |
| 5 | Power On Devices: Turn on the PoE switch/injector and your camera. The PoE device will provide power to the camera through the Ethernet cable. |
| 6 | Configure Camera Settings: Use your camera’s software or app to configure settings, set up recording schedules, etc. You may need to use a PC or mobile device connected to the same network. |
| 7 | Test the Camera: Check the camera is working properly by checking the live feed and testing its recording function. |
| 8 | Troubleshoot if Necessary: If your camera is not working properly, check all connections, ensure the PoE device is powered on and functioning, and refer to your camera’s troubleshooting guide. |
Here are some of the benefits of using PoE technology:
- Simplicity: PoE technology allows for a simplified installation process as it eliminates the need for additional power cables. This means you can save time and effort during installation.
- Cost-effective: PoE technology can be more cost-effective than running separate power cables. This is especially true for larger installations that require multiple cameras.
- Reliability: PoE technology provides a reliable power source for your cameras, ensuring they function even during power outages.
If you are planning an installation that requires multiple cameras, it’s worth considering PoE technology as an option. Keep in mind that not all cameras are compatible with PoE, so make sure to check with your manufacturer before buying.
Important Note: The exact steps for all options mentioned above may vary based on your specific equipment, so always refer to your user manual for precise instructions.
Factors to Consider when Choosing a Power Supply for your Wireless Cameras
When powering your wireless security cameras, choosing the right power supply is essential to ensure your cameras function efficiently and effectively. Here are a few factors to consider when choosing a power supply for your wireless cameras:
Power Requirements of Cameras
The amount of power your wireless cameras require is crucial when choosing a power supply.
Some cameras may require a higher voltage than others, so ensure your power supply is powerful enough to sustain all your cameras.
It’s best to check the manufacturer’s specifications of your cameras to understand their power requirements better.
Environmental Factors
Environmental factors such as high temperatures or moisture may affect the performance of your power supply and cameras.
Ensure that your power supply can withstand harsh weather conditions if you place your cameras outside in areas exposed to harsh weather elements.
That being said, by considering these factors carefully, you can ensure that your cameras function efficiently and effectively.
References
Organization:
- Security Industry Association (SIA). https://www.securityindustry.org/
Book:
- “Wireless Home Networking For Dummies” by Danny Briere, Pat Hurley, Edward Ferris
Websites:
- CNET. https://www.cnet.com/
- TechRadar. https://www.techradar.com/
Video References
Maraksot78
Frakking Creations
Ring