

If you own an Assurance Wireless phone, you may need to reset it at some point. Whether to troubleshoot technical issues or erase all personal data, a phone reset can come in handy.
I’ve had to reset my Assurance Wireless phone a few times before, and I know it may seem daunting at first, but it is a quick and easy process that can be done in just a few steps.
Quick Overview of the Steps to Reset Assurance Wireless Phone
| Steps | Description |
|---|---|
| 1 | Backup important data such as contacts, photos, and messages. |
| 2 | Open the settings app on the phone. |
| 3 | Within settings, select ‘System’. |
| 4 | Select ‘Reset,’ then ‘Factory data reset.’ |
| 5 | Confirm the reset by selecting ‘Reset Phone.’ |
| 6 | Wait for the reset process to complete. |
By the end of this article, you’ll be able to reset your phone in no time and have it function like new again.
Backing up Your Data Before Resetting Your Assurance Wireless Phone
Before resetting your phone, ensuring that all your data is safely backed up is essential. Losing important files like photos and contacts can be frustrating and stressful, so I always prioritize backing up my data before resetting my phone.
Here are some easy steps that you can follow to ensure that all of your data is backed up before resetting your Assurance Wireless phone:
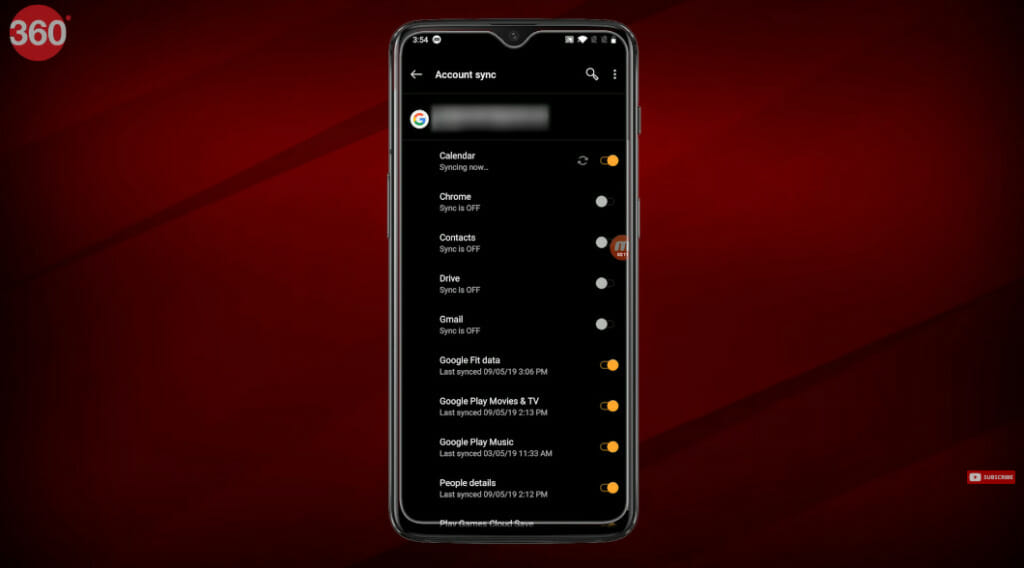
- Sync Your Phone with Your Google Account: One of the easiest ways to back up your data is by syncing with your Google account. Google allows you to back up your contacts, messages, and other important data to your Google Drive account. To do this, go to “Settings” on your Assurance Wireless phone, select “Accounts,” and then choose “Google.” From there, you can select the data you want to back up and sync it with your Google account.
- Backup Your Photos and Videos: If you have important photos and videos on your phone, then it’s essential to ensure they’re safely backed up. You can use Google Photos to back up your photos and videos. Google Photos is a free app that stores all your photos and videos in the cloud. To back up your photos and videos using Google Photos, simply download the app from the Google Play Store, sign in with your Google account, and follow the instructions.
- Save Your Music and Other Files: If you have music and other files on your Assurance Wireless phone, you’ll need to save them to your computer or a USB drive. You can easily connect your phone to your computer using a USB cable and transfer the files to your computer.
By syncing your phone with your Google account, backing up your photos and videos using Google Photos, and saving your music and other files to your computer, you can ensure that all your important data is safely backed up and restored after the reset.
Resetting Your Assurance Wireless Phone to Factory Settings
- Open Settings: Once your data is backed up, open the settings app on your Assurance Wireless phone. This can usually be found in the app drawer or home screen.
- Select ‘System’: Within the settings app, scroll down and select the ‘System’ option.
- Tap on ‘Reset’: Within the ‘System’ menu, select ‘Reset’ and then ‘Factory data reset.’
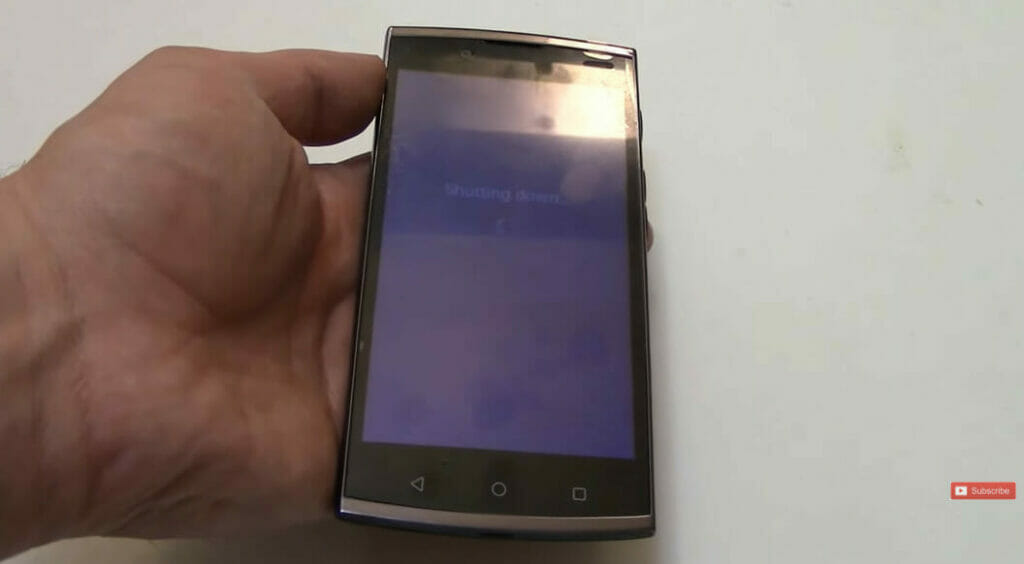
- Confirm Reset: Confirm that you want to proceed with the reset by selecting ‘Reset Phone.’ Your phone will then reboot and begin resetting to factory settings.
- Wait for the Reset to Complete: Depending on the size and complexity of your phone, the reset process may take several minutes to complete. Do not turn off your phone or interrupt the process during this time.
Steps to Reactivate Your Assurance Wireless Phone After Reset
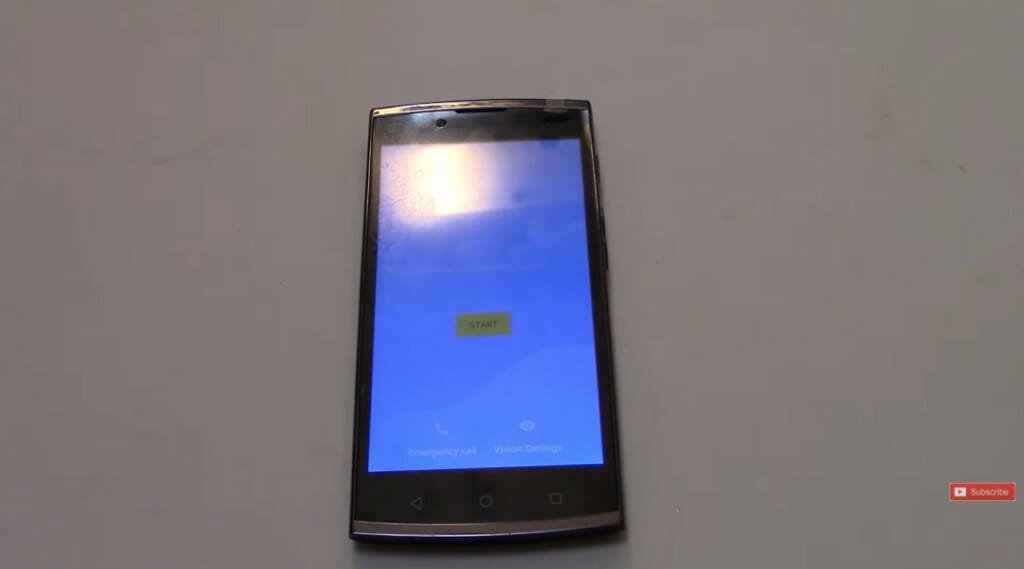
Follow these simple steps to reactivate your Assurance Wireless phone after resetting it:
| Step | Description |
|---|---|
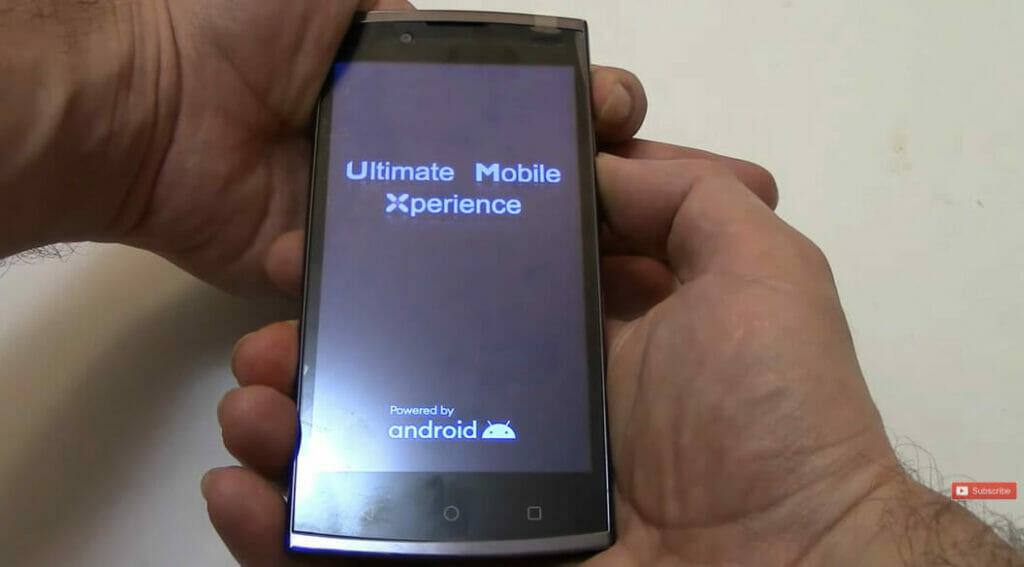
| Power On | Press and hold the power button to turn on the phone. |
| Enter IMEI | Dial *#06# to obtain the phone’s IMEI number, and enter it when prompted. |
| Call Customer Service | Dial 1-888-321-5880 and follow the voice prompts until you reach the “reactivate my phone” option. Provide the IMEI number. |
| Wait for Confirmation | Wait for a confirmation from the customer service representative. |
Troubleshooting Common Issues After the Reset
So, you’ve reset your Assurance Wireless phone and encountered some problems. Don’t worry; it’s normal to experience a few hiccups after a reset. Here are some common issues you may see and how to troubleshoot them:
- No Service: If you cannot make or receive calls and/or texts, check to ensure your phone is activated. You can activate your phone by calling Assurance Wireless customer service or visiting their website. You may also need to update your carrier settings or manually select a network.
- Apps Not Working: If your apps are not working properly or crashing, try clearing the cache and data of the app in question. You can do this by going to Settings > Apps > [App Name] > Storage > Clear Cache/Clear Data. If that doesn’t work, try uninstalling and reinstalling the app.
- Battery Drain: If you’re experiencing battery drain after resetting your phone, try turning off features such as Wi-Fi, Bluetooth, and GPS when you’re not using them. You can also try adjusting your screen brightness or using power-saving mode.
- Slow Performance: Try clearing the cache partition if your phone runs slowly. To do this, turn off your phone and press the Volume Up and Power buttons until you see the Android logo. Use the Volume buttons to navigate to “Wipe Cache Partition” and press the Power button to select it.
If none of these troubleshooting tips work, you may need to contact Assurance Wireless customer service for further assistance. Remember to keep your phone updated with the latest software updates and only download apps from trusted sources to avoid future issues.
References
Books:
- “Android Phones & Tablets For Dummies” by Dan Gookin
Website Resources:
- Android Help Center. https://support.google.com/android/?hl=en
- Android Central. https://www.androidcentral.com/
- XDA Developers. https://www.xda-developers.com/
- Reddit’s r/AndroidQuestions. https://www.reddit.com/r/AndroidQuestions/
Video References
DIY University
Gadgets 360