
Alright, let’s dive right into the world of PWG APN settings.
In simple terms, APN (Access Point Name) requires your phone to connect to your carrier’s network. Think of it as the key that unlocks the internet superhighway on your mobile device. PWG refers specifically to the ‘Project Whistle’ network.
Quick Overview
| Platform | Steps | Configuration |
|---|---|---|
| Android | 1. Access ‘Settings’ 2. Select ‘More’ 2. Tap ‘Mobile Network’ 3. Click ‘Access Point Name‘ | A detailed table for PWG APN Settings, which you can follow, is provided below |
| iPhone | 1. Open ‘Settings’ 2. Select ‘Cellular’ or ‘Mobile Data’ 3. Click ‘Cellular Data Options’ or ‘Mobile Data Options’ 4. Then ‘Cellular Network’ | A detailed table for PWG APN Settings, which you can follow, is provided below |
Throughout this article, we’re going deep into how you can set up these PWG APN settings on your device. So buckle up and get ready for some tech talk!
Steps to Configure PWG APN on Android
Let’s jump into how to configure your PWG APN settings on an Android device. Before we start, let me assure you that it’s not rocket science! You’ll get it done quickly with a few steps and patience.
Step 1. First off, go to your phone’s main ‘Settings’ menu.
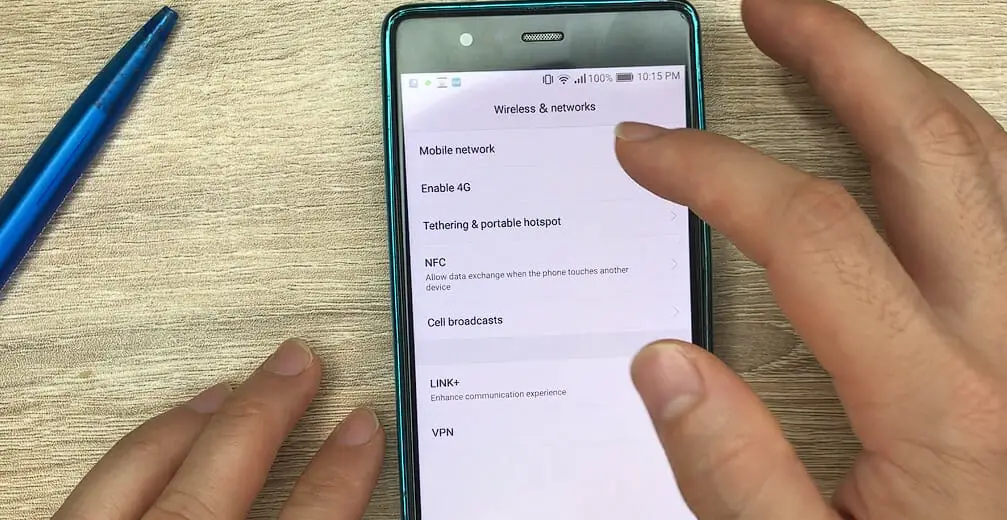
Step 2. Depending on your device model, you might see ‘More’ or ‘Connections.’ No worries, though; either will lead you to the same place.
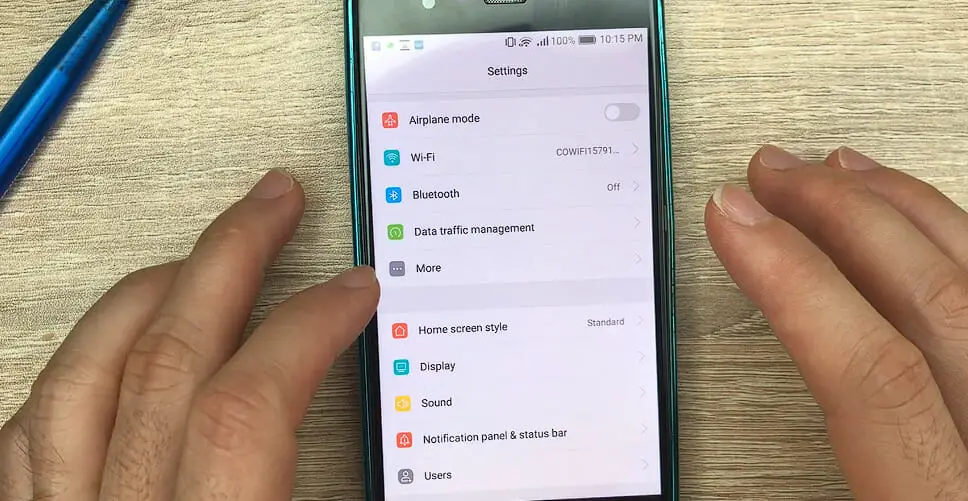
Step 3. Next is selecting the ‘Mobile Network’ and then the ‘Access Point Names’ option.
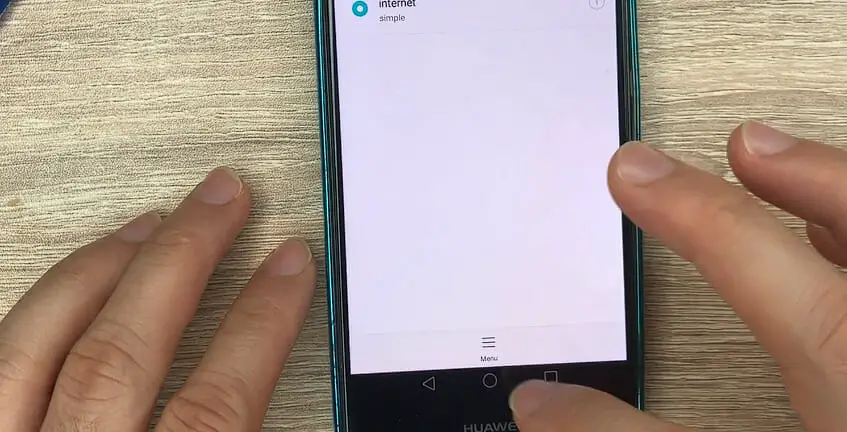
Here’s where things get interesting! If you don’t already have an APN set for PWG, we’ll need to create one from scratch.
Step 5. Hit that plus sign (+) or look for the ‘Add New’ option or three lines menu.
Now comes the fun part: filling out all those fields with just the right details. Here’s what they should look like:
| Field | Value |
|---|---|
| Name | PWG USA |
| APN | pwg |
| Proxy | Not set |
| Port | Not set |
| Username | Not set |
| Password | Not set |
| Server | Not set |
| MMSC | http://mmsc.mobile.att.net |
| Multimedia Message Proxy | proxy.mobile.att.net |
| Multimedia Message Port | 80 |
| MCC | 310 |
| MNC | 410 |
| Authentication Type | Not set |
| APN Type | default, mms, supl |
| APN Protocol | IPv4/IPv6 |
| APN Roaming Protocol | IPv4/IPv6 |
| APN Enable/Disable | APN enabled |
| Bearer | Unspecified |
Step 6. Once all that info is punched in correctly (double-check if necessary), save these new settings by tapping those three dots at the top-right corner of your screen and selecting ‘Save.’
Voila! Your Android device should run smoothly with its new PWG APN settings configured properly. Remember, changes may take a moment or two to effect fully. So give it a minute before testing out your connection.
Steps to Configure PWG APN on iPhone
I have to tell you setting up your PWG APN on an iPhone is easy as well. I’m here to show you just how simple it can be.
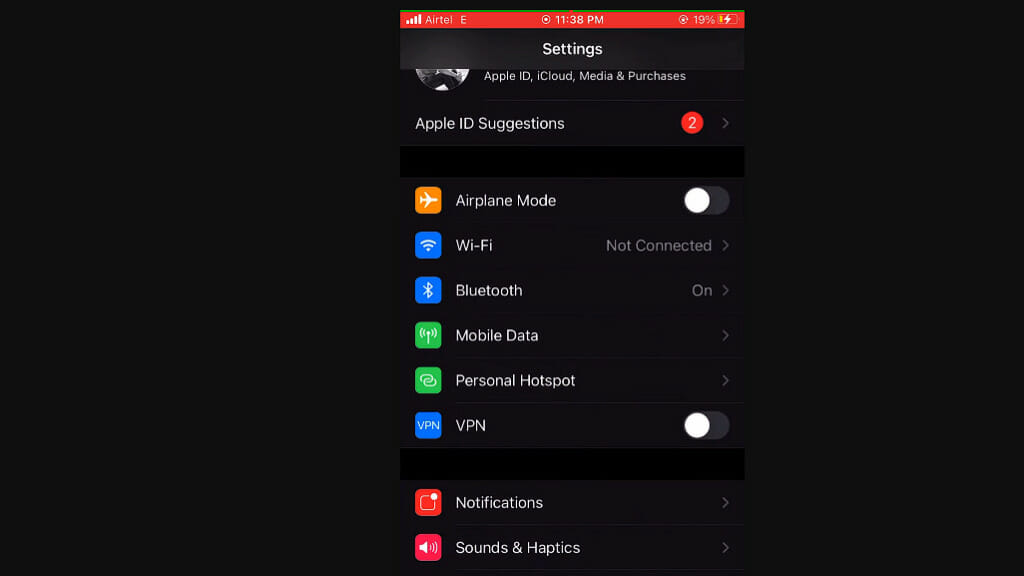
Step 1. First, let’s head over to the Settings app on your device. That gray gear icon is probably hanging out with all your other utility apps.
Step 2. Go straight for the Cellular option or Mobile Data.
Step 3. Once we’ve tapped into Cellular, our next stop is Cellular Data Options or Mobile Data Options.
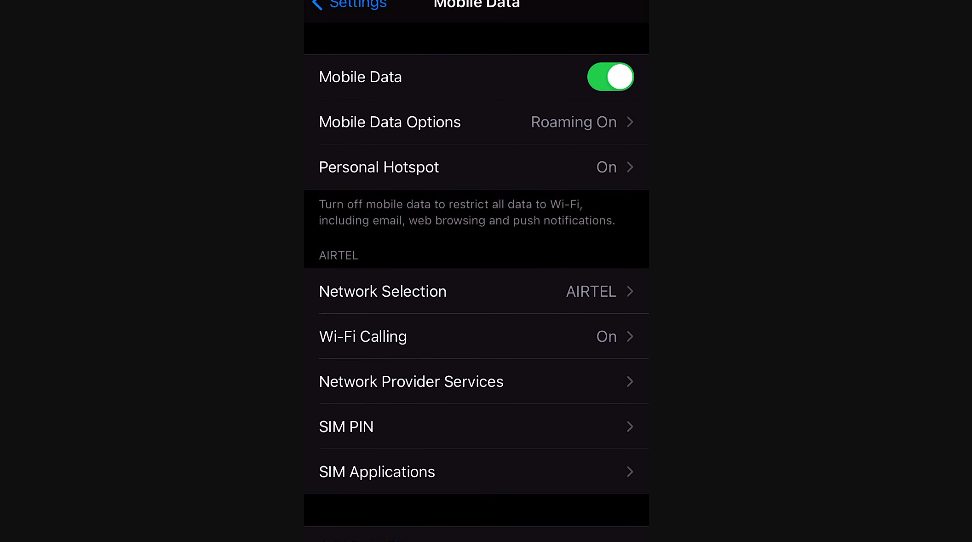
Step 4. Next up is Cellular Network. This is where we start getting into the nitty-gritty details of these APN settings.
Here comes the fun part! Time to type in some specifics:
| Field | Value |
|---|---|
| APN | pwg |
| Username | Leave blank |
| Password | Leave blank |
Step 5. Go ahead and restart your iPhone after entering these details (to make sure everything gets along nicely). And voilà! Your iPhone should now be running smoothly with PWG’s network services!
Troubleshooting Common PWG APN Issues
Sometimes, we encounter a few hiccups when configuring our PWG APN settings. Yeah, it can be frustrating, I know! But don’t worry; I’m here to help you out.
Troubleshoot # 1. First, there could be a few reasons why you’re having trouble connecting to the internet even after setting up your PWG APN. It might be that your SIM card isn’t activated yet, or there’s an issue with your service provider. A quick call to their customer service should help clear things up.
Troubleshoot # 2. Another common issue is entering incorrect information in the fields while setting up your PWG APN. So always double-check!
Troubleshoot # 3. If everything checks out, but you still encounter problems, try resetting your network settings. It’s like giving your phone a fresh start!
Troubleshoot # 4. Another thing that helps sometimes is to switch off your device for a couple of minutes and then switch it back on again – old-school reboot style! You’d be surprised how many times this simple trick works wonders.
So, there you have it! My quick guide on troubleshooting common PWG APN issues. Remember – patience and persistence are key when dealing with tech troubles!
References
Organizations:
- GSMA. https://www.gsma.com/
Websites:
- HowToGeek. https://www.howtogeek.com/
- Android Central. https://www.androidcentral.com/
- Apple Support. https://support.apple.com/
Video References:
APN Settings
Bhajsa kheri