
If you want to use your wireless mouse with a Chromebook, there are a few things you need to know.
Connecting your wireless mouse to your Chromebook can be easy if you know the basics. I will show you the simple steps to connect your device to your Chromebook, whether a Bluetooth mouse or a radio frequency (RF) mouse.
How to Connect a Wireless Mouse to a Chromebook
If you have a Bluetooth mouse
- Power on the mouse
- Activate the Bluetooth function on your Chromebook
- Find the name of the mouse’s model in the Bluetooth Device List
- Click on “Connect”
If you have an RF mouse
- Plug the USB stick into your Chromebook
- Turn on the mouse
I will go into more detail below.
How to Connect Your Bluetooth Mouse to Your Chromebook
Connecting your Bluetooth wireless mouse to your laptop is the same as any other Bluetooth device.
The first time you will connect the Bluetooth device to the Chromebook will require a series of steps, but after that first time, the connection will happen automatically.
Note: for the connection to happen automatically, you will always have to power on your mouse and open the Bluetooth function on your laptop.
When you make your purchase, remember to find a Chromebook-compatible wireless mouse.
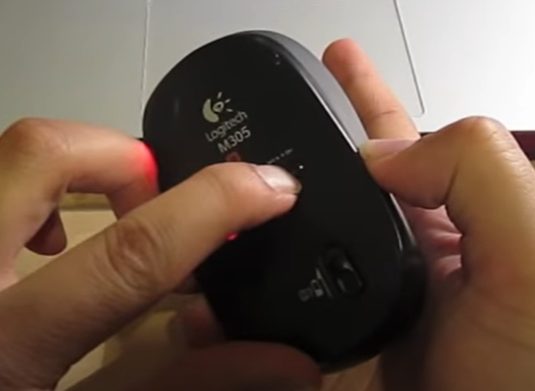
1. Power On the Mouse
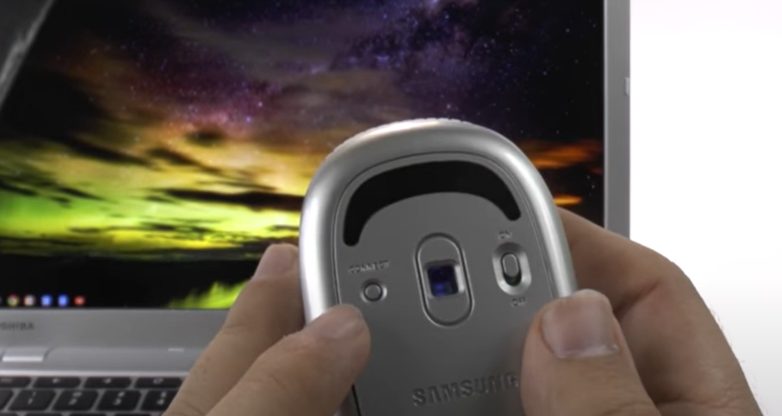
All Bluetooth wireless mice have an on-and-off switch.
Most of the time, that switch is located on the bottom of the mouse. Turn your mouse upside down to find the switch and power the mouse on.
When the mouse is on, it will emit a small red light that lets you know it is working.
2. Enable the Bluetooth Function
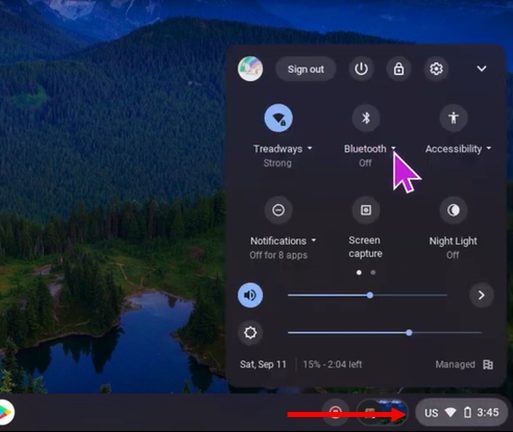
You must go to the laptop’s taskbar to activate the Bluetooth function.
On the right side of the taskbar, you will click on the group of icons that includes the WiFi icon. Once you click on it, a window with several symbols will appear. On that window, you will select the Bluetooth icon.
Activate the toggle switch by clicking on it. When you do so, the Bluetooth function will be enabled.
Note: some mice have a “Connect” button at their bottom. Once you activate Bluetooth, press that button.
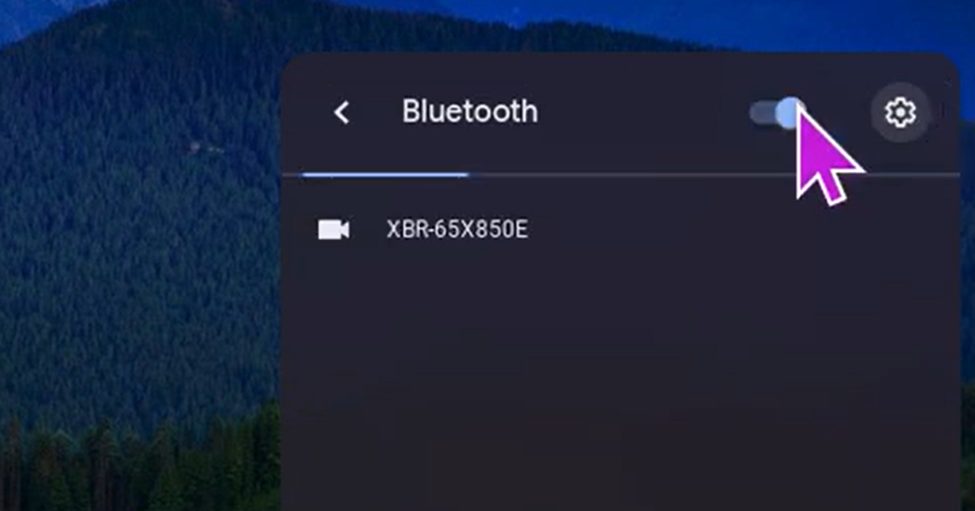
3. Select the Device
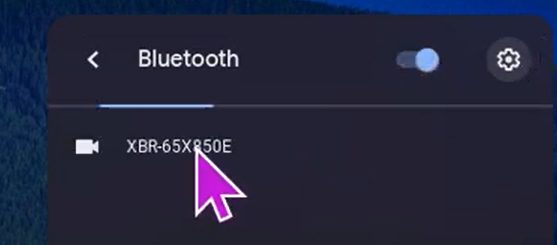
When Bluetooth is activated, you will see a list of all the available Bluetooth devices nearby.
Look out for the name of your device’s model. Once you find it, click on the name and press “Connect.”
Note: if your Bluetooth device is not detectable, try one of the following:
- Deactivate and enable the Bluetooth function on your laptop
- Switch the mouse off and on
After the connection is established, you can use your mouse.
How to Connect an RF Mouse to Your Chromebook
Connecting an RF mouse is much easier than Bluetooth.
However, you must confirm that you haven’t bought a mouse that requires a driver (software to run the mouse). You cannot install any driver software on a Chromebook OS. Only some specific software works with these, so you need to make sure its compatible before purchasing.
You can find out if your mouse requires such an installation in the user’s manual.
1. Plug in the Receiver
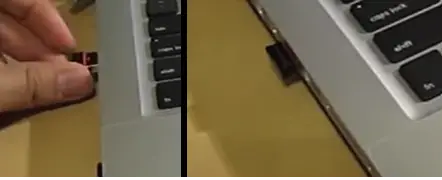
The receiver is the USB stick that comes with the mouse.
For the wireless mouse to work, you need to plug it into a USB port in your Chromebook.
2. Activate the Mouse
Similarly to Bluetooth mice, the RF wireless mouse has at its bottom an activation switch.
Turn on the mouse. To make sure it is working, look for a red light. Once the device is on, it will automatically connect to the receiver.
As soon as that happens, you should be able to use it immediately.
Take a look at some of our related articles below.
Video References
The YouTube Tech Guy
Lilly
MMCTechReviews