
We live in a society surrounded by crime and danger. It is with the utmost importance that everyone remains safe for themselves and their loved ones. However, there’s always that challenge to keep an eye on everything quickly and efficiently. One solution to that is building a mini camera that will monitor our homes during our absence. In this article, I will guide you through creating a mini camera in six steps so let us get started!You may also want to see more here for the best mini cameras in the market this year!
Step 1 – Buy a Mini Camera
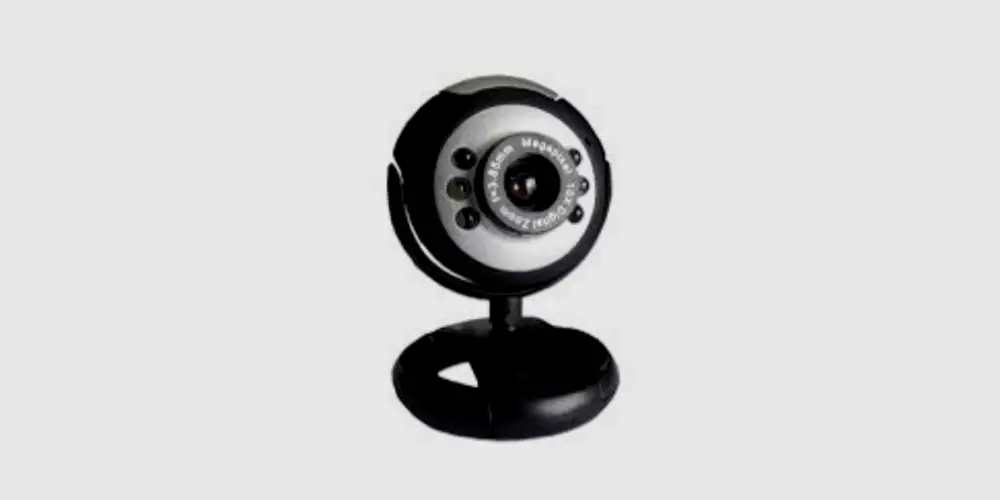
The first step is purchasing a cheap mini camera or a webcam unless you have one already. I suggest that you look for one that is small enough to be hidden. The type and size of the camera would all depend on its purpose. If you only intend to use the camera as a simple monitor then a cheap one would do the job. However, if you are using the camera to detect criminal activity, a more professional-grade and sophisticated security camera would be your better choice.
Step 2 – Unshell the Camera
 Once you have purchased the right camera, this next step requires that you unshell or ‘strip off’ the outer shell of the camera. The reason for doing this is so that the camera is small enough to hide. Check here how to hide a mini spy camera! After you do this, the inner parts of the camera like the lens and circuits will be exposed. It is important that you remove the outer layer of the camera with caution so as not to affect the inner structure of the camera.
Step 3 – Find a Hiding Spot for the Mini Camera
 This third step is by far the most important part of the camera building process. You must find a suitable spot to hide the camera and the following are a few suggestions to achieve it:
- You have to find a well-hidden spot. This means a place where people would not suspect any suspicion such as a hidden camera is deployed. Otherwise people will think that they are being monitored or ‘watched’ as in the reality TV series, ‘Big Brother’ (1)
- Hide your camera behind or inside objects that are not easily suspected such as a plant, kitchen cabinet or portrait on the wall.
- If you are use objects like cardboard boxes make sure that you cut a small hole in it as long as the camera can record what’s happening
Step 4 – Installing your Mini Camera
 Here’s where the fun part begins. Once you’ve found your hiding place for your mini camera, it’s time to install it. If you are using a cardboard box, for instance, that would be just fine. Next, you would cut a tiny hole that is big enough for the camera to capture the action. Please remember not to cut the hole only to the size that the camera will record the action. The camera should be placed inside the box in such a way that the lens is facing the hole. Use super glue to hold the camera firmly inside so that it will not be distracted by the movement of any kind. (2)
Step 5 – Holding the Cardboard Box Firmly
Because you have a mini camera placed inside a large box, it might be unstable. If that is the case, there is a potential that the box will tilt or worse, fall off. You would not want this to happen because your camera setup will be ruined. To fix the problem, you simply add some weight to the box inside of it like using paperweight or anything that would make the box sturdy. Then you use some glue or tape to attach the paperweight inside the box and finally place it in a good location.
Step 6 – Connecting your Mini Camera to a PC or Mobile Phone
Now that you have installed your camera in the right spot and it is working fine, you can connect the camera to your PC. One way to do this is to take the USB cable that is attached to the camera and pass it to the back of the box. In doing so, make sure it is not noticeable by anyone. It would be best if you can purchase a wireless mini camera because it will make the work a whole lot easier.
Step 7 – Pointing the Camera in the Target Direction
Finally, you’ve come to the last step. This last step is very important because you have to point the camera to the aimed location. To achieve this, you have to make sure everything is set up correctly otherwise it would be a waste of your time and effort. Also, make sure that it’s a highly trafficked area since you only have one camera meaning that you only have one shot at it. After this is done, you can monitor the camera through your computer.Two things to consider when using a building a mini camera. One is that some cameras have good night vision while others do not. Make sure that your camera comes with good night vision installed to have good lighting in the dark. The other important thing is always to keep your camera in a safe place to avoid any flammable hazards. Places to avoid placing your camera include garbage cans, utility closets, and nearby light-able newspapers.
Conclusion:
These are the most common and basic steps to take in building your own mini camera. You can think of other creative ways to put one together but it might take more time, effort and money. I have introduced to you an efficient and cost-effective process to build a mini camera to monitor your home to protect you and your loved ones.
References
(1) reality TV series – https://www.marieclaire.com/culture/g26742354/best-reality-shows/(2) super glue – https://home.howstuffworks.com/question695.htm