
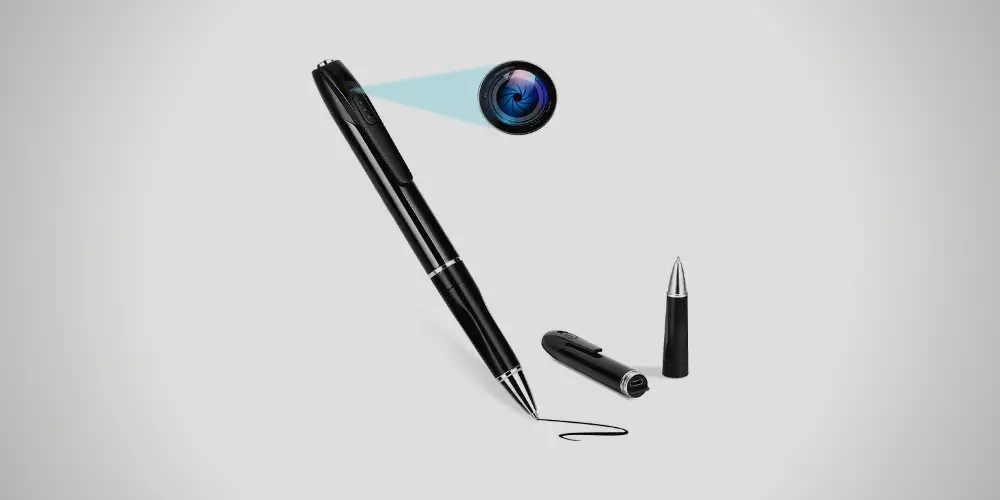
Spy pens are the best compact cameras. You can record high‐definition videos and click photos with it. Plus, it can also work as a pose as a pen. In the previous article we’ve discussed how to make a spy pen, but before making one, you have to know how it works and how you can effectively use it. To help you out, we are here with the instructions on how to use it! Though there are a lot of great spy pens in the market for you to choose with, you see it here for the list this year.
Detailed Instructions on How to Use a Spy Pen
 We made this step-by-step process to make it easy for you to understand the mechanism of the spy pen.
Step 1: Opening the Pen
 First of all, you need to open the pen by rotating the middle part. After that, the spy pen will become two separate pieces. Take the bottom part of the spy pen that has a click button. There, you can find a slot for charging.
Step 2: Charging the Spy Pen
 For the first time, you need to charge the device for around 4 hours. After that, one full recharge will take about 15 minutes. You will get a USB cable in the package, and using that, charge the spy pen. You can recharge this pen from the wall socket, laptop, power bank, or USB port.
Step 3: Removing after Getting Charged
While getting charged, your spy pen will blink the indicator light, which is generally red. If it is fully charged, the spy pen will emit a constant light. At that moment, you can turn off the charging and keep the USB cable away. If your spy pen is fully charged, it can capture the view for around 1.5 hours.
Step 4: Inserting the Micro SD Card
 Check the instructions to know how much GB your spy pen can support. After determining the storage space, take a micro memory card and insert it in a small slot, as shown in the below picture.If the SD card is perfectly inserted, you can feel that it will slip in perfectly without resistance. Like in the picture, you can see around 1/8th part of the SD card if you insert it correctly.
Step 5: Rechecking the SD Card Position
Remember that it is crucial to insert the SD card correctly. Your spy pen can not record videos and pictures if the SD card is not in its place. If there is an error with the SD card, the spy pen will blink the indicator light. If you face this situation, remove the memory card and try to insert it again slowly. After that, attach the refill and top part to the pen.
Step 6: Turning on the Spy Pen
You can turn on the spy pen by pressing the click button at the top. Just a single press is not enough to start the recording. You need to press the on/off button for at least two to three seconds. Click on this button for about six seconds to turn it off. If there is a solid green light, the camera is turned on and is in READY mode.
Step 7: Recording The Video
 When the camera is in READY mode, press the click button for another two to three seconds. After that, check the indicator light because it will blink three times. Once the spy pen is recording the video, the indicator light would not blink anymore. (1)Make sure that the camera lens is not getting obstructed while it is recording the video. You need to hold the spy pen steadily to get high-quality, crystal-clear recordings without any blur.
Step 8: Turning Off the Recording
If you want to stop the video recording, press the click button. You can press the button to turn it on and push it again to stop the footage for numerous recordings.After the recording is finished, make sure to power off the spy pen by pressing the click button for over 6 seconds.
Step 9: Capturing Photos
You can take photos with a quick press on the click button. If the green indicator light has blinked once, it means that the spy pen has taken the picture. After that, it will go back to READY mode.
Step 10: Watching Video Recordings and Photos
 Open the top of the spy pen to uncover the USB port. Now, connect the USB cord to the spy pen and the remaining end to your system. Wait for some seconds, and the icon of the SD card device will appear on the computer screen. If not, you can click on the system’s removable drives for the memory card.You can download the recordings and photos to your computer by double-clicking on the removable drive or icon. If you want to view the files, copy them to your system.
Step 11: Clear Files from the Micro SD Card
Click on the videos and photos you want to erase and press the delete option on the computer’s keyboard. After all the recordings and pictures are deleted, you can reuse your SD card for recording and capturing new footage.While erasing the files from the SD card, make sure that you are not deleting the files from your computer. You can also play and review the footage from your computer.
Step 12: Rewriting the Date on the Spy Pen
First of all, connect the USB cord to your computer’s USB port. Now, you can open the removable disc folder where you can find the “time.txt.” You can alter the date and time in that file and save it. The next time you watch the footage, it will show the modified date. (2)
Final Words
We are happy if you find this guide effective. Knowing how to use a spy pen is crucial if you do not want to get broken or blurry video recordings. Plus, it will save you plenty of time. We will be delighted to hear your response from the comment section. Share this post with your group buddies to let them know how to use a spy pen.
References
(1) indicator light – https://www.sciencedirect.com/topics/engineering/indicator-light(2) USB port – https://computer.howstuffworks.com/usb.htm