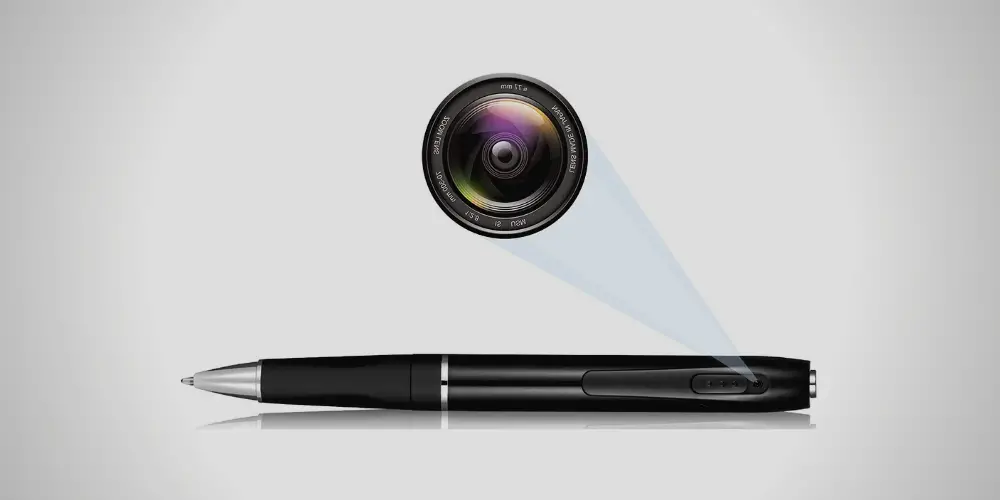
Whether you want to record lessons or need a surveillance system wherever you go, spy pens are the best choice. They are portable, easy to use, have a discreet design, and can record the view quite easily. We have come up with the best methods to show detailed and step-by-step tutorials on how to make a spy pen.You may find the spy pen here!
Things Needed to Make a Spy Pen
Here is a list of the things you will need to make a spy pen: Method 1 Requirements:
- Click Pen (not slim, but slightly thicker)
- Another pen with a ink refill (narrow and small)
- Small and Discreet camera
Method 2 Requirements:
- Pen
- Hot glue
- Small DVR or pinhole camera (1)
- Tiny circuit board
Method one is the perfect pick if you want a discreet pen for recording and writing. It is because the spy pen from method two is a bit bulky and can not be taken out. And if you’re looking for the complete information, you may check the spy pen instructions here.
Detailed Instructions on How to Make a Spy Pen
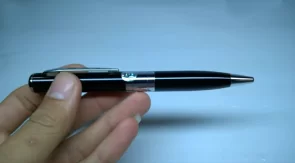 Now, let’s get started with how to make a spy pen with step-by-step instructions. But wait! You may check first here the article on how to use spy pen!
Method 1: Making A Spy Pen Camera
Step 1:Collecting All The Needed MaterialsFirst of all, you need to bring out all the necessary materials. Make sure all of those components are working and are not broken. Gather them at a table or on the floor, whichever you are comfortable with. Step 2:Disassembling The Click PenIt is better to often pick a medium-sized click pen with a slightly thick body. If you choose a small pen, you might face difficulty while assembling.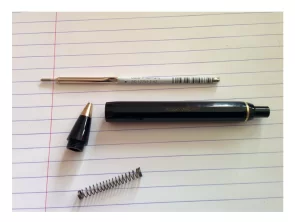 Hold the click pen and begin to disassemble it. Start with the middle body and take out the refill, spring, and other things (if any). You do not need the refill of this pen because it will occupy most of the space. It is best to store the removed parts near the gathered materials.Step 3:Bringing Out The RefillNow, take the second pen. For this, it is good to choose a slim pen with a thin refill. Open this pen and remove the refill. After that, keep that refill with the gathered items.Step 4:Loading The RefillNow, take the thin refill from the second pen and install it in the click pen. If the refill is too long, you can trim it at the end by cutting out additional length.Step 5: Picking The CameraIt is time to install the camera. While choosing a camera, make sure to select the thinnest camera with an unnoticeable design. You can buy the spy camera either online or in local hardware or computer stores. Our top pick is going to spytechstop.com they have a long camera model with thin wires that is perfect for fitting into a pen.
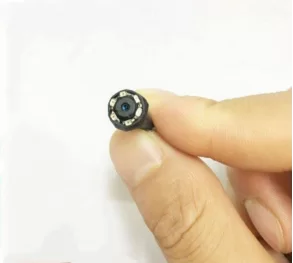 Step 6:Making A Small Hole For Camera LensYou need to make a small hole right below the click button. Make sure to check the diameters of the camera lens before making that hole. Step 7: Installing The Camera Now, take the camera and place it right below the click button. Adjust the angle of the camera so that the lens will be facing out through the hole. You can simply click on it to start recording using the camera. After that, close the remaining parts of the pen. Step 8: Testing The Spy Pen After installing everything, you can start checking it. Click on the recording button and leave it for one or two minutes. If it is recording, it means that your self-made spy pen is working. Hence, you can record lectures or use them as outdoor surveillance.
Method 2: Making a Spy Pen with SD Card
Try this method if you want a pen with storage space.Step 1: Taking The CameraFirst of all, take the camera and check whether it is working or not. After that, remove the shell and attach the battery to the board using glue.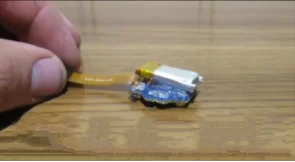 Step 2: Cutting The PenNow, take the pen and remove the cap and refill. You will get a pipe-like structure. Cut it out in a slightly sloped position. For your reference, follow the exact way as shown in the picture. You can use a knife or cutter for cutting the pen.Step 3: Sticking The Pen To CameraFirst of all, apply glue on the tag (the place between the camera lens and battery board). After pouring the glue into it, you need to stick the pen, which you cut before. Follow as demonstrated in the below picture.
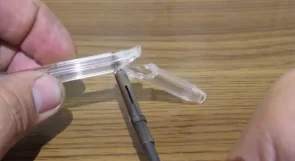 Step 4: Making A Hole In The Pen Cap Take the pen cap from earlier and make a hole that is enough for the camera lens to capture the view. Do not make the hole on the top part of the pen cap because the camera may not fit that high.
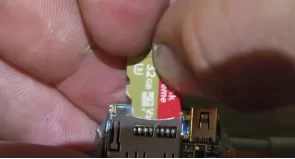
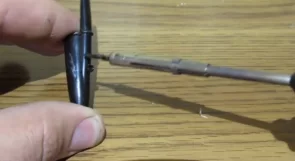 Step 5: Insert The Camera In The CapInsert the camera inside the cap. Make sure that the camera lens can see through the hole. If needed, modify the position to get a perfect recording of the view.Step 6: Inserting The SD CardNow, take a memory card and insert it into the circuit board. After that, click on the recording button on the circuit board. There, your spy camera with an SD card is ready. (2)
Bottom Line
We hope that you can make the spy pen by yourself after reading this detailed tutorial. In our opinion, knowing how to make a spy pen is beneficial in many ways. You can save money without spending plenty of bucks to buy a spy pen. Besides that, you can learn new skills without wasting your precious time.If you liked and are satisfied with this post, let us know through the comment section. Also, you can share this tutorial with your friends and family who share a common interest.
References
(1) DVR – https://electronics.howstuffworks.com/dvr.htm(2) circuit board – https://www.sciencedirect.com/topics/engineering/circuit-board

