
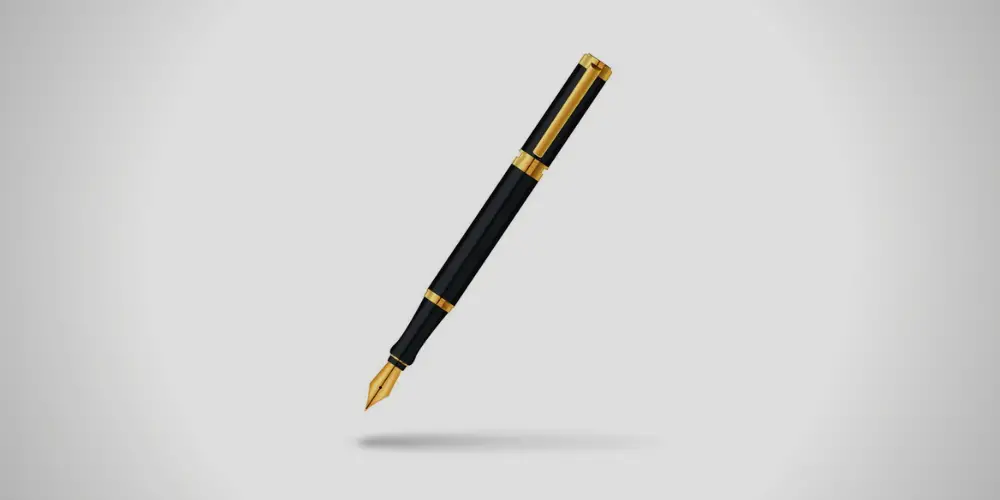
Spying has never been easier than before. Now you don’t need sophisticated tools to mimic your favorite secret agent or actually use it for surveillance purposes. Devices like spy pens, which can be used for keeping an eye for anything suspicious, have made spying simple and affordable. Although, getting the hang of using such a device can be a little more tricky than anticipated. If you’re reading this, you’re in the same boat as a lot of people, but we’ve got you covered.Before we will proceed, let’s check out here the best spy pens in the market this year!
How to Use a Spy Pen?
 While spy pen cameras can come in different shapes and sizes, the modus operandi of using them is pretty much the same. Although, some features, such as the mode of recording the data or transferring the same, can differ from model to model. However, the following instructions and tips on how to use a spy pen camera will work on most of them.
How to Record
1. You might be required to charge the spy pen camera after unboxing it first. Most spy pens come with a USB outlet. If you have a suitable data cable, you can plug the same and begin charging it. Although, you might get the charger with the pen itself. But, if you have a device that runs on battery, there will be no need to charge it. You could purchase the suitable cells from the store and get going. The first time around, it may take longer than usual to charge, so be patient. Once done, you will enjoy approximately 2 hours of recording.2. If you were provided with an SD card with the pen, search for the slot and insert the same. Don’t be afraid to be a little firm while pushing it in. You’d know that the card has been installed successfully when it won’t push any further. The card will store all the recordings and images that the pen captures. Ensure that you don’t lose the chip. Without the card, the camera won’t record or save anything. Before beginning your spying session, make sure that the card has been installed optimally. You could take the camera for a test drive and see if it saves the images before getting down to real business.3. Locate the power button and hold on to it for 2 seconds to switch it on. To indicate that the camera has been successfully turned on, an LED, possibly of green or blue color, will flash. That will be your cue to start recording.4. Once you get the signal to start recording (the LED blinking), hold the power key again for 2 seconds to start rolling. Generally, the LED would blink a handful of times to indicate that the camera is about to begin recording. So before it starts rolling, ensure that you conceal the camera well in the room you want to survey. Make sure that the lens of the cameras has a clear view of the spot that you want to keep a watch on. Since it’s a pen spycam, the lens of the same will be extremely small. To be on the safe side, conduct a test or two to see if the spot where the camera has been set can view the entire room. Place the spy pen on a flat and steady surface. You don’t want it to roll down and blow its cover. (1)5. The camera will begin recording right after the indication. The LED will dim a little so as not to capture anybody’s notice. But be mindful that it won’t turn off completely. That’s the only way of knowing whether or not the camera is still recording.6. Once the recording is finished, the clip will be automatically saved to the SD card. You can stop the camera from recording by holding the power button again like we did while starting the same. If you fail to switch off the cam manually, it will continue to record until either the battery runs out or if the storage is completely exhausted. Either way, the recording will get saved. If you want to make another recording, repeat the exercise from step 1. If the SD card has space to accommodate another recording, it will let you know through the LED. Otherwise, you might have to transfer the video that you just captured to a device and start afresh
How to Take a Photo
 To take a simple time picture, all you have to do is switch on the camera and press the power button once. Just like a regular camera, its LED would flash just once, indicating that the snap has been successfully captured.
Transferring the Data
Once you’re done recording, you’d have to transfer the clips and pics on a device. For this, remove the top or the bottom of the pen, depending upon the type, to unearth the USB port. Use a data cable to connect it with a laptop or computer. If connected successfully, the computer will read the card and display the corresponding folder. You can then proceed to transfer the recordings and videos to the device. Ensure that once you’re done, all the recordings are deleted from the card so you’ll have enough space to take fresh recordings and pictures. While you’re connected to the computer, you could do a little trick and change the time of the cam (if the model you have supports the feature). This can be done by opening the card file and clicking “time.txt.” Save everything as soon as you’re done.
Final Words
Spy pen cameras are perhaps one of the niftiest devices that you can get your hands on for surveillance purposes. The sheer lightweight and prospects of camouflage make it an appealing option. They can also be bought on a shoestring! As long as these instructions are followed, you’ll face no problems in operating the spy cam.And since you already know how to use spy pen, I will recommend this learning article of how to make a spy pen as your next great read. Until next time!
References
(1) LED blinking – https://www.instructables.com/Simple-Blinking-LED-Circuit/