

When it comes to using TextNow, getting the right APN settings can be a bit tricky.
Quick Summary To Access The Settings (Note: Actual Input Settings are at the bottom of the article)
| For Android Users | For iPhone Users |
|---|---|
| 1. Navigate to Settings | 1. Go to Settings |
| 2. Locate ‘Network & Internet’ | 2. Tap Cellular |
| 3. Access APN | 3. Access Cellular Data Options |
| 4. Input TextNow APN details provided | 4. Adjust APN settings |
| 5. Save settings | 5. Input TextNow APN details provided |
| 6. Restart device | 6. Save the settings |
Without the correct APN settings, certain services might not function properly. But no worries! I’m here to guide you through this process step by step.
Steps for Android Users
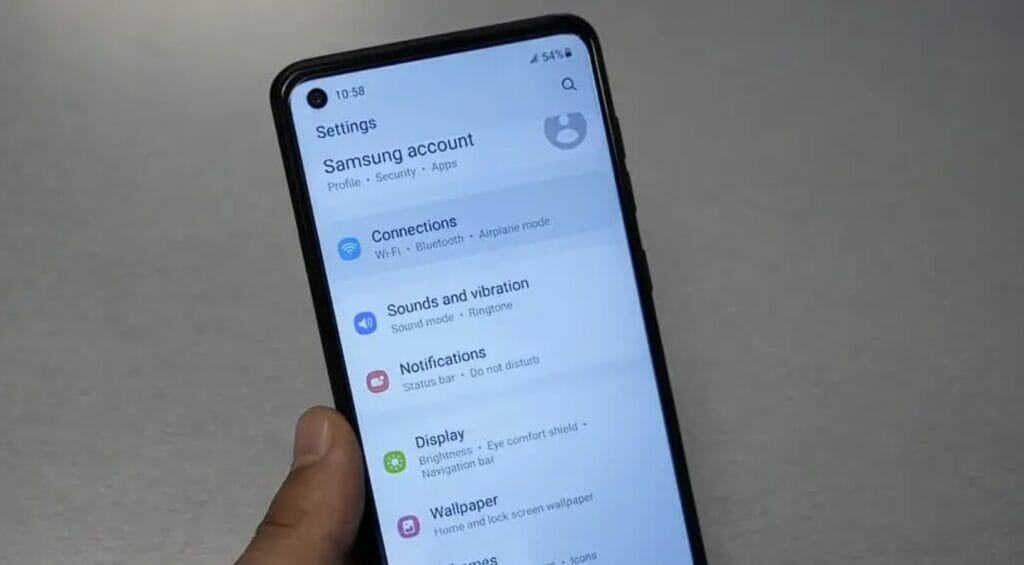
Step 1. Navigate to Settings
First, pull down the notification shade and tap on the gear icon to access your settings.
Step 2. Locate Connections
Once you’re in the settings menu, scroll down a bit. Look for ‘Network & Internet’ or just ‘Connections’ (this could vary depending on your device). Dive into that option.
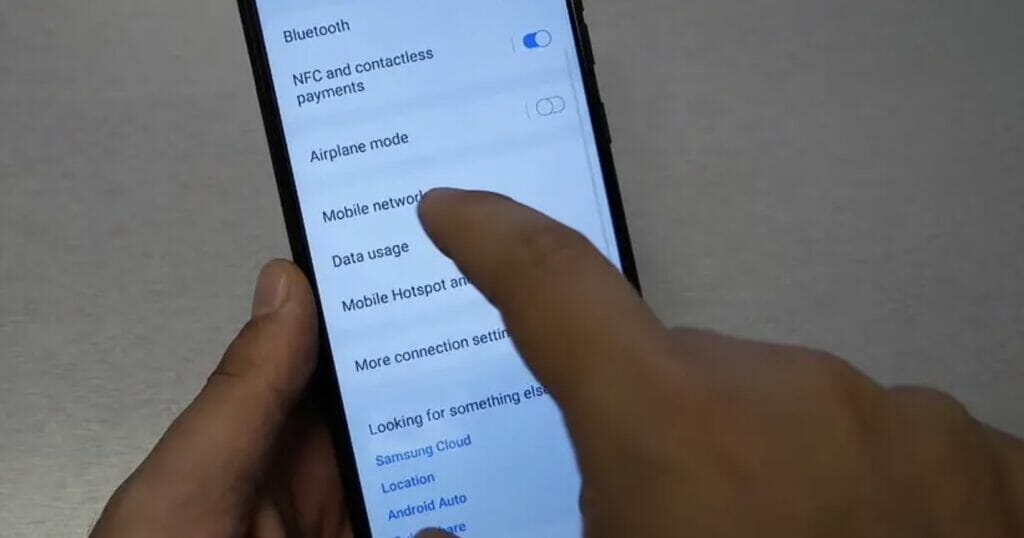
Step 3. Access APN Settings
Under the ‘Mobile Network’ or ‘Cellular Network’ settings, an ‘Access Point Names’ or just ‘APN’ option should exist. That’s your destination.
Step 4. Enter TextNow APN Details
Here’s the moment to stay focused! Click the ‘+’ or ‘Add’ icon to create a new APN. Enter the APN settings provided below. You can also always verify with TextNow or your provider.
Step 5. Save and Restart
Once you’ve keyed in all the details, save the settings. Give your phone a quick restart for good measure. That’ll ensure everything is refreshed and running with the new settings.
Steps for iPhone Users
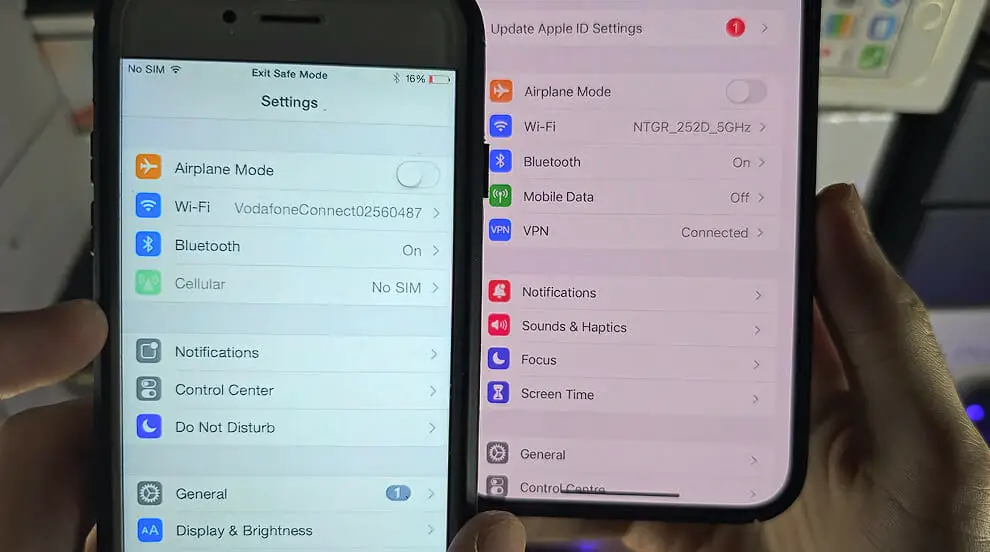
Step 1. Dive into Settings
Unlock your iPhone and head straight to the settings app – it’s the one with the gear icon.
Step 2. Tap on Cellular or Mobile Data
Once you’re in settings, you’ll see an option labeled ‘Mobile Data’ or ‘Cellular.’ Go ahead and tap on that.
Step 4. Get to APN Settings
Here, you’ll find an option labeled ‘Mobile Data Network’ or ‘Cellular Data Network.’ That’s where you can adjust the APN settings.
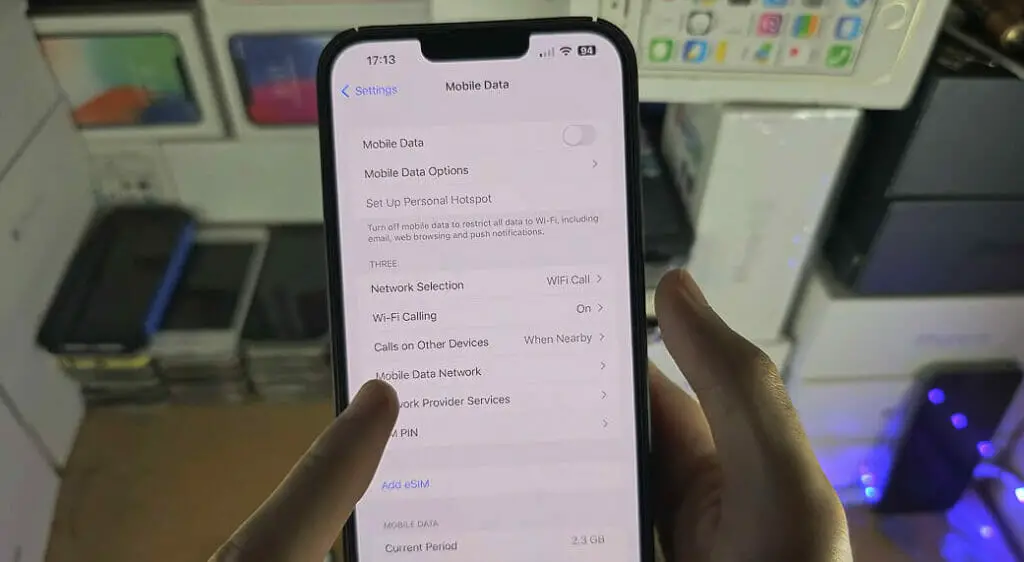
Step 5. Input TextNow APN Details
Like Android, you’ll want to enter the APN details for TextNow. Use the details mentioned in the next section unless otherwise specified by TextNow or your carrier.
Step 6. Save & Exit
No actual save button here, folks! Just exit the settings, and your iPhone will automatically save the new APN configurations. Maybe still give it a restart, just for good luck.
Textnow APN Settings
| Setting | Value |
|---|---|
| APN Name | TextNOW |
| APN | c1.korem2m.com |
| Proxy | |
| Port | |
| Username | |
| Password | |
| Server | |
| MMSC | |
| MMS Proxy | |
| MMS Port | |
| MCC | 310 |
| MNC | 260 |
| Authentication Type | |
| APN Type | |
| APN Protocol | |
| APN Roaming Protocol | |
| Bearer | |
| MVNO Type | |
| MVNO Type: |
Alternate Textnow APN Settings
| Setting | Value |
|---|---|
| APN Name | TextNOW |
| APN | n.eg.ispsn |
| Proxy | |
| Port | |
| Username | |
| Password | |
| Server | |
| MMSC | http://mms.sprintpcs.com |
| MMS Proxy | 68.28.31.7 |
| MMS Port | 80 |
| MCC | 310 |
| MNC | 120 |
| Authentication Type | |
| APN Type | default, mms |
| APN Protocol | |
| APN Roaming Protocol | |
| Bearer | |
| MVNO Type | LTE |
| MVNO Type: |
Common Issues with Incorrect APN Configurations
Having trouble after APN adjustments? Don’t fret. Like mismatched throw pillows, sometimes settings don’t align right. Let’s explore some common glitches:
- Data Not Working: The most common and noticeable issue. If you’ve recently changed your APN settings and can’t access data, or it’s incredibly slow, there might be a mistake in the configuration. Double-check for typos or omitted details.
- MMS Issues: Can’t send or receive multimedia messages? It’s likely an issue with the MMSC, Proxy, or APN type. Ensure these settings are accurate for TextNow. Make sure these settings are spot on!
- Frequent Disconnections: This could be due to multiple APN profiles saved on your device. Delete any unnecessary profiles and focus on the TextNow configuration.
As such, if you encounter bumps along the way, retrace your steps and ensure every setting is as it should be. Happy configuring!
References
Organizations:
- GSMA (GSM Association). https://www.gsma.com/
Websites:
- XDA Developers Forum. https://forum.xda-developers.com/
- Reddit’s r/mobile. https://www.reddit.com/r/redditmobile/
Video References:
Varieties Teck 2
Alfve